


Hello, and welcome to the full walkthrough for Metroid Prime 4: Beyond. We'll be taking you through the entire game, highlighting when and where to find all available items and scans.
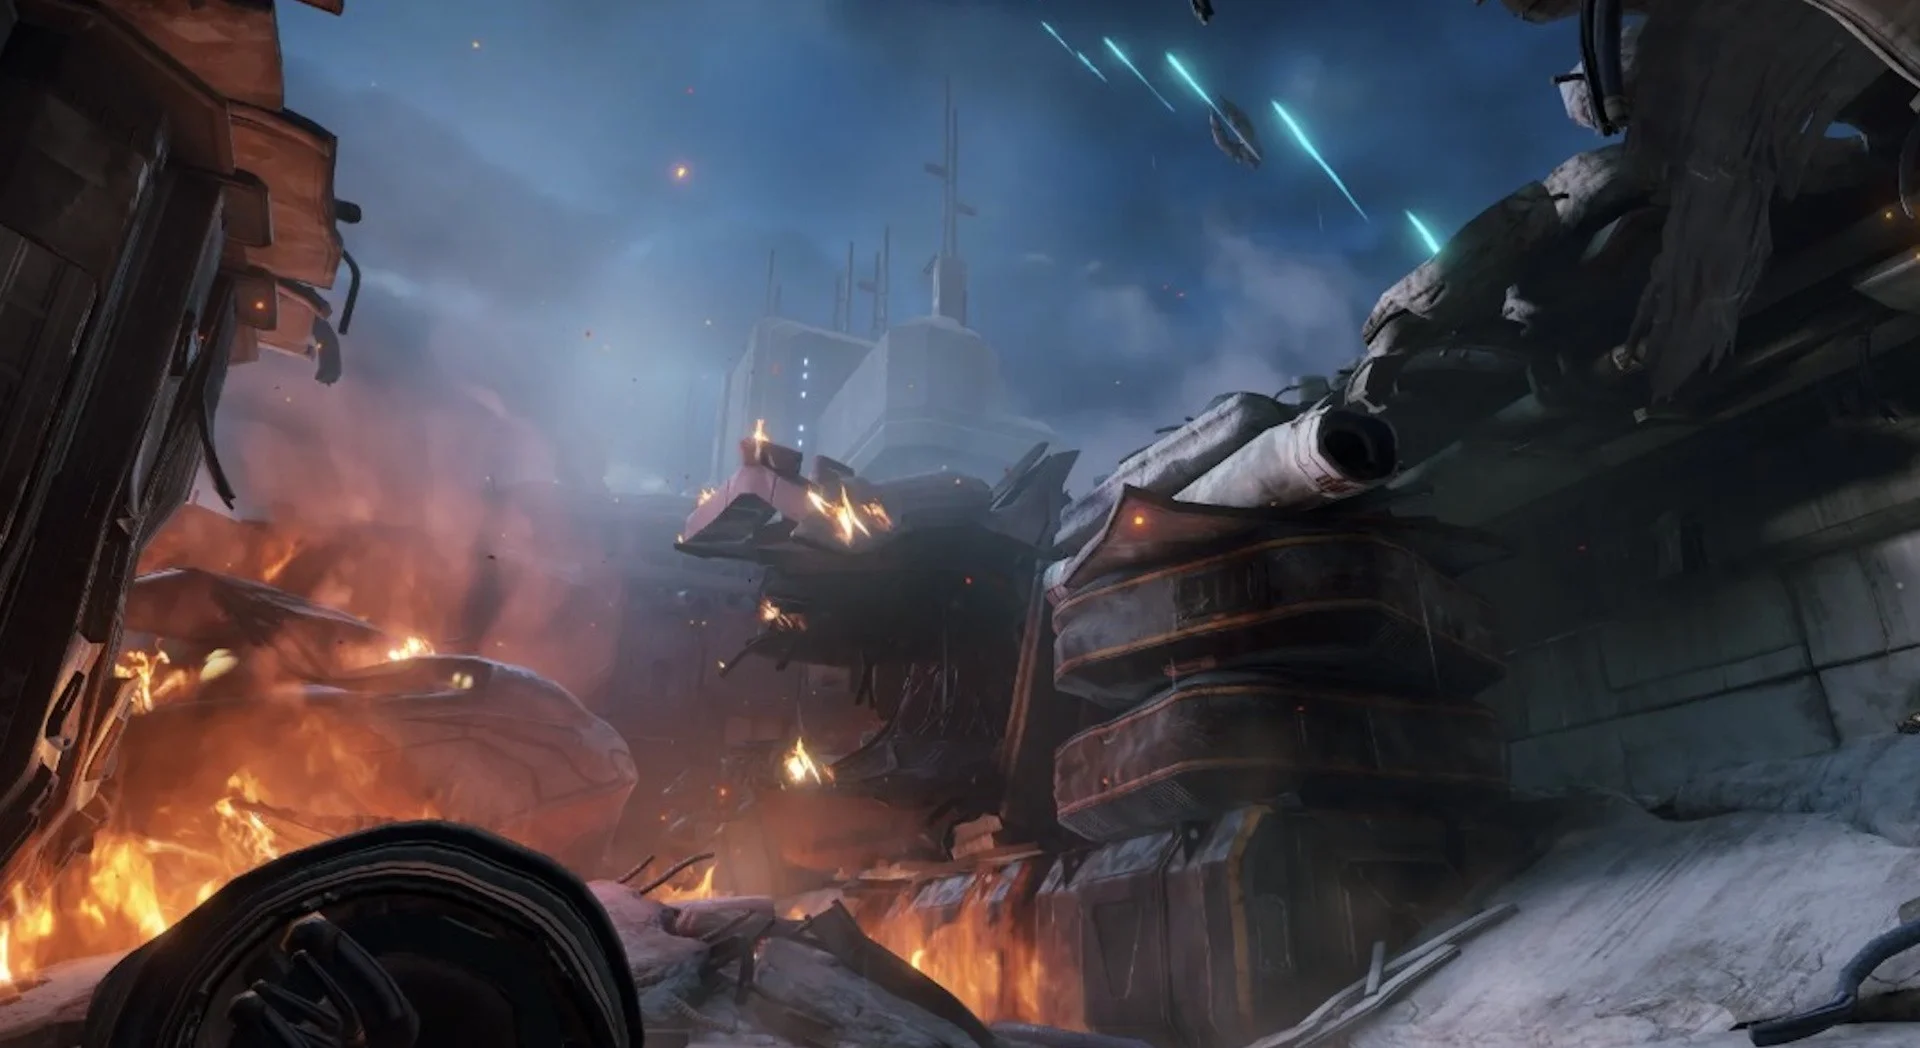
This prologue section will be fairly short, taking place on the planet Tanamaar. Samus finds herself in the midst of an attack from a bunch of Space Pirates, and while the only item here is unmissable, you'll want to make sure you catch all available scans – miss these, and you won't get another shot.
Galactic Federation UTC Research Center Walkthrough
Upon touching down on the Landing Pad (and saying goodbye to your beloved ship), head forward and dispatch any injured Space Pirates along the way.
Scan Entry - Space Pirate
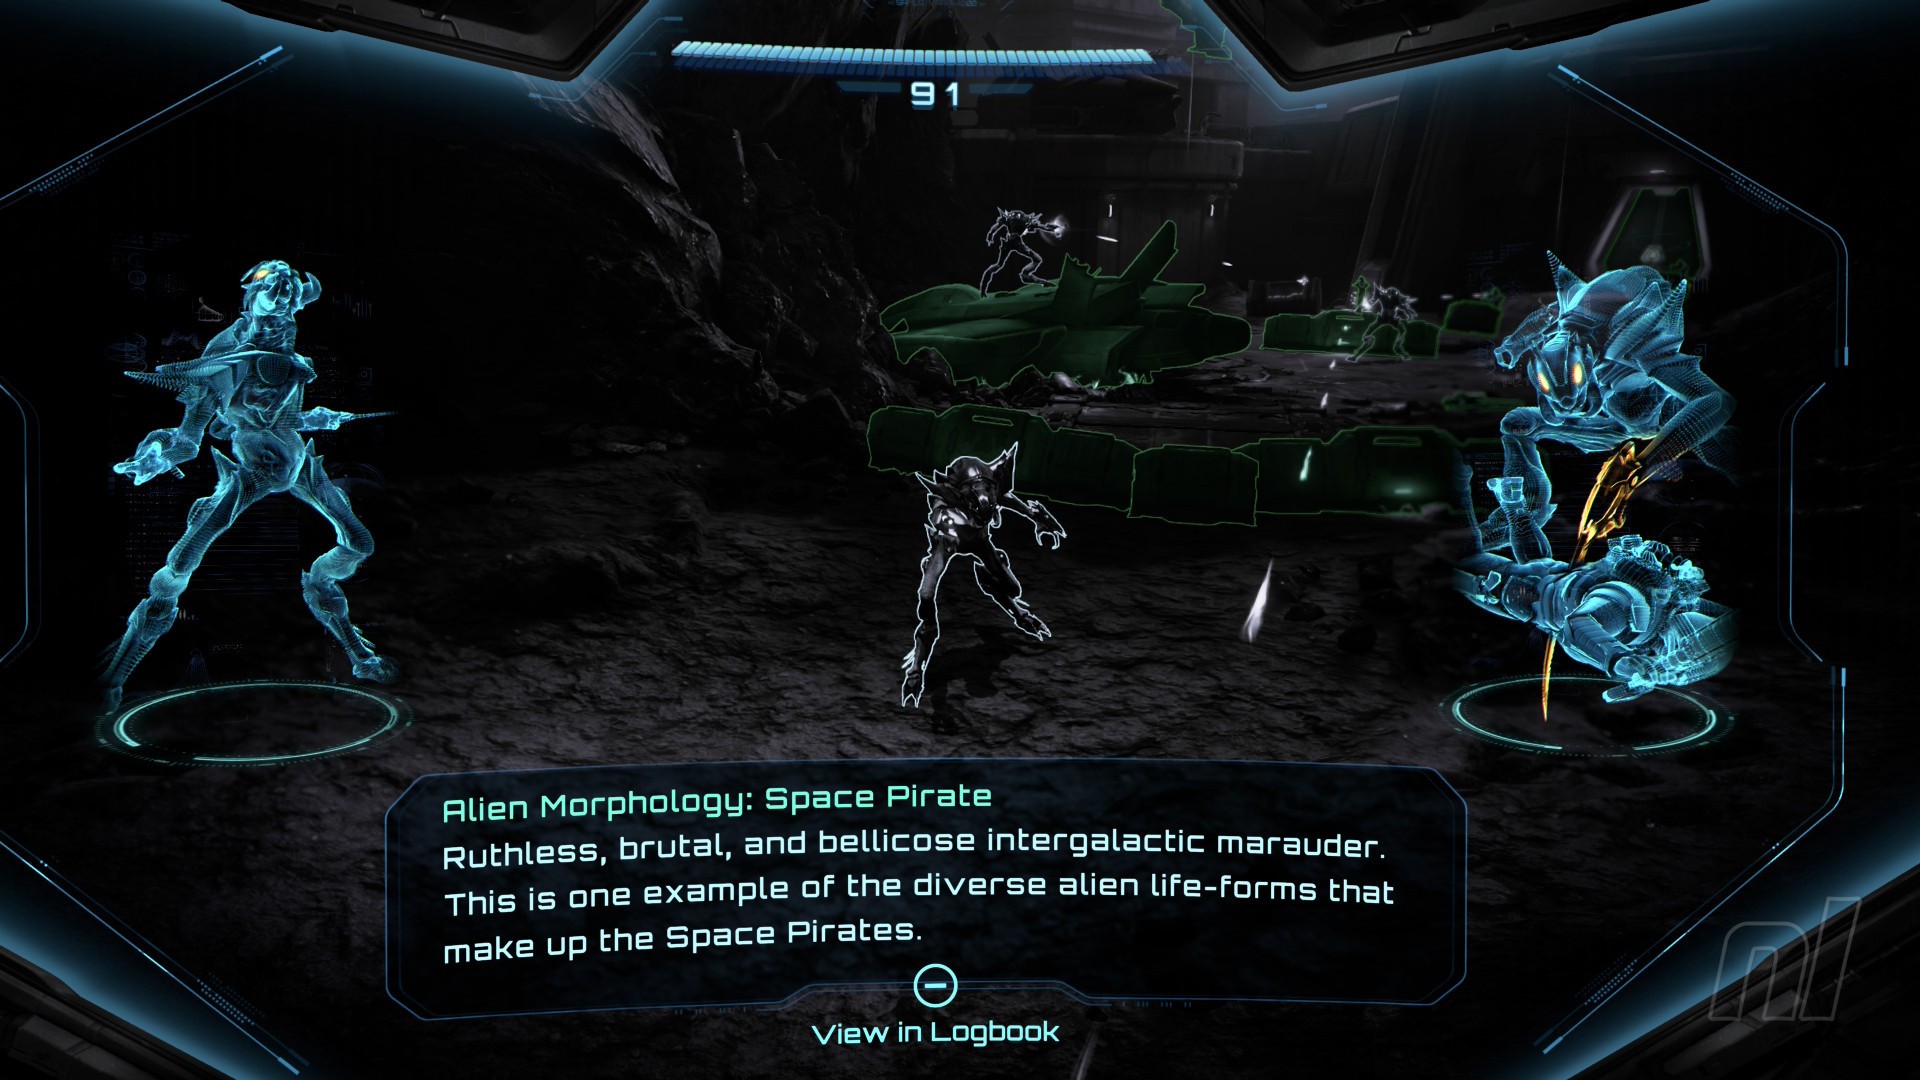
Image: Nintendo
Amongst the injured enemies is a full-fledged, healthy Space Pirate. You’ll be tempted to shoot it too, but hold fire for a moment, as this is your first logbook entry of the game. Scan it.
Warning: if you miss scanning any of the Space Pirates during this section of the game, you won't get another chance!
Scan Entry - Galactic Federation Trooper
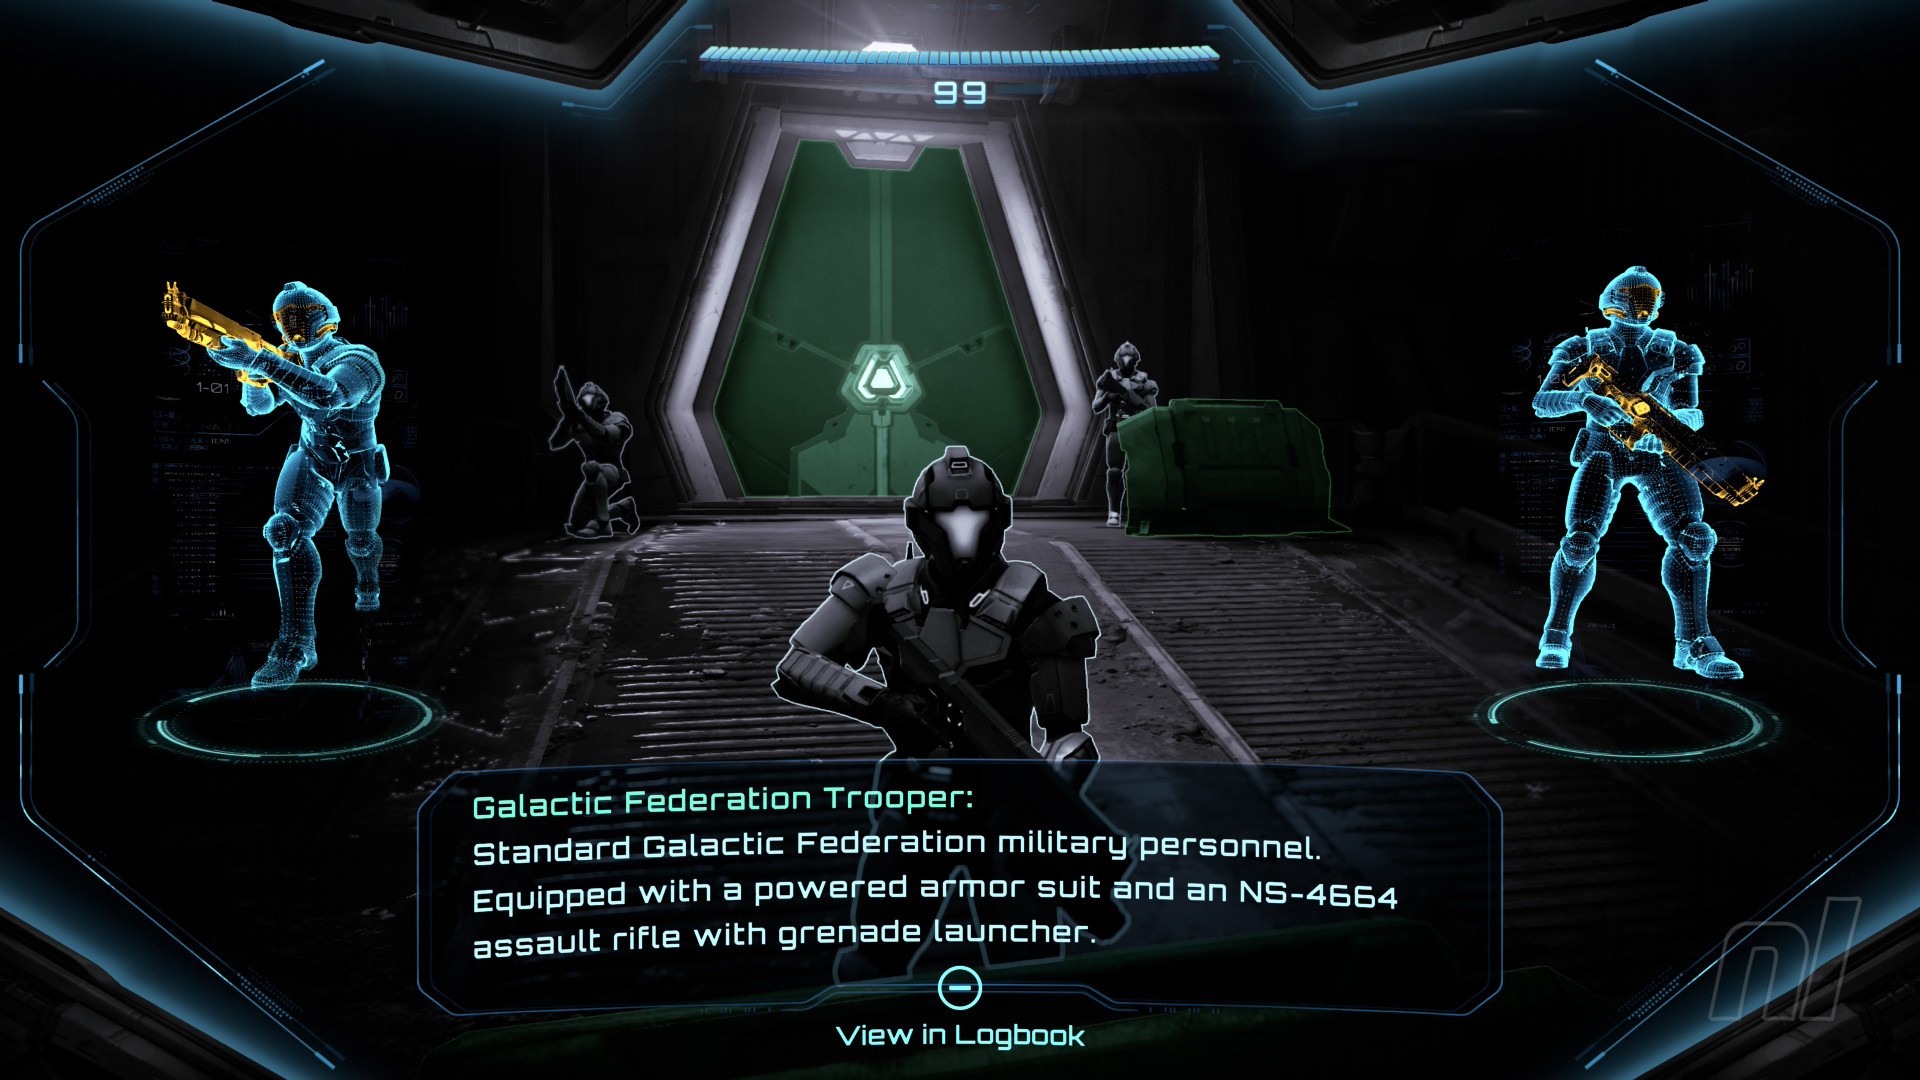
Image: Nintendo
Once you’ve cleared the area of enemies, you’ll spot a couple of Galactic Federation Troopers at the end of the path by a door. Scan one of them to add it to your logbook.
Similar to the Space Pirates, if you miss scanning the Troopers in this section, you won't see them again. You will only see specific characters like Myles Mackenzie in later sections, so don't miss it!
Head through to the next couple of rooms until you reach the Observation Deck. Here, a bunch of Space Pirates will attack, so get rid of them.
In the Hangar Access, drop into Morph Ball mode to avoid the fire and move through the small gap. Head through to the Courtyard and get rid of the Space Pirates causing trouble.
Double-jump up the ledge and go through the door. A couple more injured Space Pirates will need shooting. Head up the right and launch a missile at the vent door, then morph ball through the vent, dropping bombs to clear obstructions along the way.
Energy Tank #1
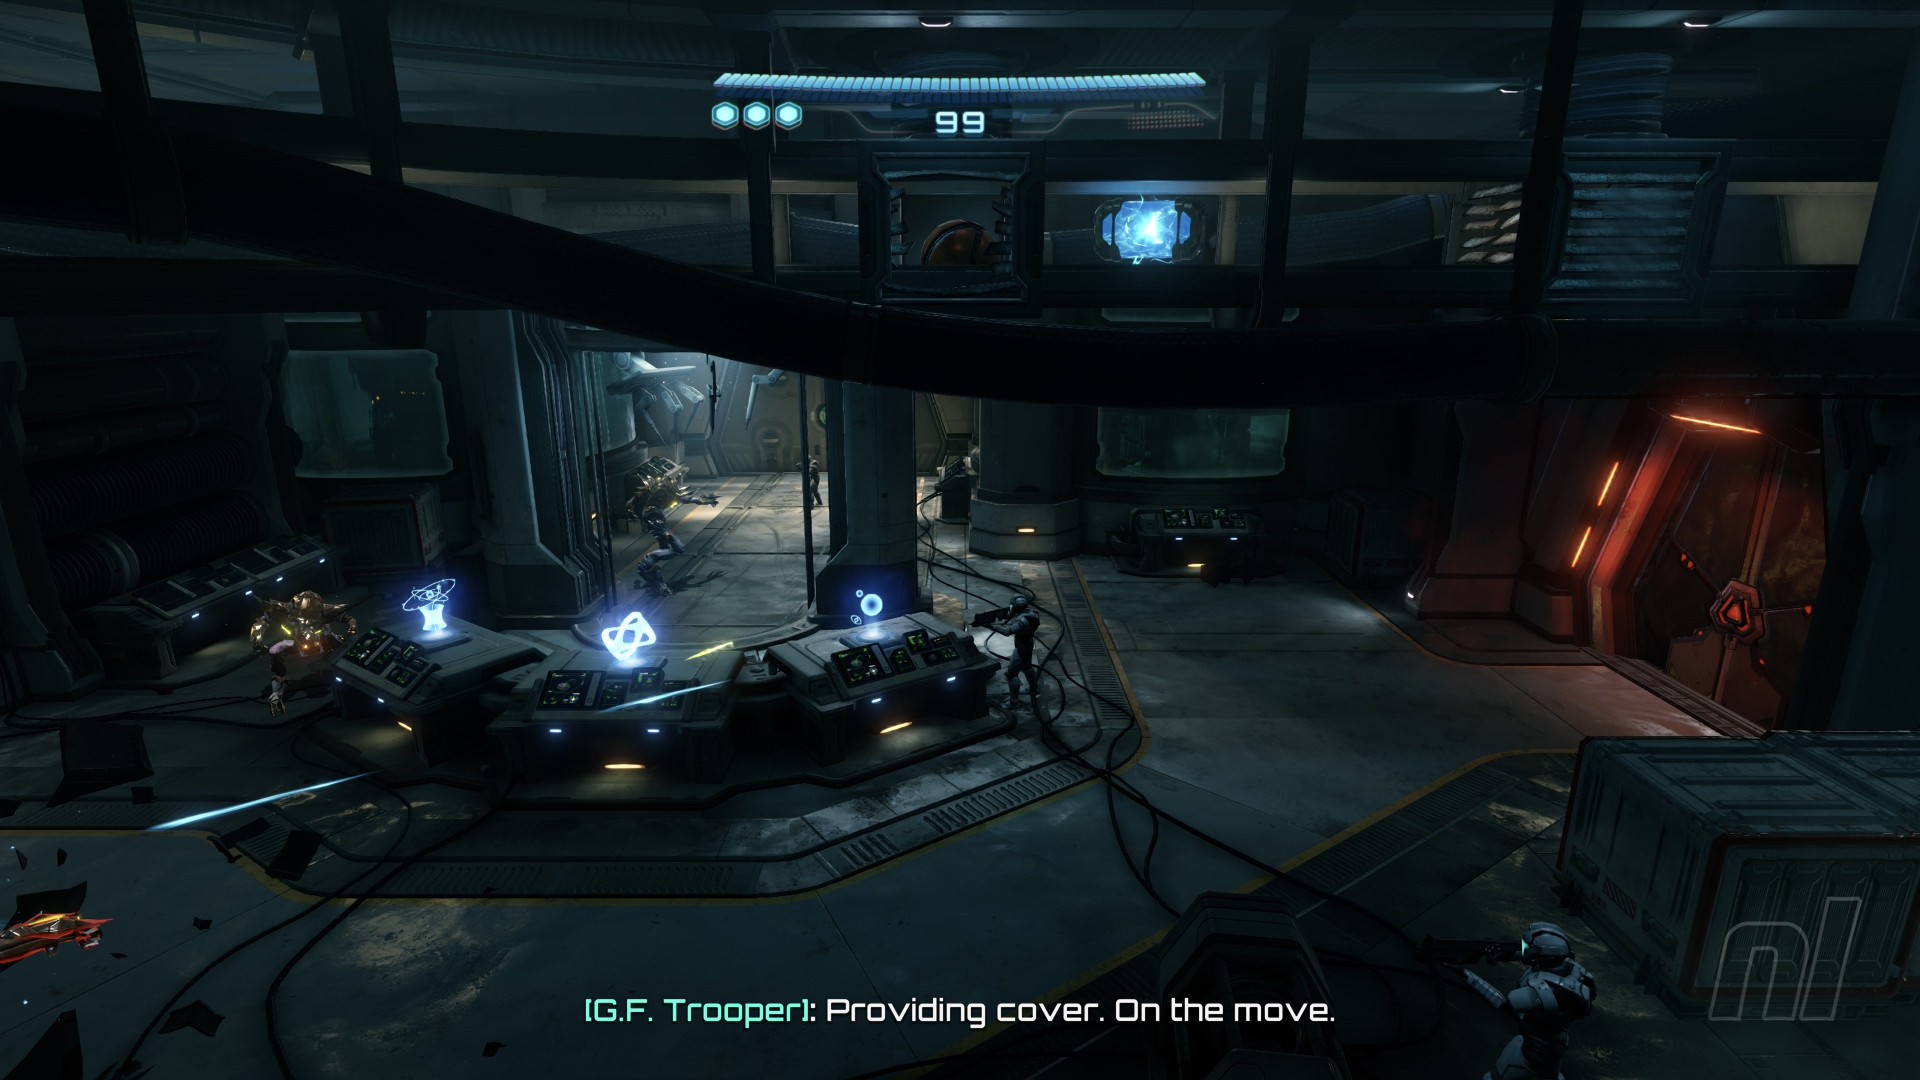
Image: Nintendo
After bombing the third obstruction in the vent, you’ll come across your first Energy Tank, granting an extra 100 health points. You physically can't miss it, so roll into it, then drop out of the vent and deal with the Space Pirates.
Scan the large hangar door. You’ll then need to lock on, manually aim at the four nodes and shoot them to open it. Do the same with the next door along the corridor.
Scan Entry - Aberax
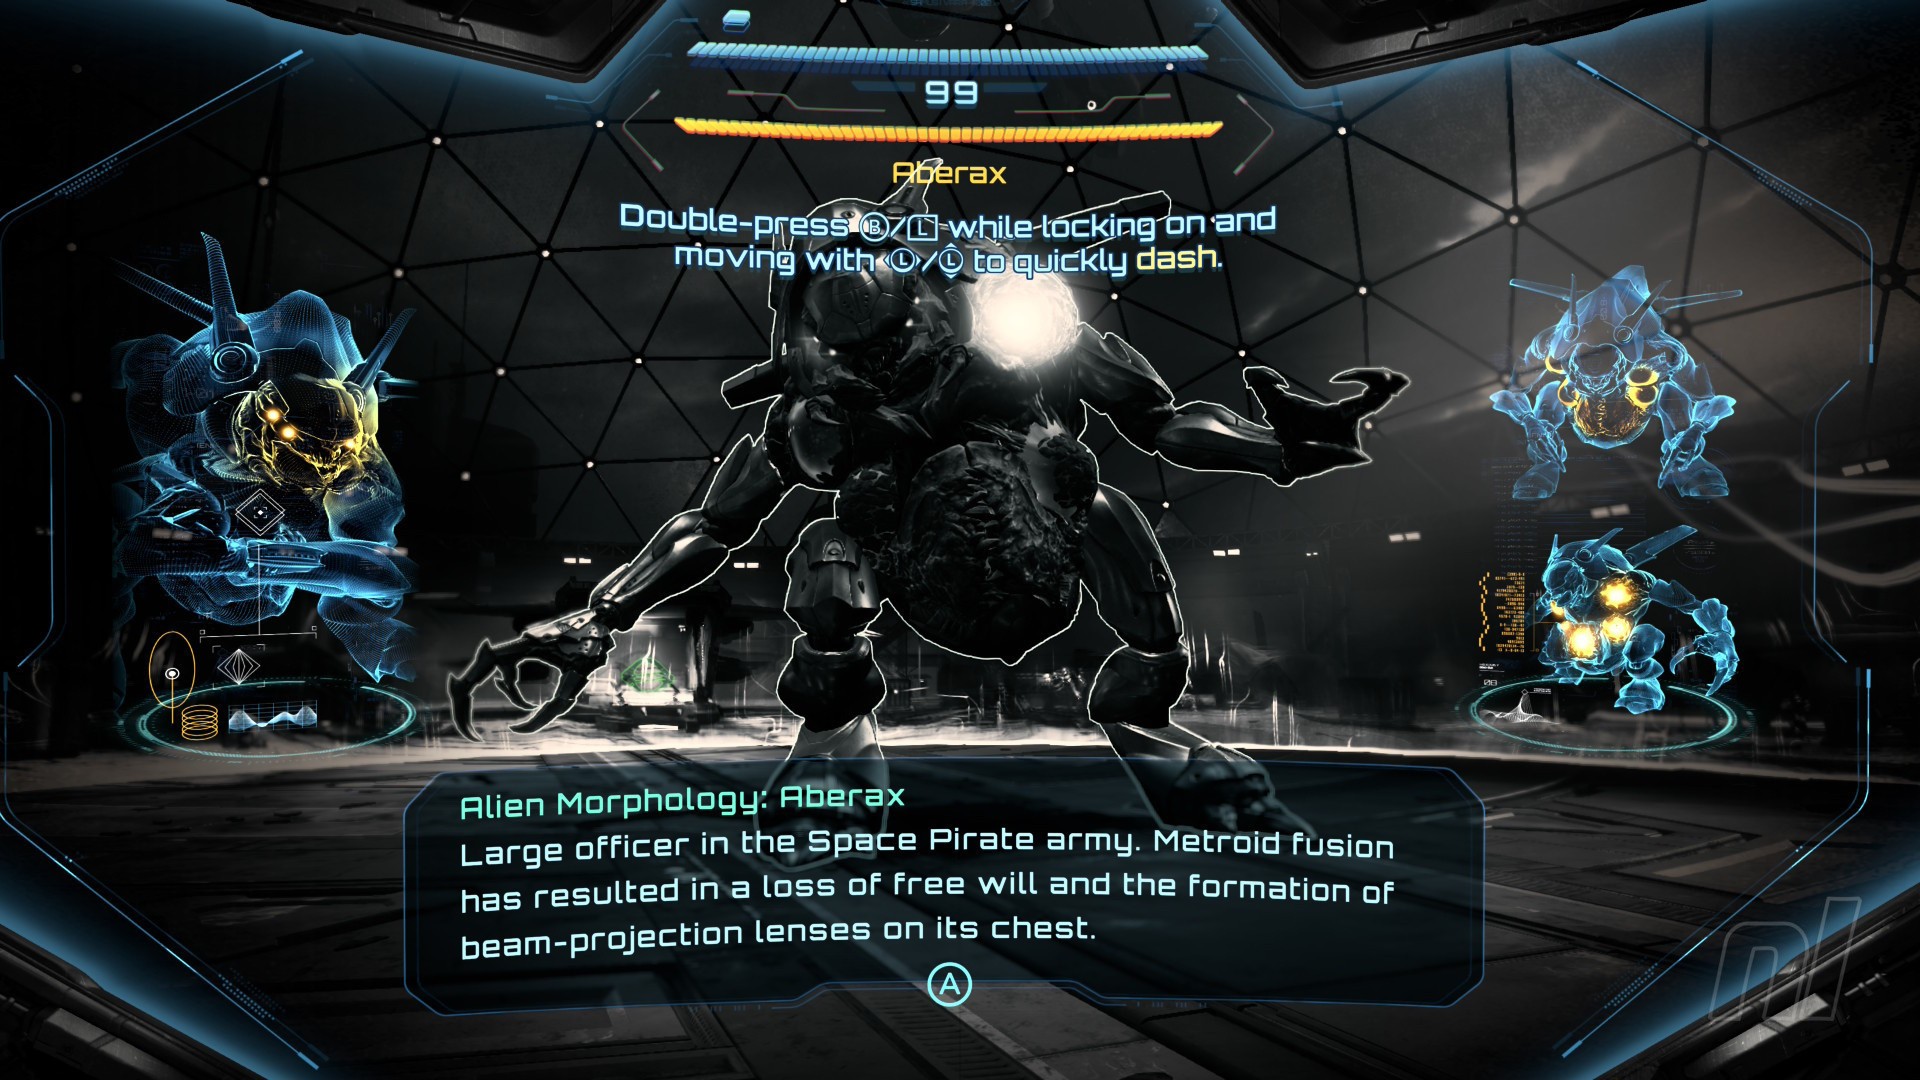
Image: Nintendo
A cutscene will trigger, and you’ll come face-to-face with your first boss fight with Aberax. Before you do anything else, make sure you scan it - if you miss this one, you won't see it again.
Now get ready for the fight.
If this first boss is causing you trouble, you can check out our full guide on How To Beat Aberax.
Boom, you did it! Pretty easy start, huh? Now onto the planet Viewros and Fury Green.
Recommended Comments