


Hello, and welcome back to our full walkthrough for Metroid Prime 4: Beyond. In this section, we'll be going through Flare Pool to grab our third of four Master Teleporter Keys.
This place is dangerous; full of machines that are simply itching to take you down. Don't worry, though, we'll guide you through as best we can. And if you're after 100% of items and scans, we'll have all of that covered too. So let's get cracking.
Flare Pool Walkthrough
When you've made your way to the wall of lava blocking your path, use the Ice Shot to freeze it, then fire a missile to destroy the blockage. Head on through, then use the morph ball spinner to stop any further lava from flowing down from the ceiling.
Head on through to Shoreline Access.
Missile Expansion #19
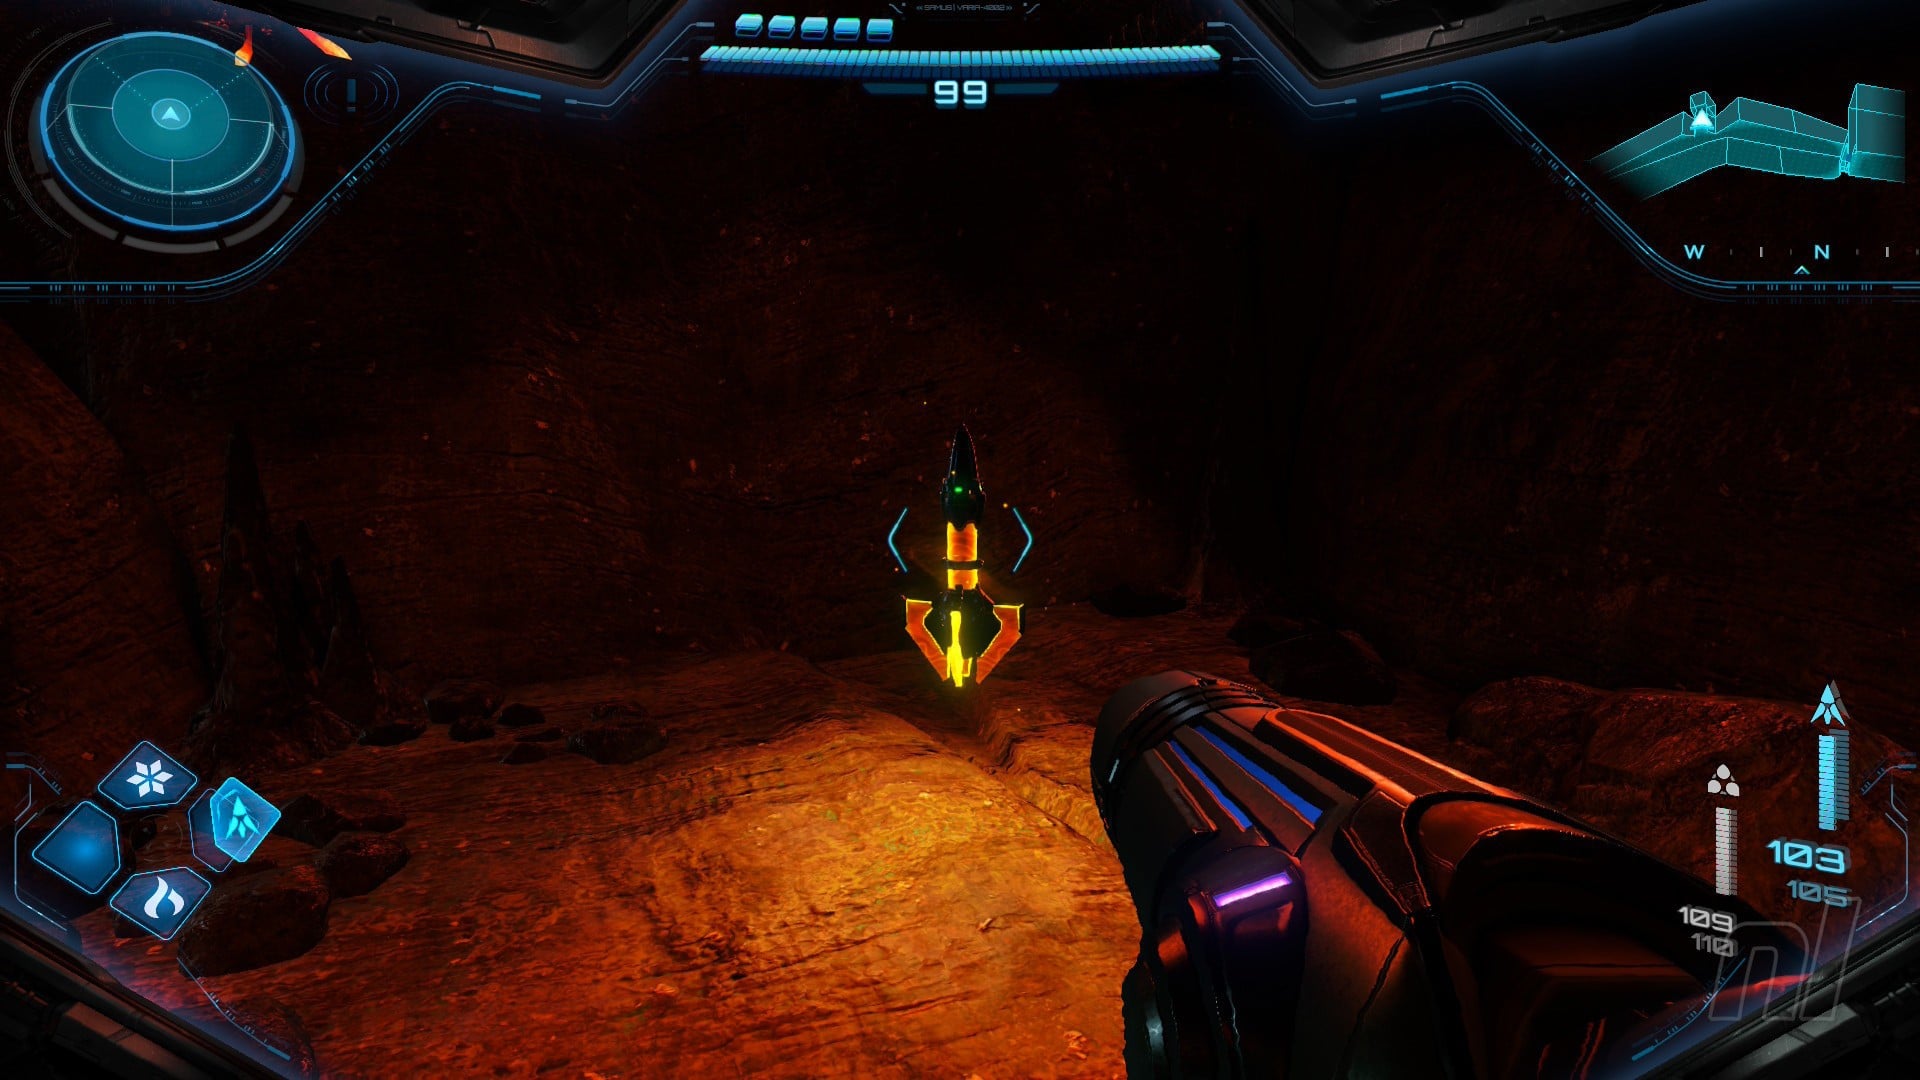
Image: Nintendo
Before you go through to the Lava Lake Bridge, you'll see lava flowing down over on the left. Freeze it, destroy it, then jump on through to grab your next Missile Expansion.
In Lava Lake Bridge, head down to the lava atop Vi-O-La and drive over it. Vi-O-La will automatically enter 'IC Mode' and float over the lava.
Disembark on the right side of the lava when you reach the back of the room. Take note of the Scout Bot lurking on the ground toward the back of the area.
Scan Entry: Tether Node
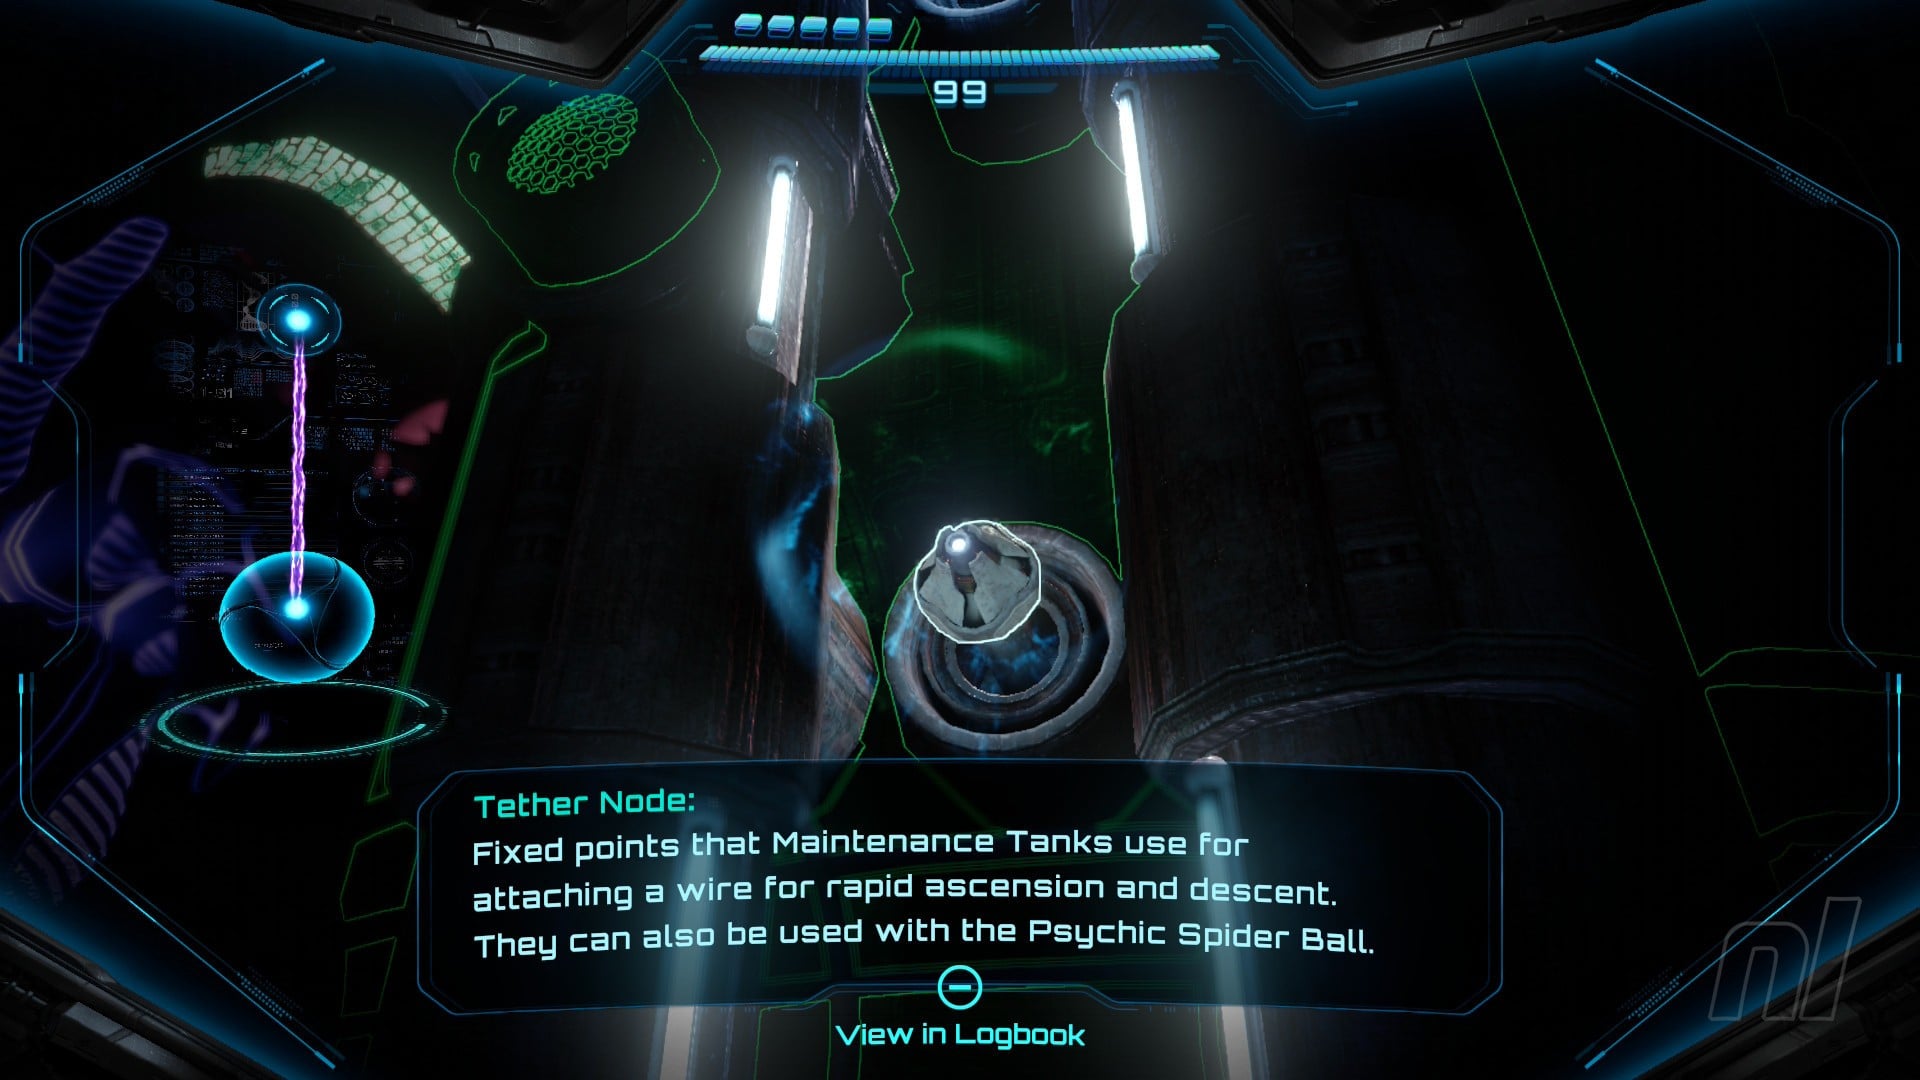
Image: Nintendo
On the wall at the back, you'll see a spherical ball of energy. Scan it to reveal the Tether Node. You'll need to use these when you obtain the Spider Ball ability later on.
Scan the purple haze next to the lava to reveal a Psychic Boost Rail.
Shot Expansion #10

Image: Nintendo
Boost into the Psychic Boost Rail while in morph ball mode. It will send you hurtling around the Lava Lake Bridge until you hit your next Shot Expansion.
Head on over to the left side of the room and go through the door into Service Elevator. Scan the terminal to activate the elevator, then go up.
Go around the Undercarriage and you'll receive a Galactic Federation Distress Signal. Use the Fire Shot on the grating to your right and morph ball through. In Ventilation Works, use the Spinner to open the passageway and head on through.
Deal with the Lamorn Beam Turret, and fire a missile at the broken window. Jump through and back into Ventilation Works. Use the boost ball to reach the other side, then go through the door. Scan the terminal to activate the next elevator and go up.
Take the door on the right into Inspection Station, then move on through to Entry Bay.
Scan Entry: Heavy Maintenance Tank
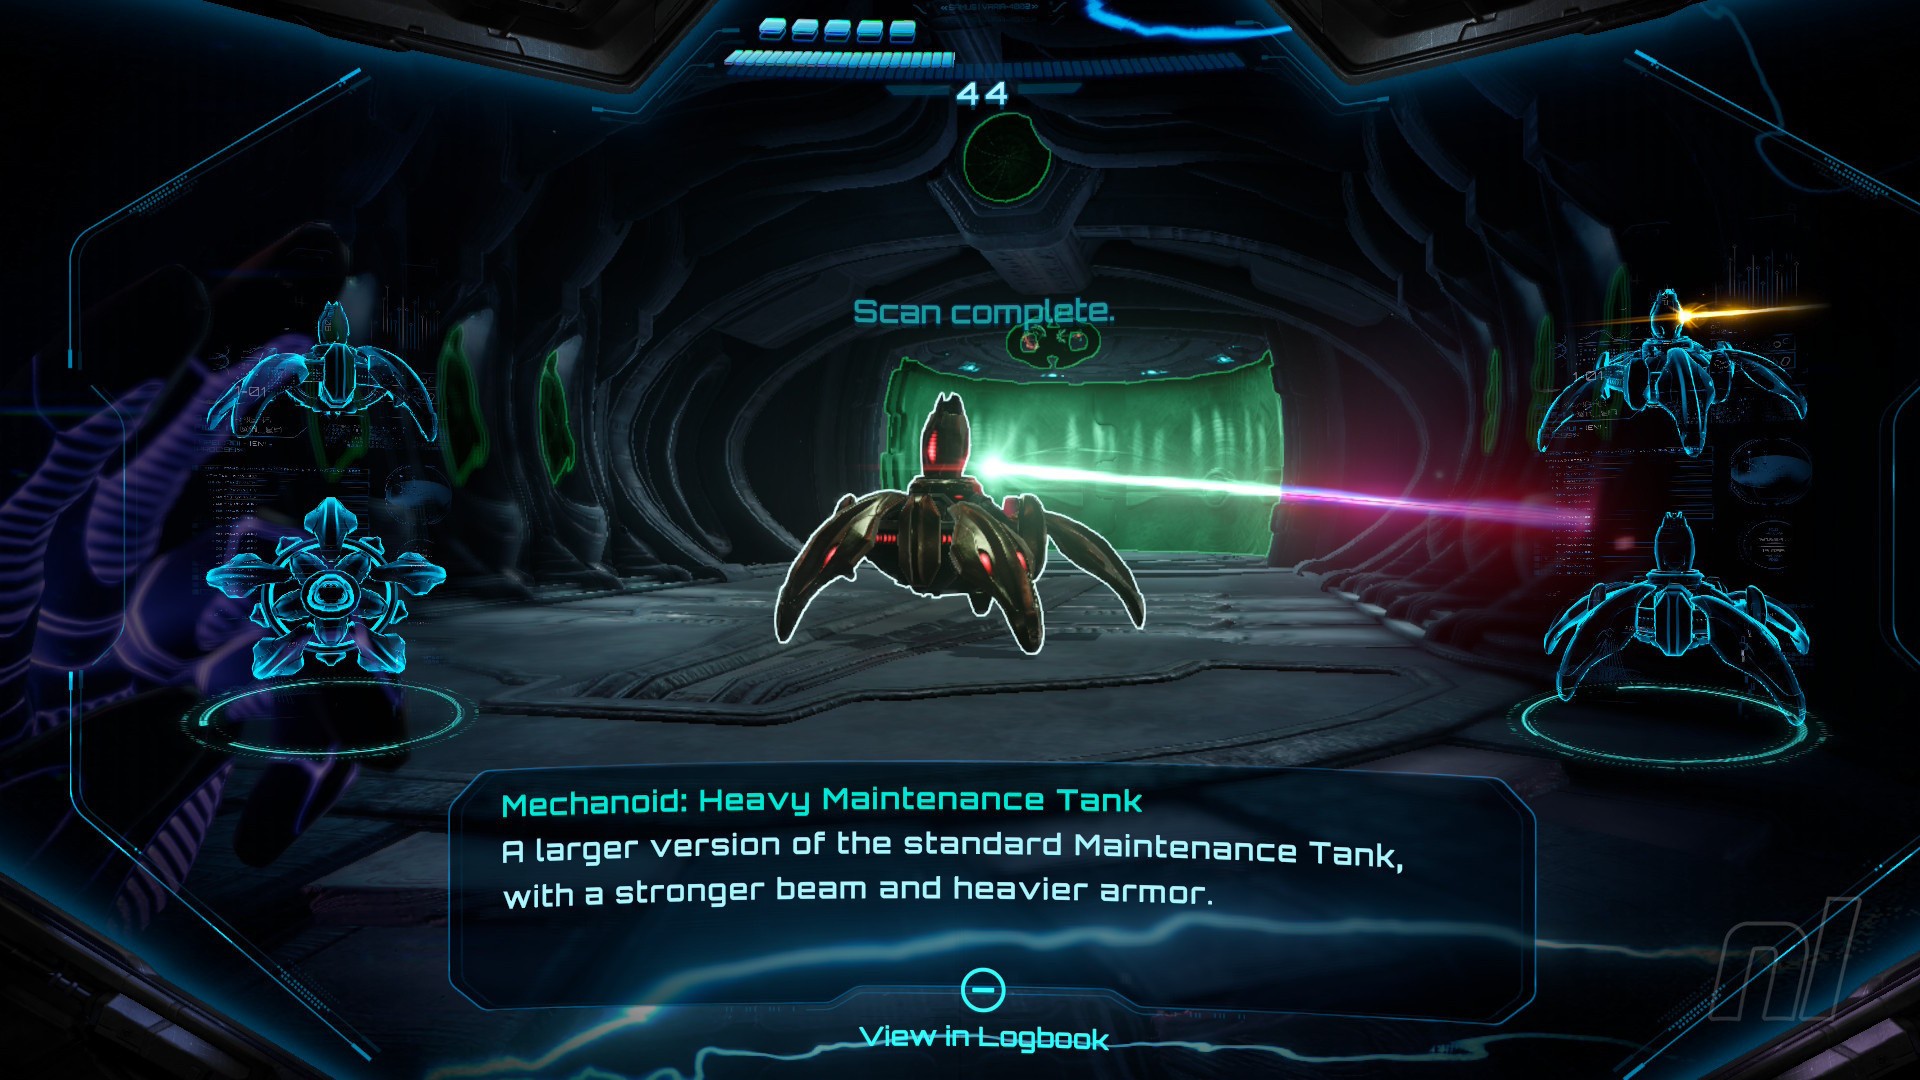
Image: Nintendo
A short cutscene will trigger to introduce you to the Heavy Maintenance Tank. Scan it, then defeat it.
Scan Entry: Lamorn Data Log 'Delivery Status'
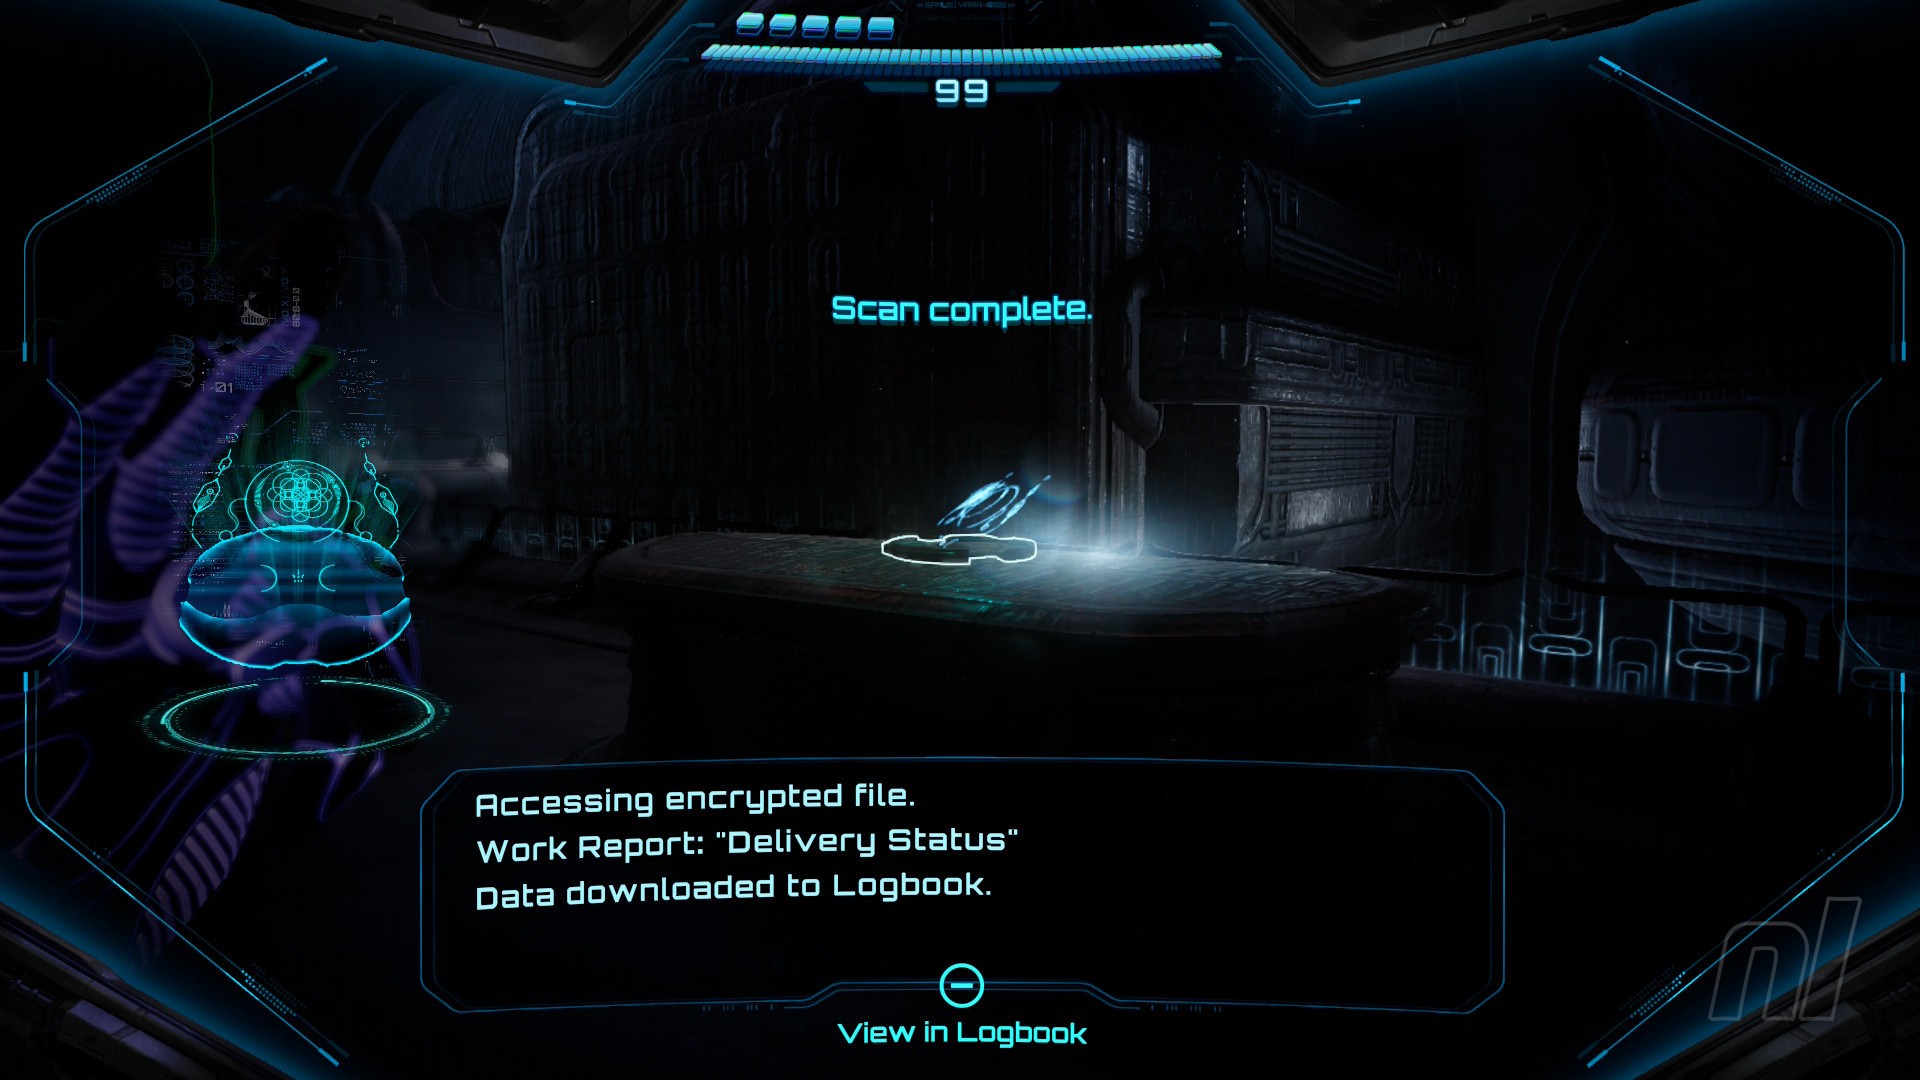
Image: Nintendo
There's a cheeky Lamorn Data Log hidden in the Entry Day. Just as you enter, turn right. Just to the right of a delivery truck is a small counter. The Data Log can be found there.
When you're done, take the door on the right and follow the corridor around to locate a Save Station. Save your game.
Now take the door on the left in Entry Bay and follow the corridor around. In the Boiler Room, you'll see a morph ball tunnel on the left, so go on through and you'll emerge by the Lamorn Lava Heat Boiler. Take the next morph ball tunnel on the other side.
Scan Entry: Ezra Duke
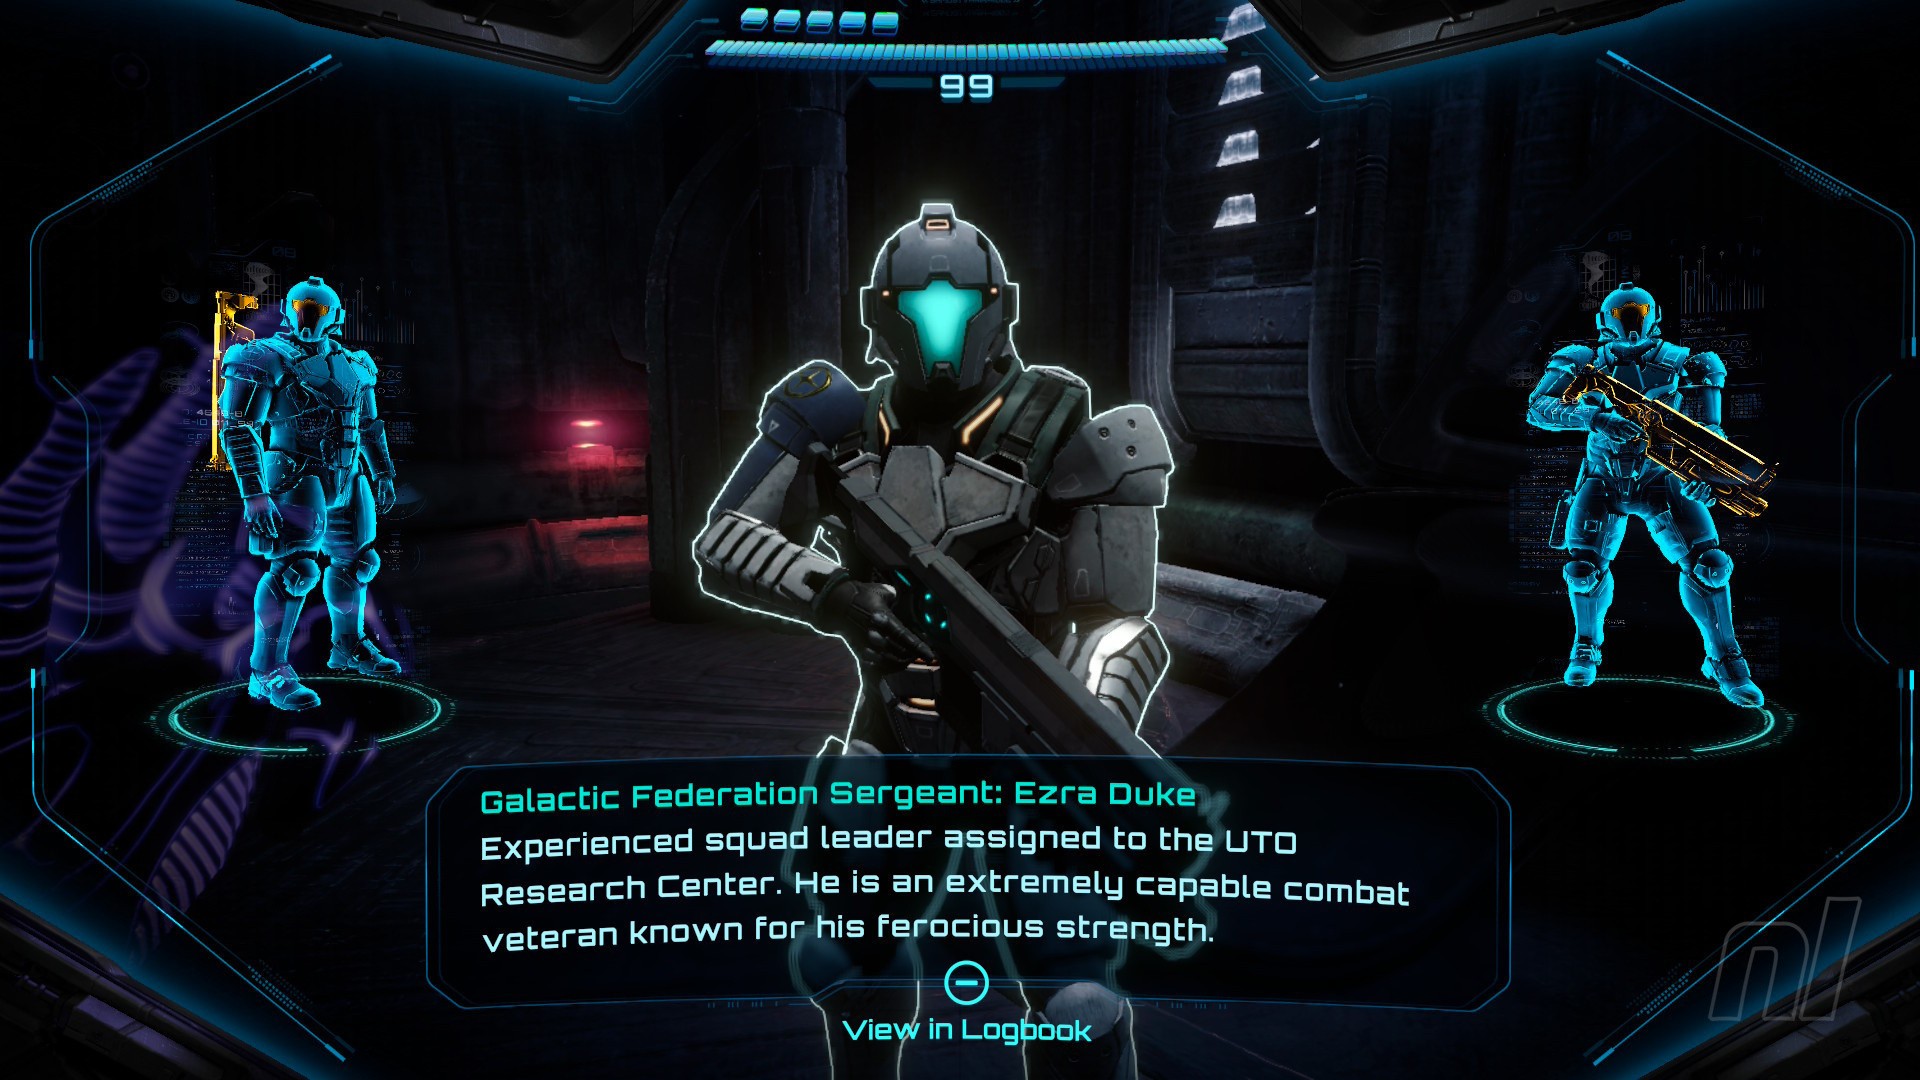
Image: Nintendo
Enjoy the cutscene introducing Ezra Duke. When it's done, make sure to scan him. Scan the terminal beside him, then press 'A' next to it.
A morph ball spinner will activate over by the Heat Boiler. Go back through the tunnel and use the morph ball boost in the spinner. You'll now need to use the Ice Shot on the blocks of fire in the boiler. When the boiler starts spinning, drop down into morph ball mode to avoid the fire.
When you're done, head back out into the Entry Bay with Duke in tow. A cutscene will trigger to reveal that another Trooper, Nora Armstrong, needs assistance. Take a left in the Entry Bay and head to the large circular door. Press 'A' on the left terminal, and Duke will take the right.
Head through the corridor and use the next dual door.
Scan Entry: Lamorn Data Log 'Extraction Process'
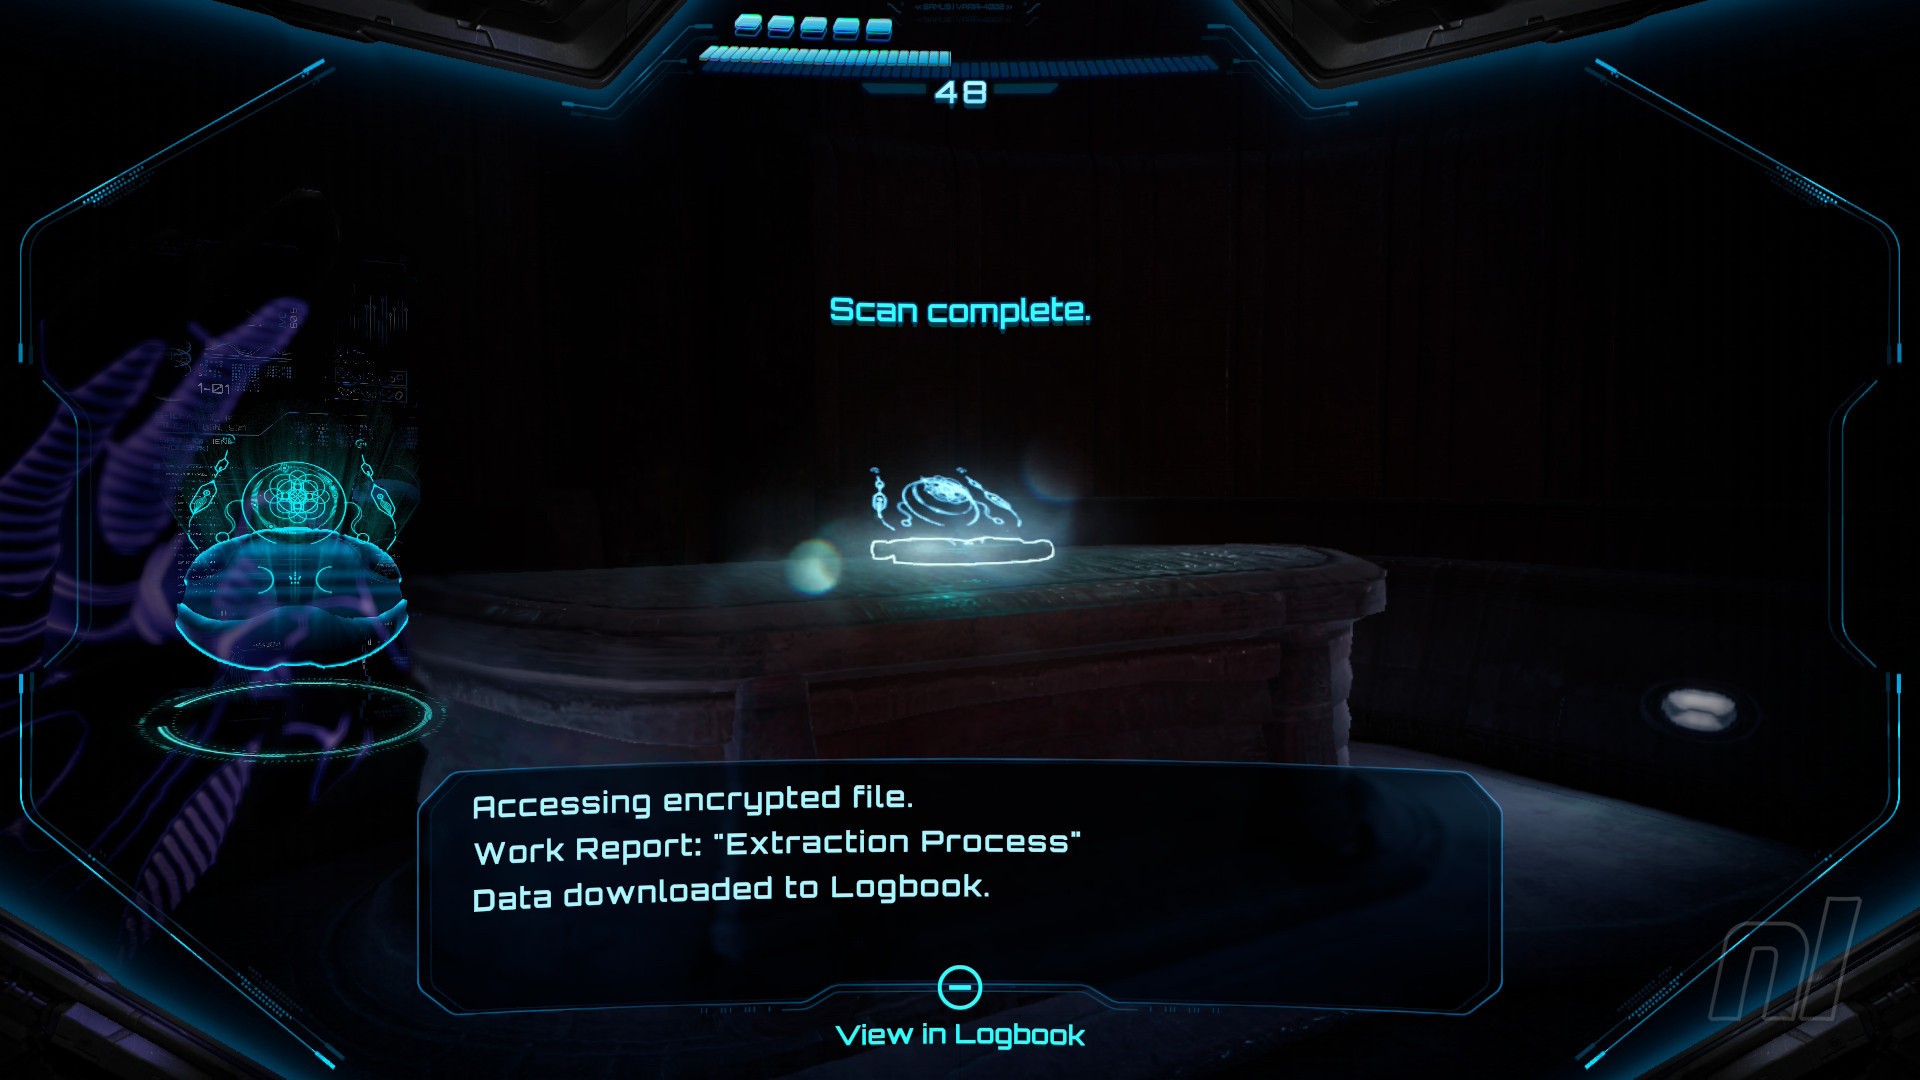
Image: Nintendo
When you enter Energy Extraction, look to your left and you'll see your next Lamorn Data Log on the counter. Scan it.
Now walk to the right and scan the terminal to activate the small elevator. Take it up. Deal with the Lamorn Beam Turret, then scan and activate the terminal to open up a vent in the room. Fire a missile at the grating next to you, then guide your Control Beam through to hit the target in the vent.
A shutter will open by Duke, so go back down and head through the door.
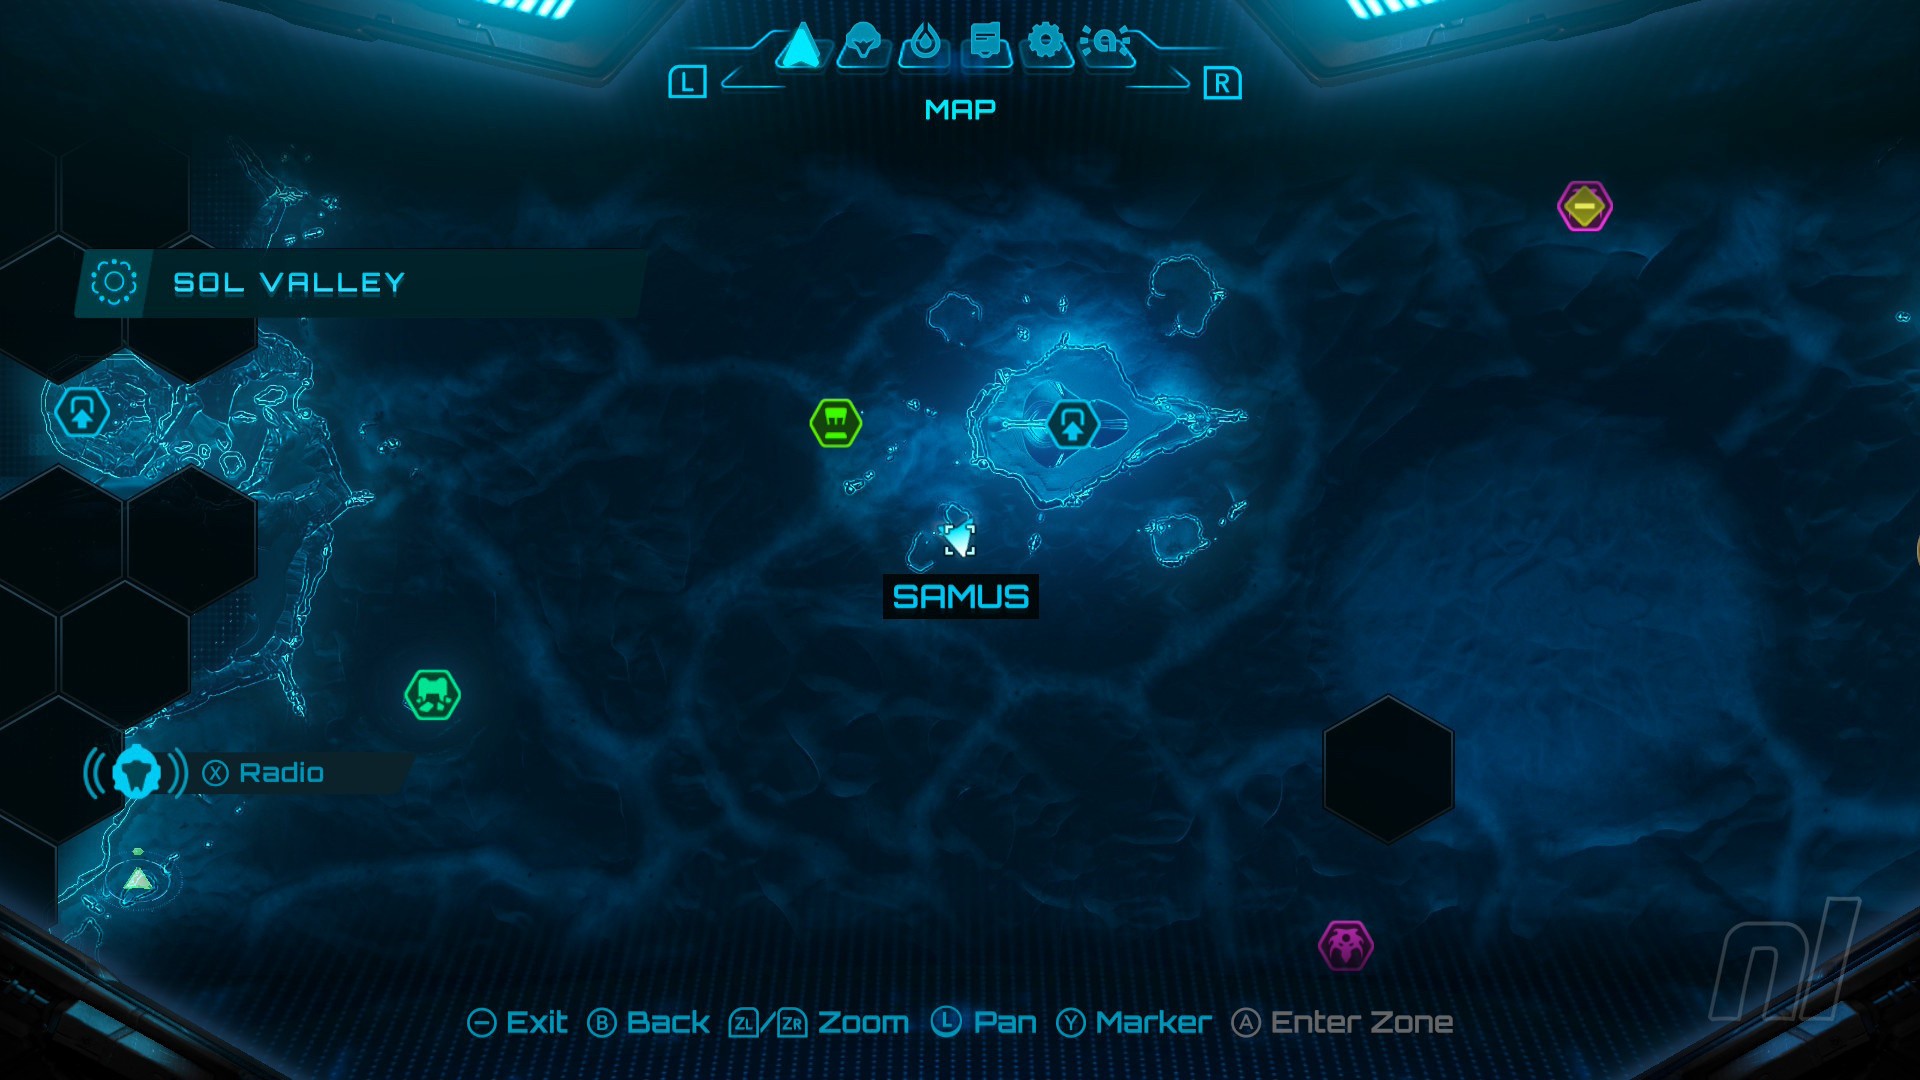
Head through the door on the left into the Map Station and scan the terminal to get the Area Map.
Now go back and turn left. Take the door into Energy Injection.
Scan Entry: Lamorn Data Log 'Injection Process'
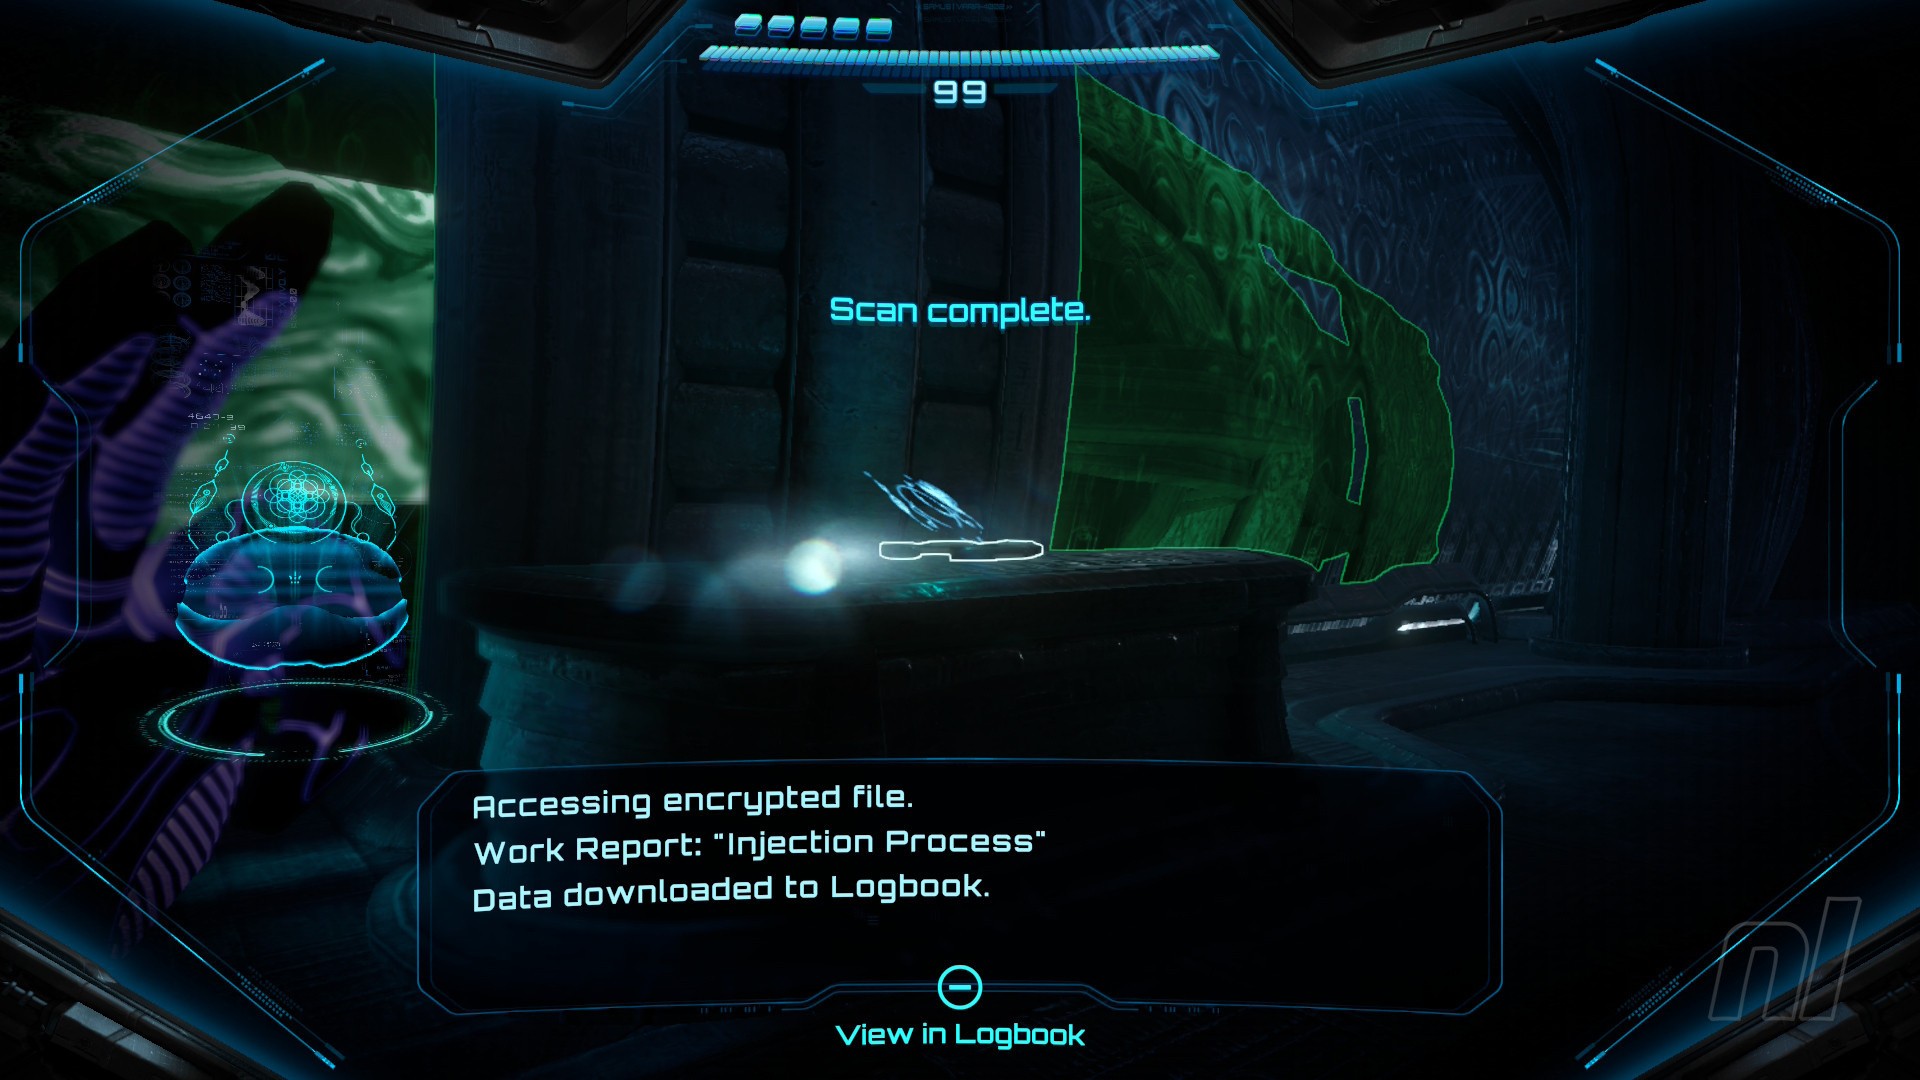
Image: Nintendo
Work your way up and around the Energy Injection room. On the other side, you'll find a Lamorn Data Log on the counter to your left.
Now scan the terminal to activate the elevator and take it up.
After the short cutscene, the Psy-Bots littered around the area will awaken. You've already scanned these ones, so just focus on defeating them.
More will show up as you head up the ramps, so just keep dispatching them before activating the elevator at the top.
Head through the door at the top to enter the Overseer Room. Now take the door on the left into the Storage Room.
Scan Entry: Lamorn Data Log 'Facility Shutdown'
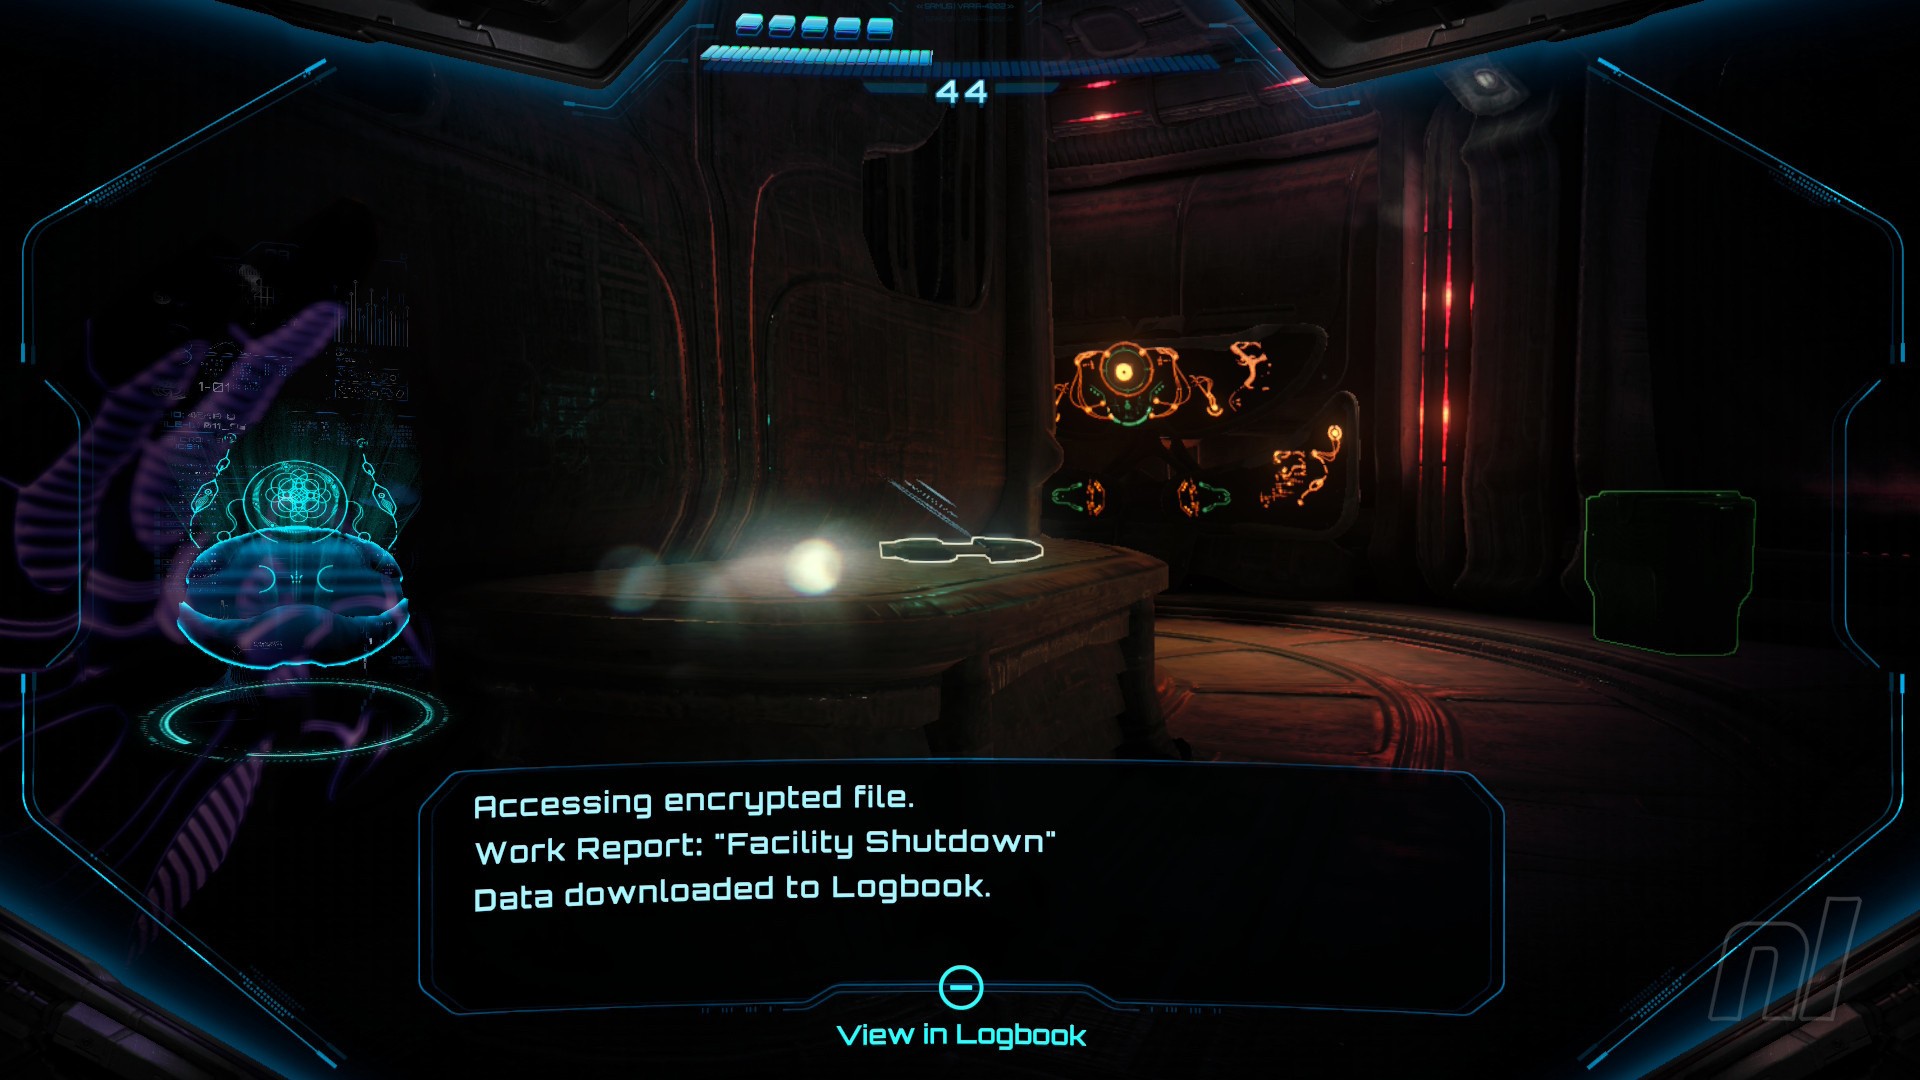
Image: Nintendo
Work your way around the central structure and you'll see a Lamorn Data Log on the counter. Congrats, this is the last Lamorn Data Log of the game!
Energy Tank #6
Image: Nintendo
Next to the Data Log is a Psychic Container, so follow the pattern with your psychic powers to unlock it. Now grab the Energy Tank.
Go back into the Overseer Room and through the door on the left to access the Control Room Bridge. Defeat the two Psy-Bot Soldiers.
Scan Entry: Psy-Bot Gunner
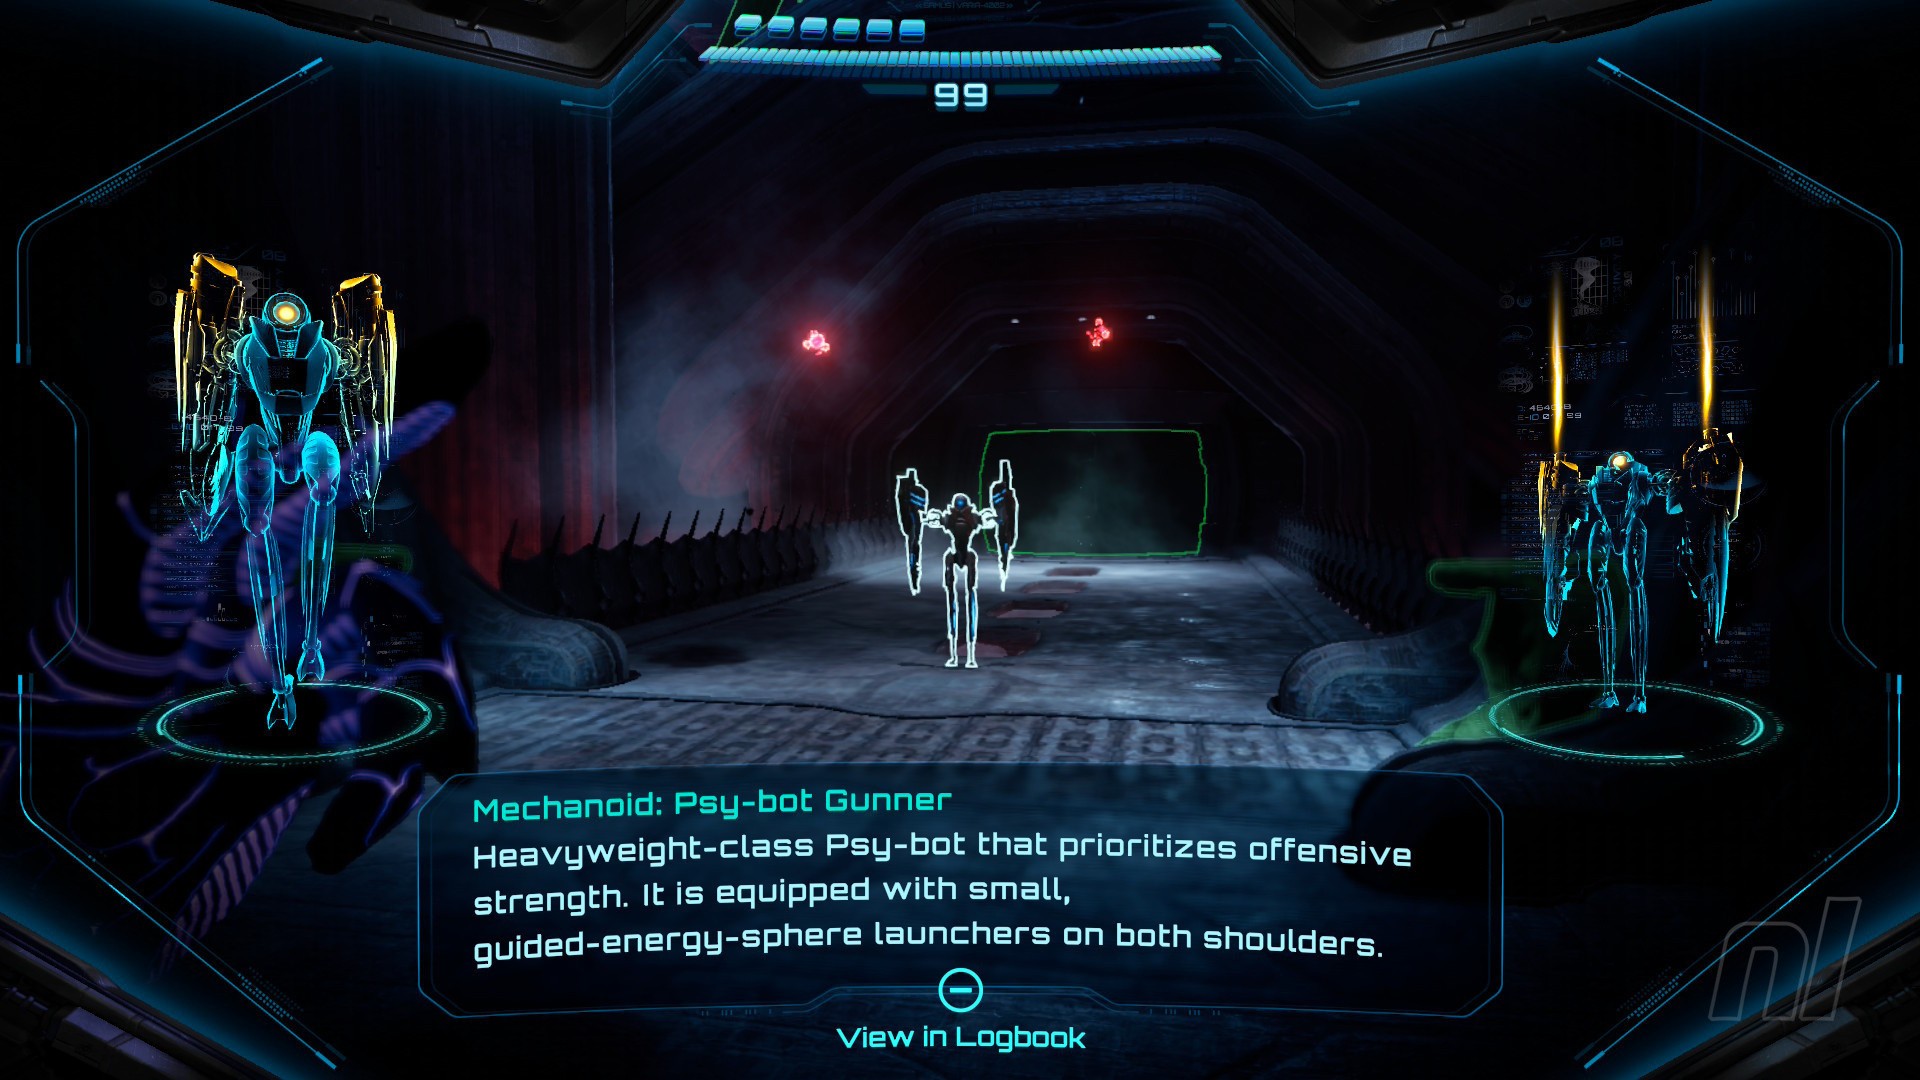
Image: Nintendo
A Psy-Bot Gunner will now enter the fray. Scan it, then unleash Ice Shots to freeze it in place and keep firing your standard Power Beam to defeat it.
Another will emerge flanked by two Psy-Bot Shields. Befeat the Shield variants first, then focus your firepower on the Gunner. When you're done, head through the door.
Scan Entry: Heavy Lamorn Beam Turret
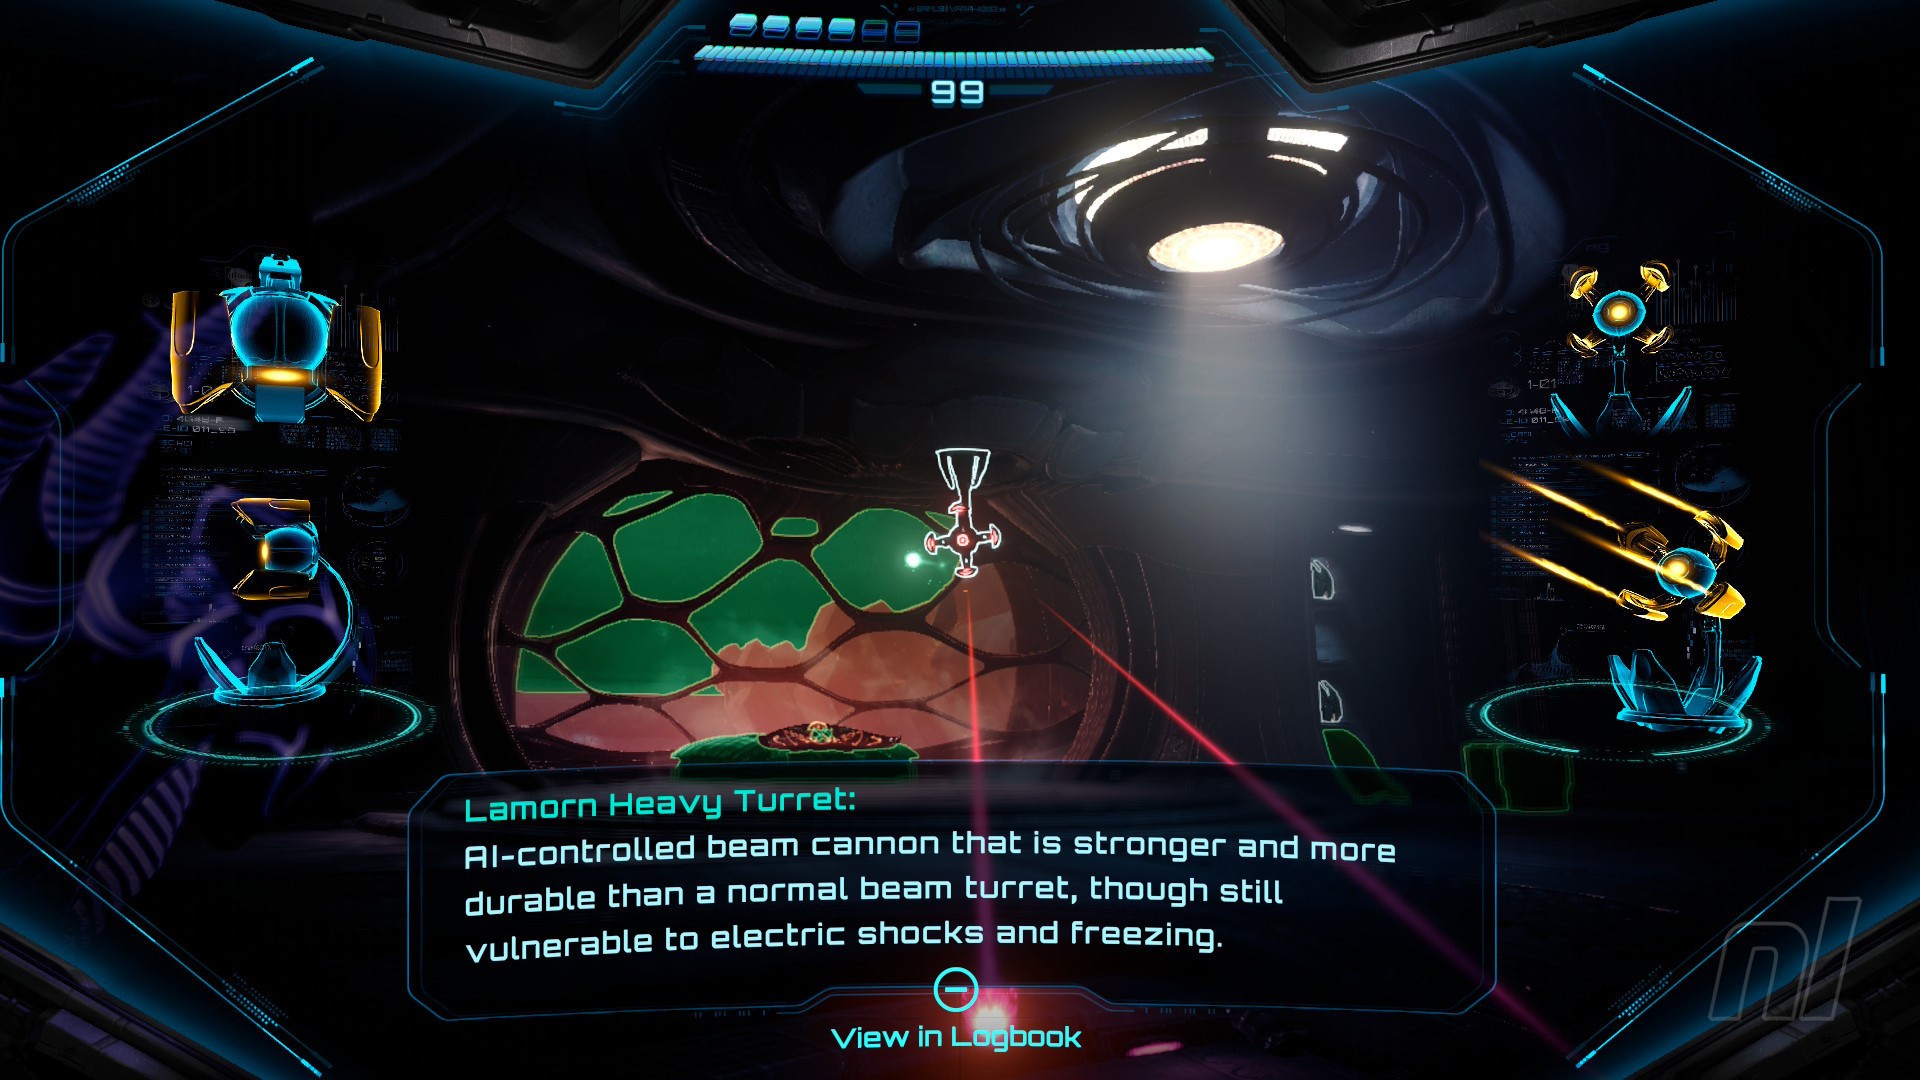
Image: Nintendo
Upon entering the Control Room, a Heavy Lamorn Beam Turret will pop out of the ceiling ahead. Scan it, then use a combination of Ice Shots and Charge Shots to take it down.
More Psy-Bot Soldiers will emerge, so defeat these too.
Scan the console at the front to trigger a cutscene. You'll gain an Area Map.
Head through to the North Tram Dock, then take a left to save your game. Now take the opposite door in the Control Room to the South Tram Dock.
Hop into the tram, then scan and activate the terminal. After the next cutscene, exit the tram and head through the door at the end of the corridor.
Scan Entry: Nora Armstrong
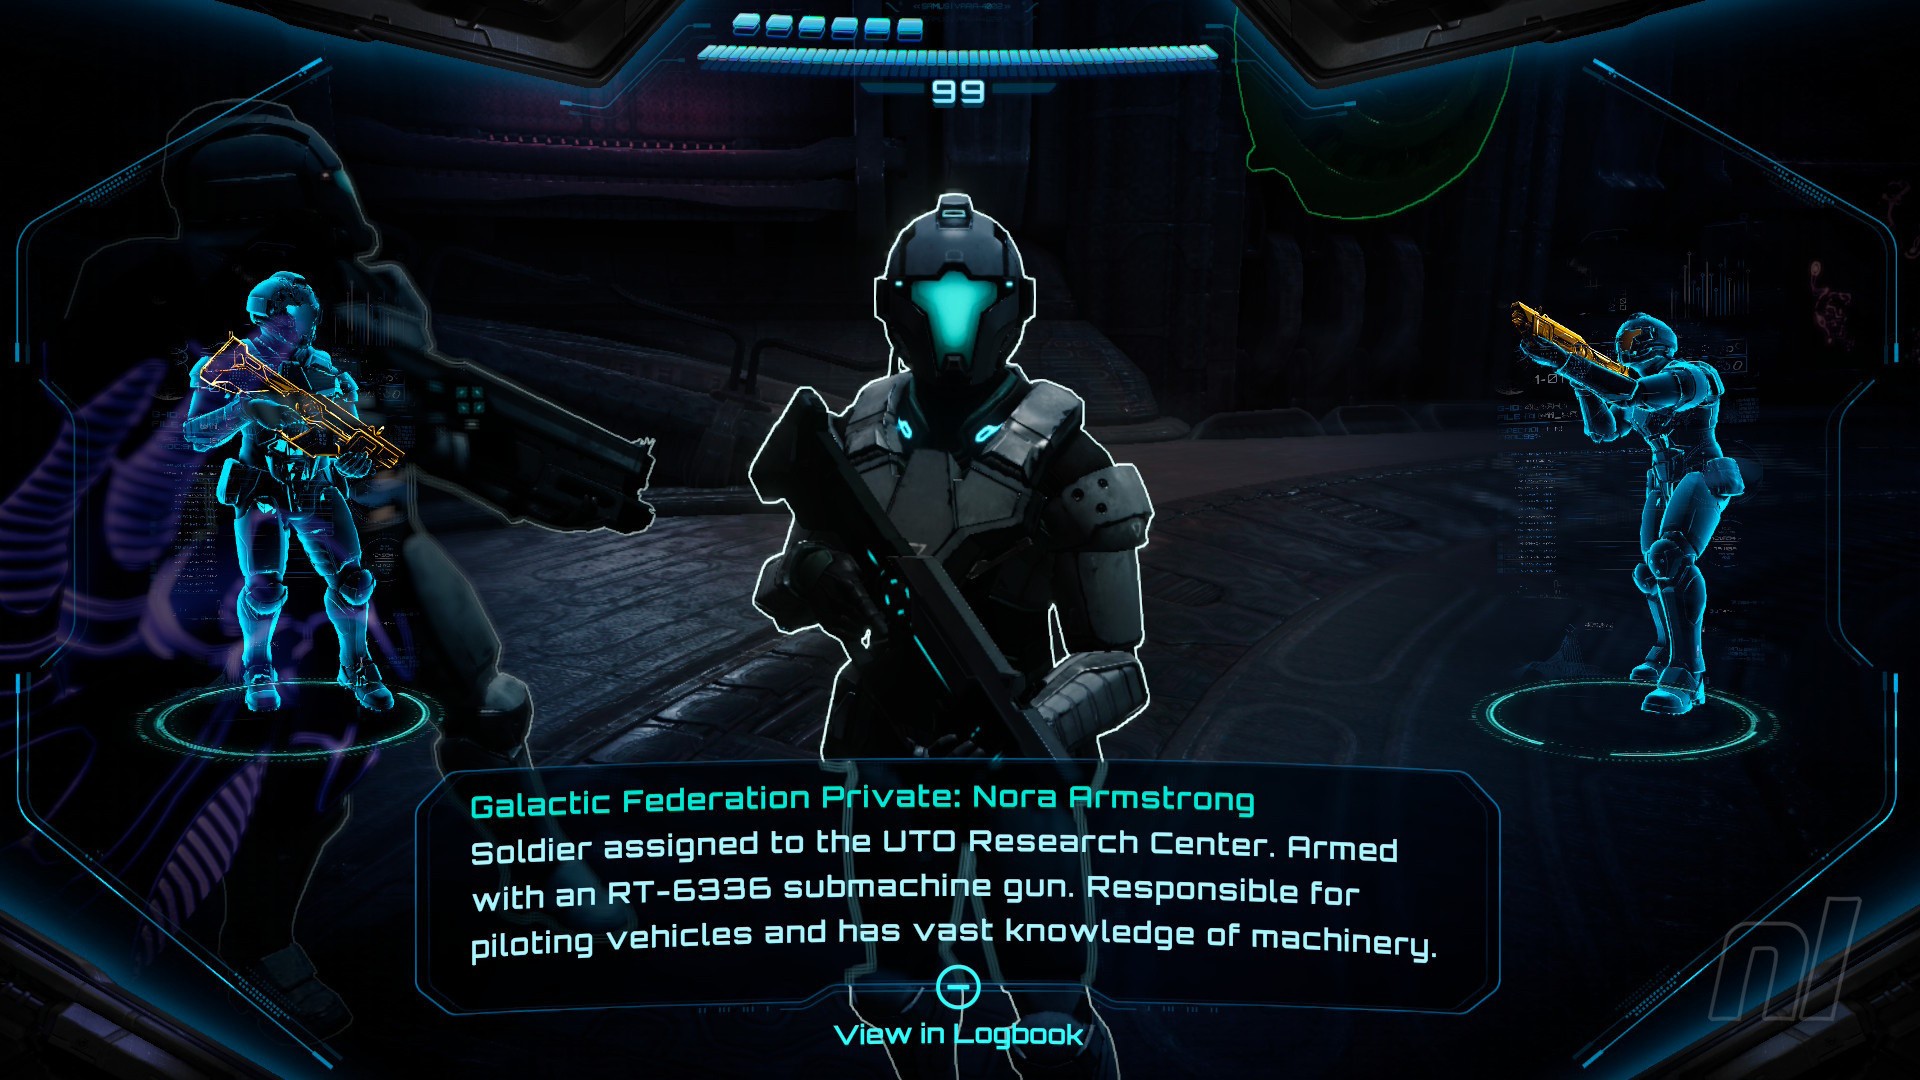
Image: Nintendo
You've reached Nora Armstrong! After she's done fawning over Samus in the cutscene, make sure to scan her.
Drop down to the floor below in the South Clamp, then scan the hatch in the central structure. Use the lasso to pull off the cover, then morph ball into the opening. Use boost in a clockwise direction to power up the structure.
Head back into the tram from here. After the cutscene, head through the next door into the North Clamp. Here, scan the Maintenance Elevator Hatch at the back of the room, then Armstrong and Duke will open it up.
Take it down via the morph ball. Then roll into the central structure. Bomb the lower slot to activate platforms on which you can reach the upper bomb slot. You're on a timer here, so be quick and bomb the upper slot ASAP.
Now head back up the hatch.
Repeat the process from the South Clamp. Pull the cover off the opening, morph ball into the structure, then boost in a clockwise direction.
Hop back into the tram again. On your journey, a mysterious flying machine will attack. After a crash landing, you'll want to save your game again.
Now head back out onto the Control Room Bridge.
Scan Entry: Hover Shuttle Transport

Image: Nintendo
Make sure to scan the Hover Shuttle Transport! If you miss this, that's it, you won't see it again.
This is a mini-boss of sorts, so you'll have plenty of time to scan it. In the meantime, focus your firepower on the obvious weak spot on the front of the Shuttle. Use a combination of quick Power Beam shots and missiles.
When you damage the Shuttle enough, it'll swap to the other side of the bridge. Keep dashing to avoid its attacks, and dispatch any Psy-Bot Soldiers that enter the fight.
When you're done, morph ball down into the tunnel and follow it around until you're able to bomb a slot. This will send you hurtling back to the Entry Bay.
Scan Entry: Psy-Bot Shocker
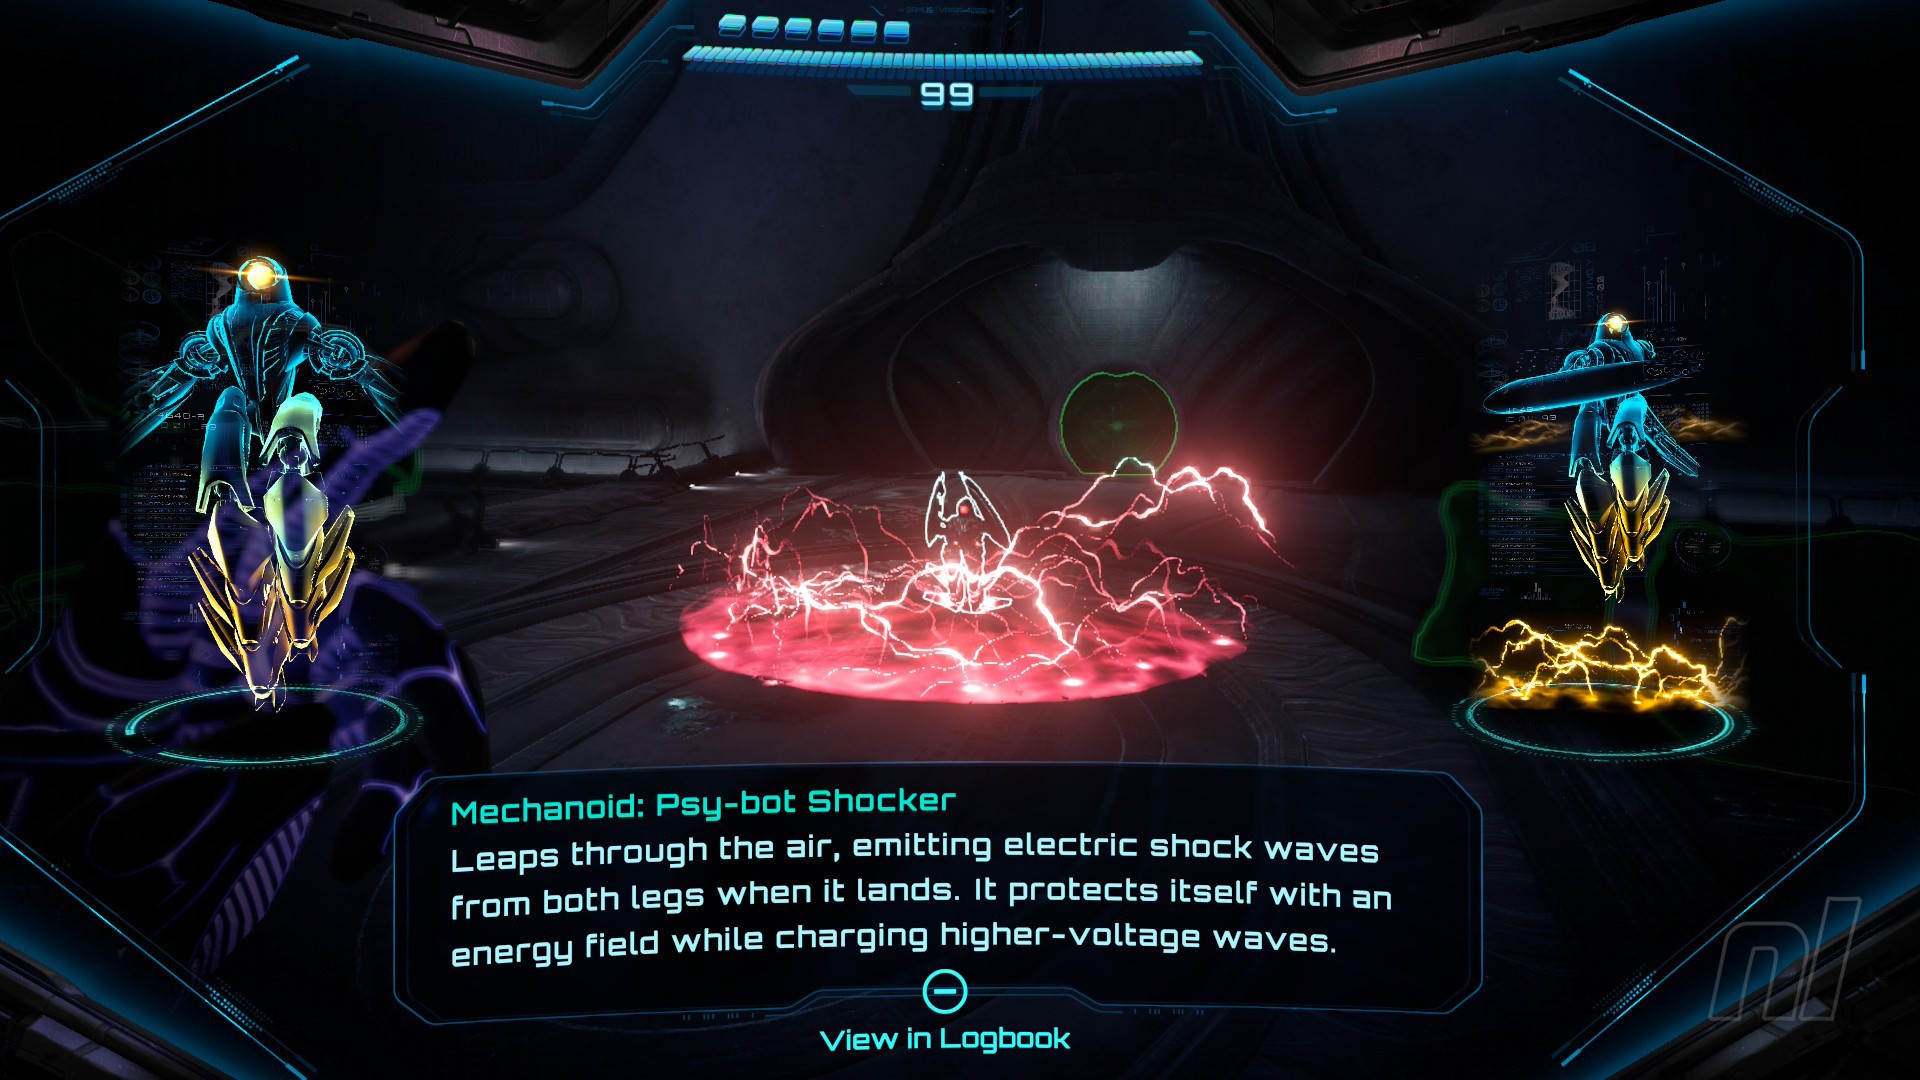
Image: Nintendo
A Psy-Bot Shocker will appear as you move forward.
Scan it, then defeat it with a combination of Ice Shots and Charged Shots. When you're done, head through to Undercarriage.
Use the lasso to open the gate on the right, then take the elevator down.
Shot Expansion #11

Image: Nintendo
At the bottom of the elevator, you'll see some grating covering a Shot Expansion. Hit it with a missile, then grab the expansion.
Scan the terminal to open the shutter and head through. Do the same with the next one and keep working your way back until you reach the Lava Lake Bridge.
When you're there, hop into Vi-O-La and move into the new opening to reach Volano Heart.
Scan Entry: Phenoros
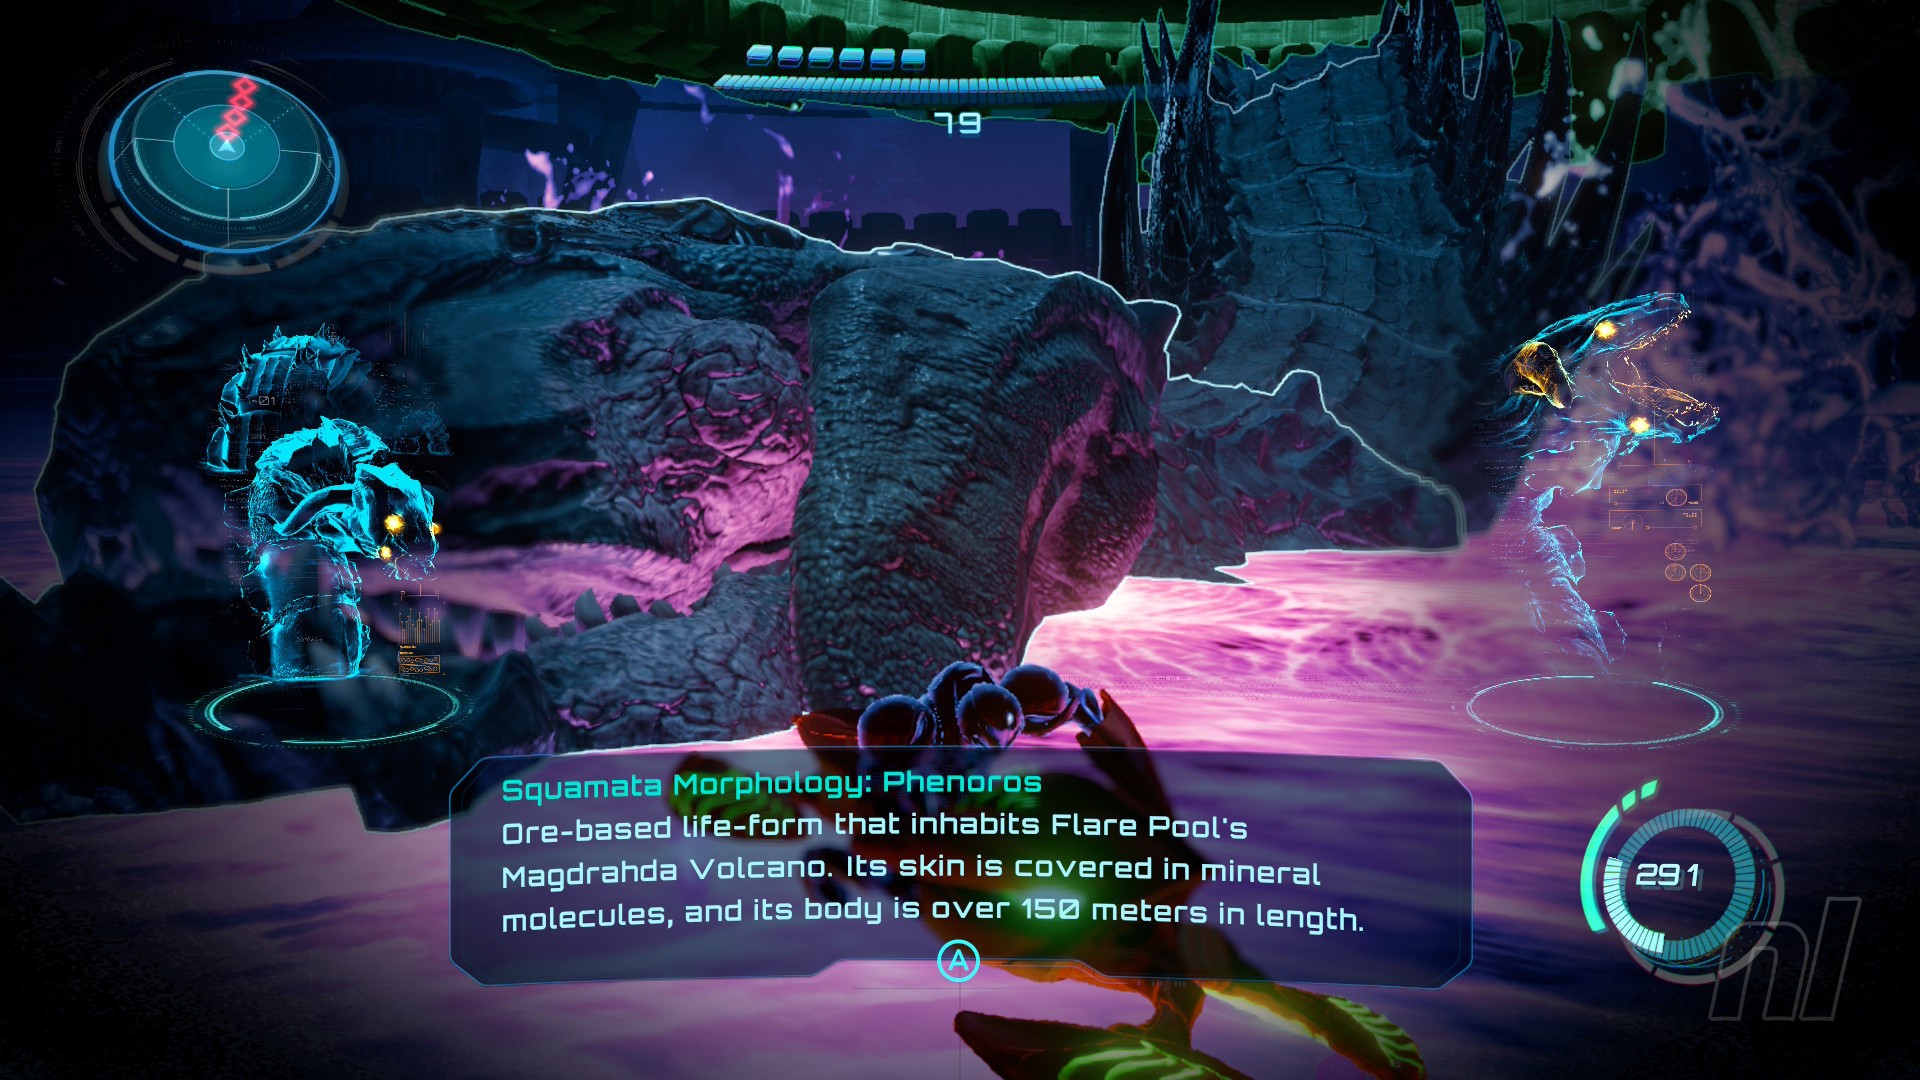
Image: Nintendo
It's boss time, baby!
Phenoros is a menacing beast, huh? Make sure you scan it, then if you need any help defeating it, check out our guide on How to Beat Phenoros.
Related Articles

Guide Metroid Prime 4: Beyond: How To Beat Phenoros
Cutting the head off the snake
Power Suit Upgrade: Psychic Grapple
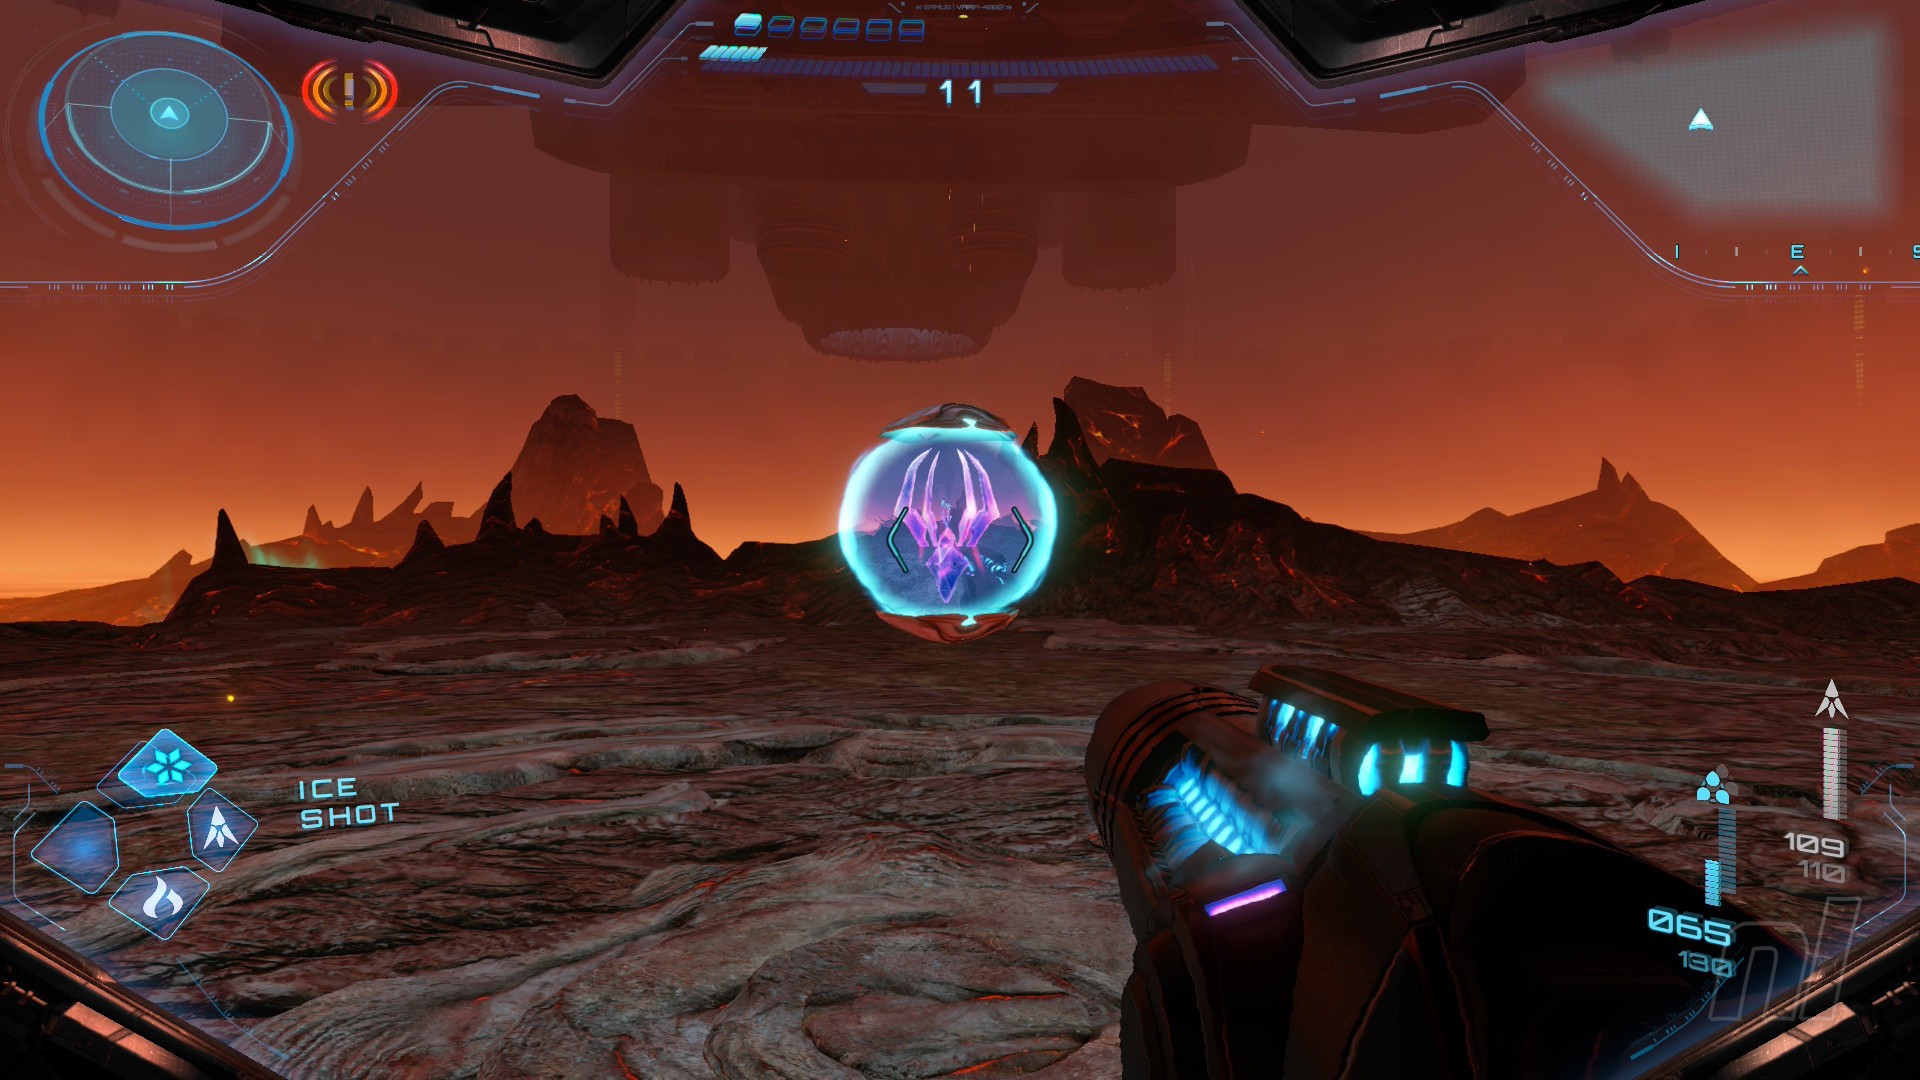
Image: Nintendo
When you're done with Phenoros, go ahead and grab the Psychic Grapple upgrade.
A Sacred Shrine will appear, so you'll need to use your grapple to reach it. Press 'L' to shoot up to the Grapple Nodes and reach the Shrine. Now look into the light as usual, and move forwards to get the Master Teleporter Key.
Now grapple onto the column to your left to head back up and into Cannon Exhaust.
You're on a timer now, so make your way through the environment, utilising a combination of your grapple and morph ball to weave through the obstacles. When you emerge in the Control Room, approach Armstrong and Duke to initiate a cutscene.
Scan and activate the terminal to your left when the cutscene concludes.
After the next cutscene, you'll emerge back out into Sol Valley, safe and sound.
Shot Expansion #12
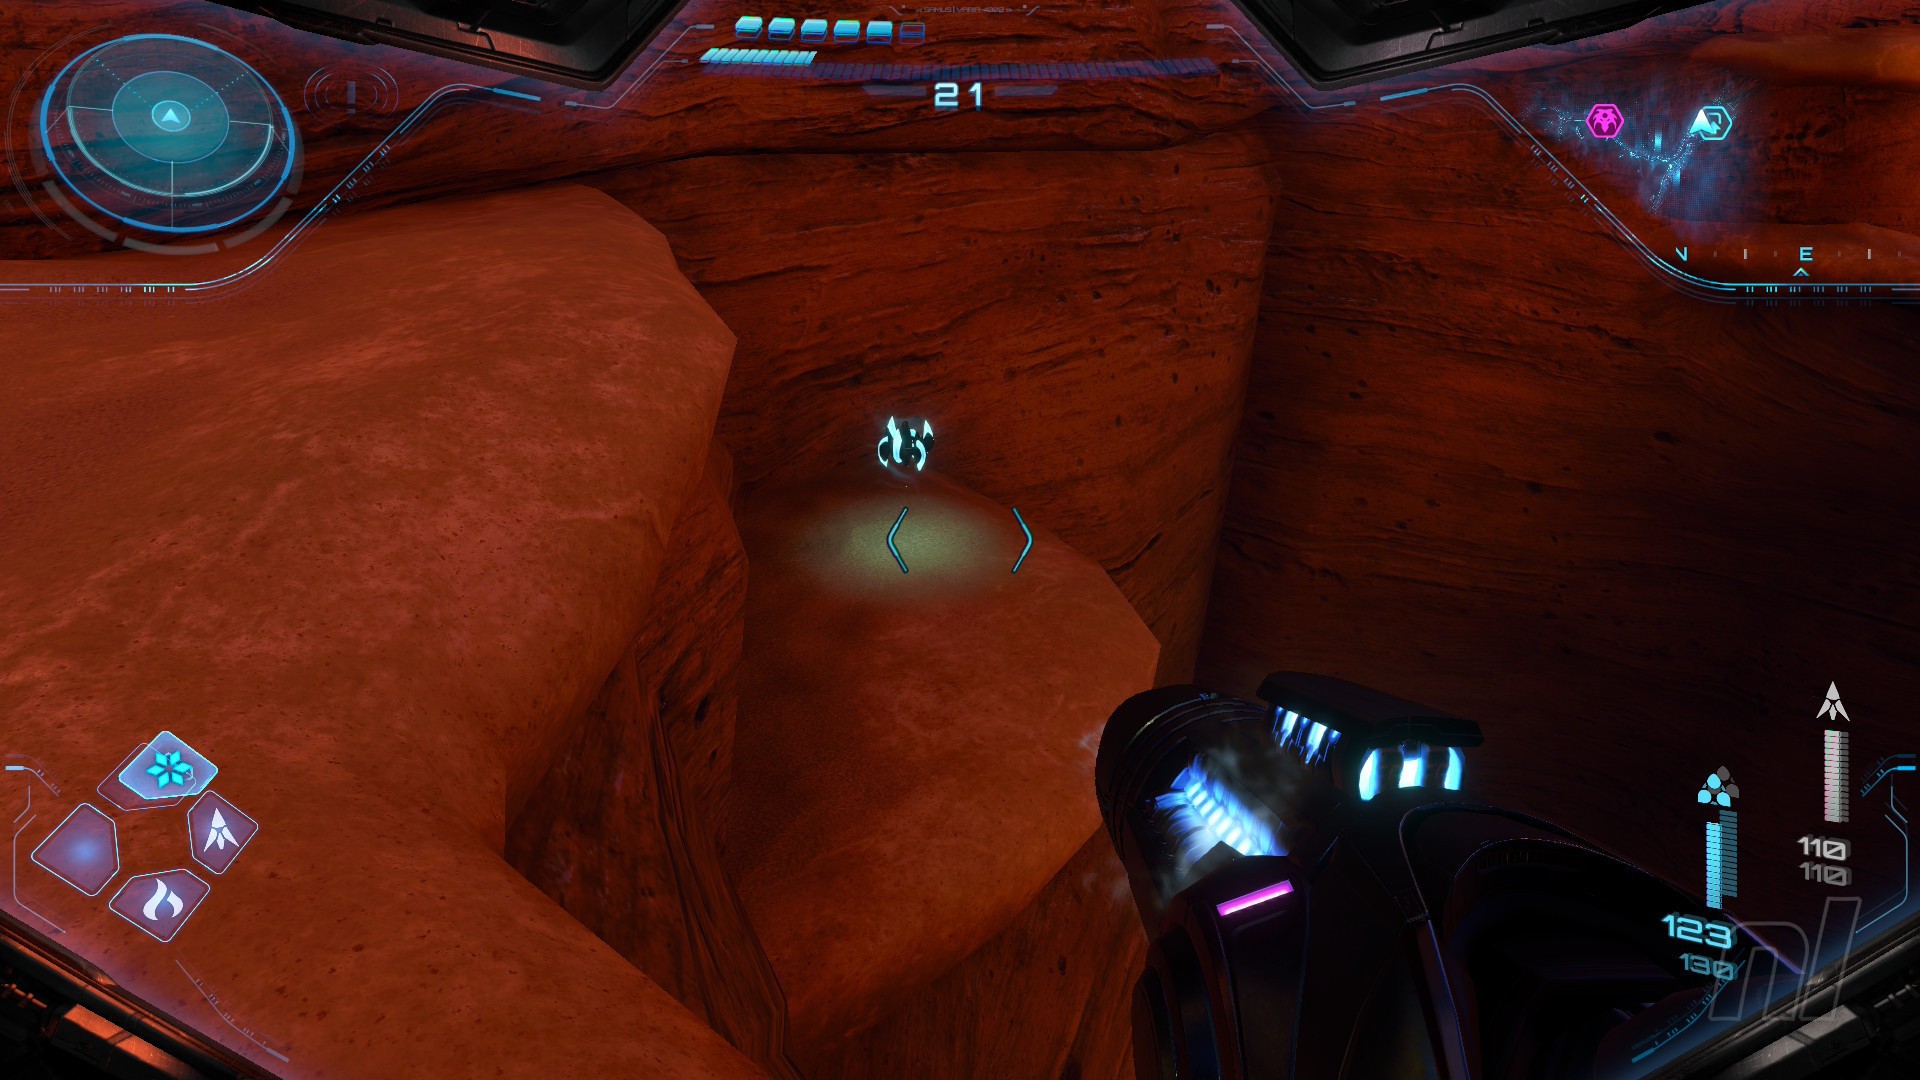
Image: Nintendo
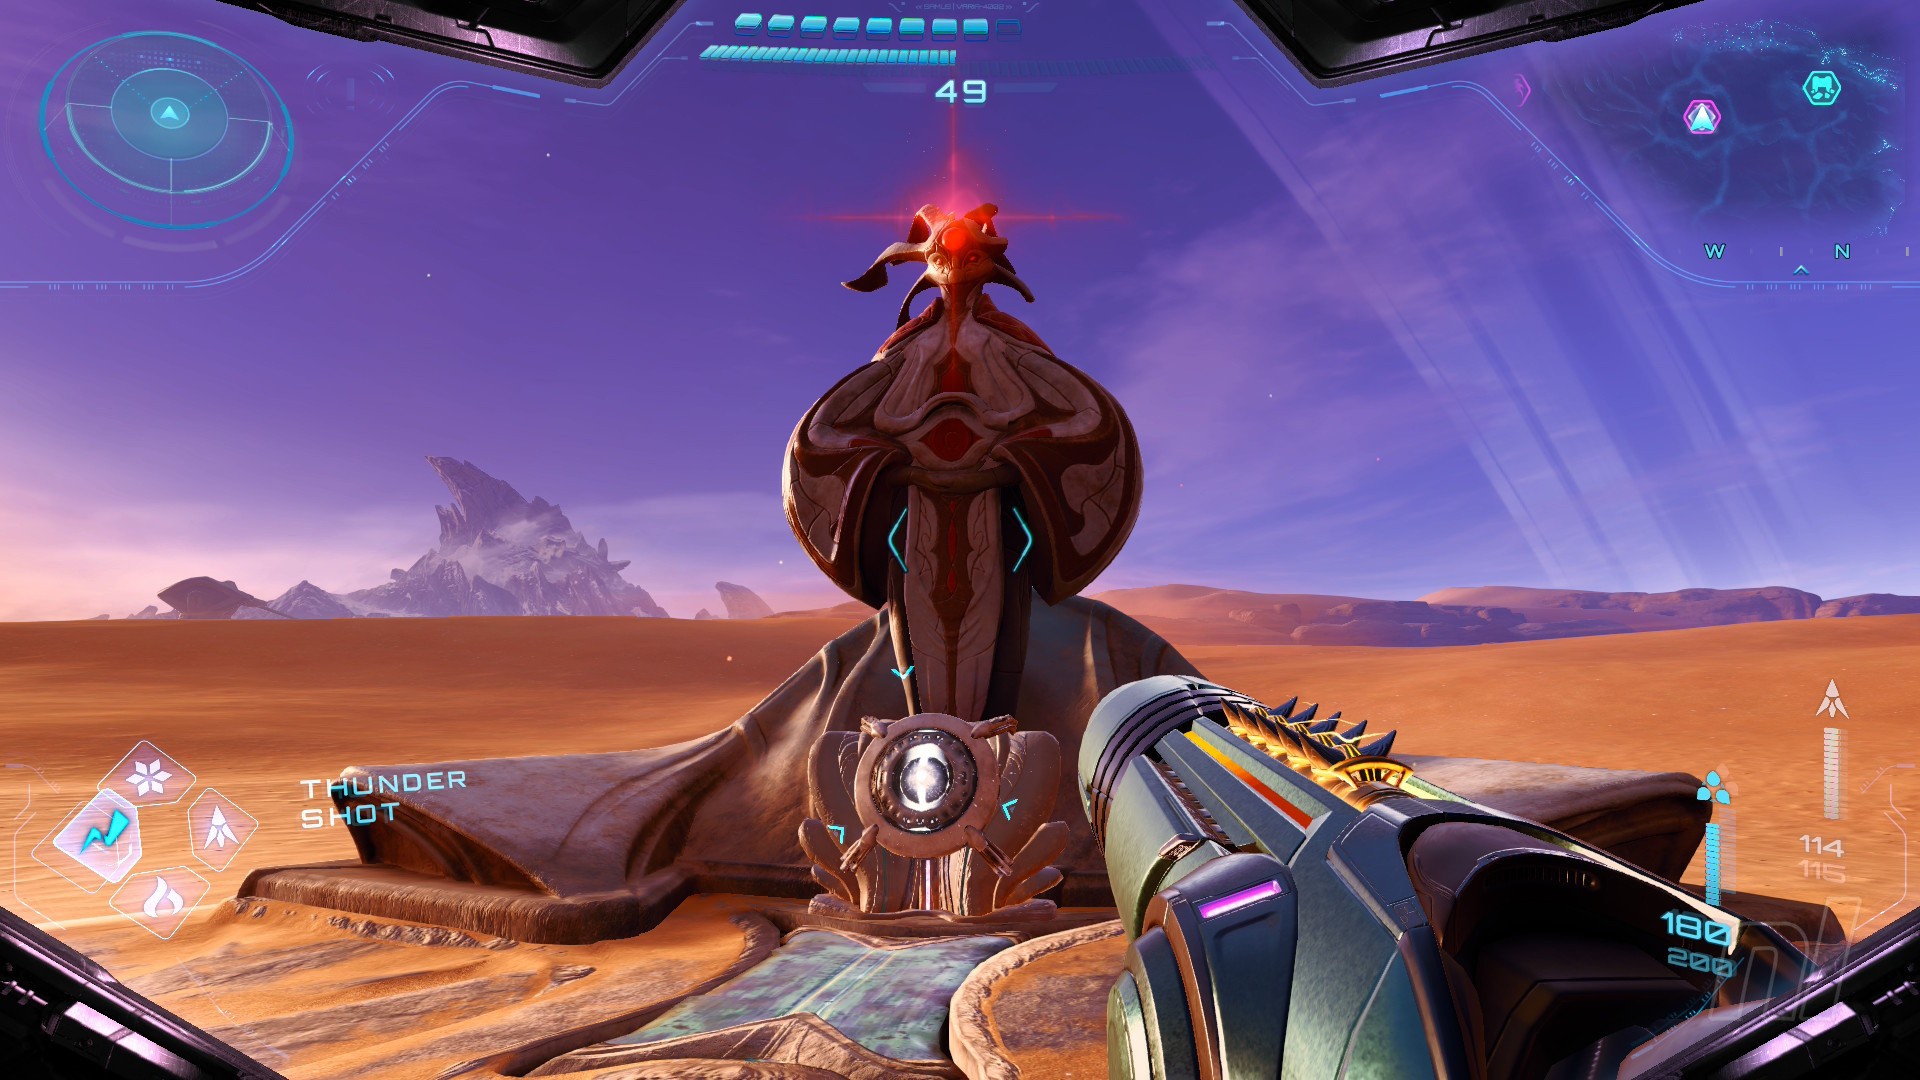
Before you leave, drop into the spinner ahead of you and shoot on up to the ledge over on the left. A Shot Expansion will be just below. Meanwhile, you can hop over the gap to scan the Lamorn statue and watch a short cutscene.
While you're out in Sol Valley, be sure to crash into any new Green Energy Crystals that have popped up since your jaunt in Flare Pool.
Related Articles

Guide Metroid Prime 4: Beyond: Green Energy Crystals - How To Find, All Rewards
Smash 'em all
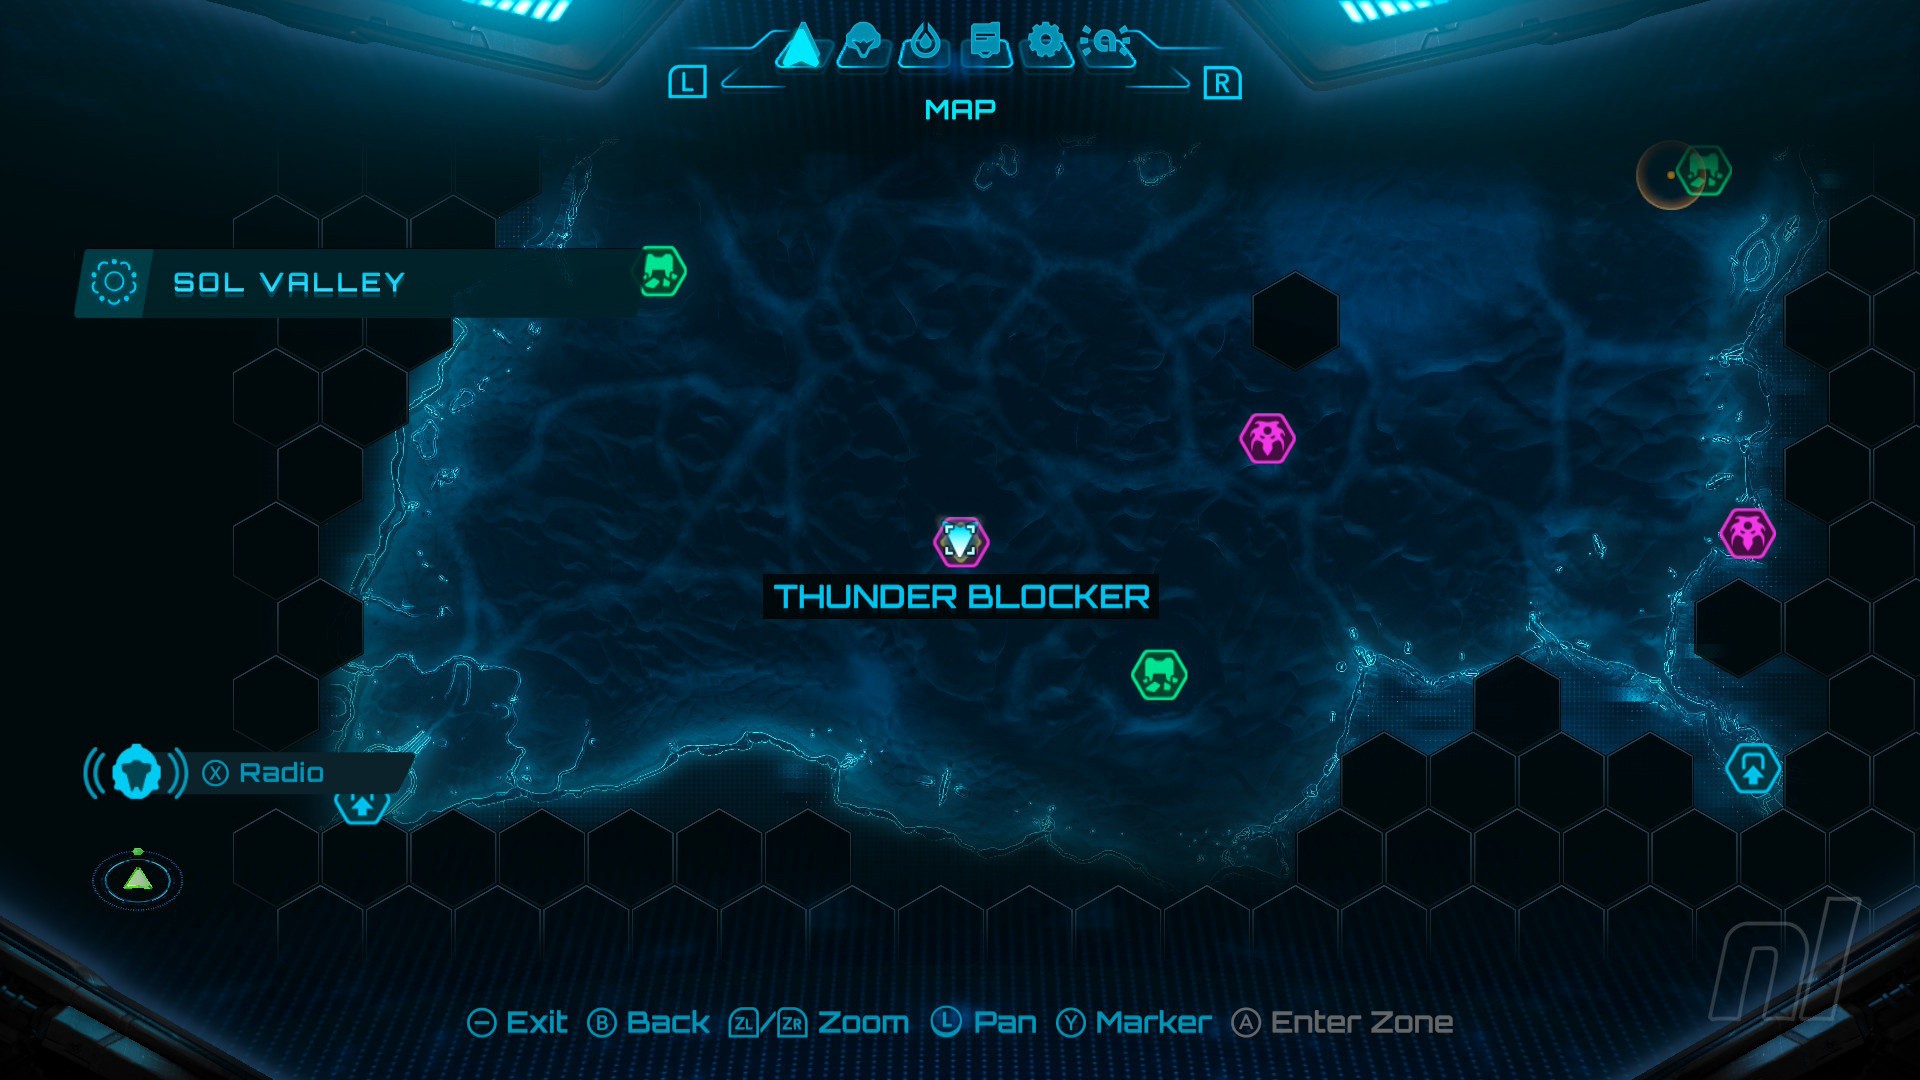
When you're done, we'll want to head back to Volt Forge again and make our way to the Collapsed Catwalk.
So when you get to Volt Forge, head to the elevator in Tower 1, then bomb the slot next to the elevator. This will take you straight down to the Tower 1 Generator.
Shot Expansion #13
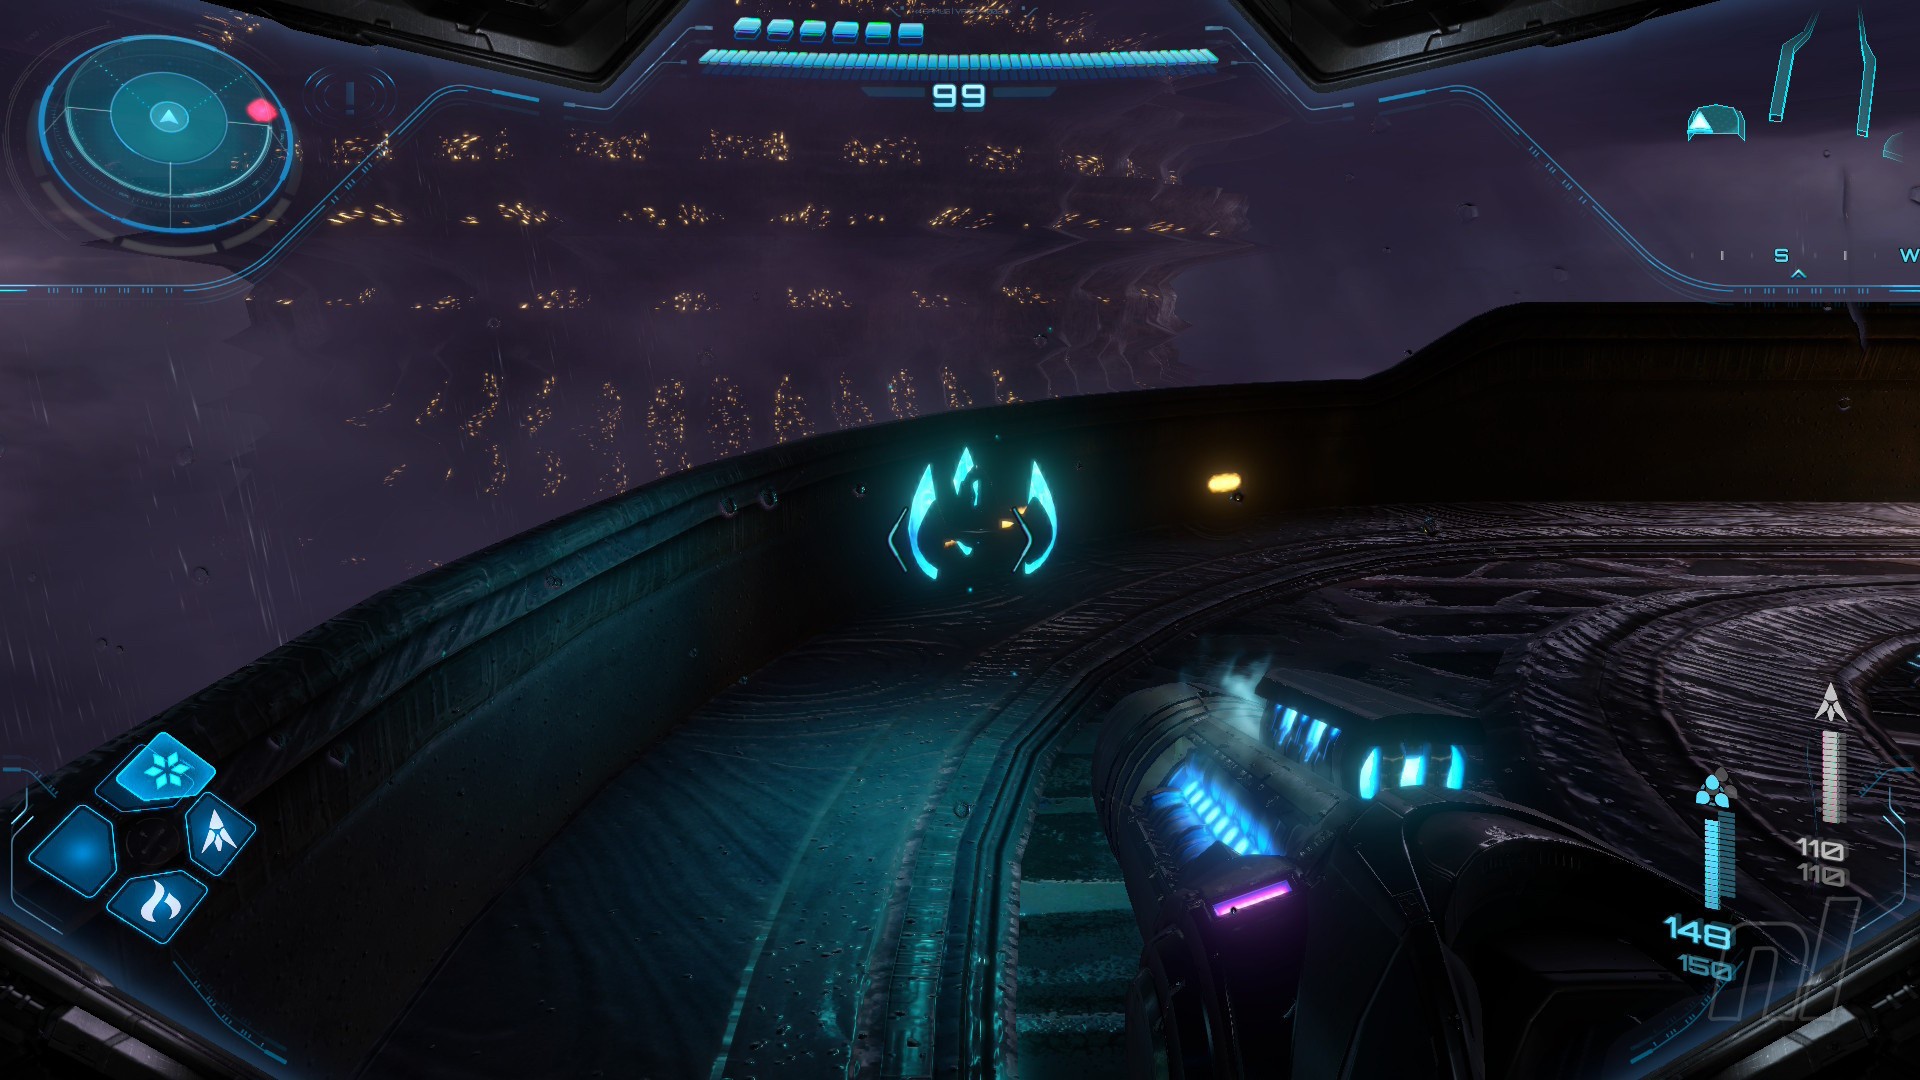
Image: Nintendo
When you emerge, shoot the boxes right next to you to reveal a Shot Expansion.
Now grapple across to the other side. Morph ball through the tunnel to the Manufacturing Floor, then head through the door on the opposite side to reach the Collapsed Catwalk. Grapple over to the other side with your new ability.
Scan the terminal and take the elevator down.
Go down the corridor (and deal with the Maintenance Tank) and through the door into the Power Core.
One of the beams of electricity over on the left is malfunctioning. Use your lasso to pull the cover off the central unit and grab the Thunder Chip.
Uh oh! A cutscene will commence to show Sylux emerging again to take you on.
Much like before, you can't scan Sylux, so instead you'll just have to engage in the boss fight. For help on how to do so, check out our guide on How to Beat Sylux (02).
Related Articles
Guide Metroid Prime 4: Beyond: How To Beat Sylux (02)
We meet again
Energy Tank #7
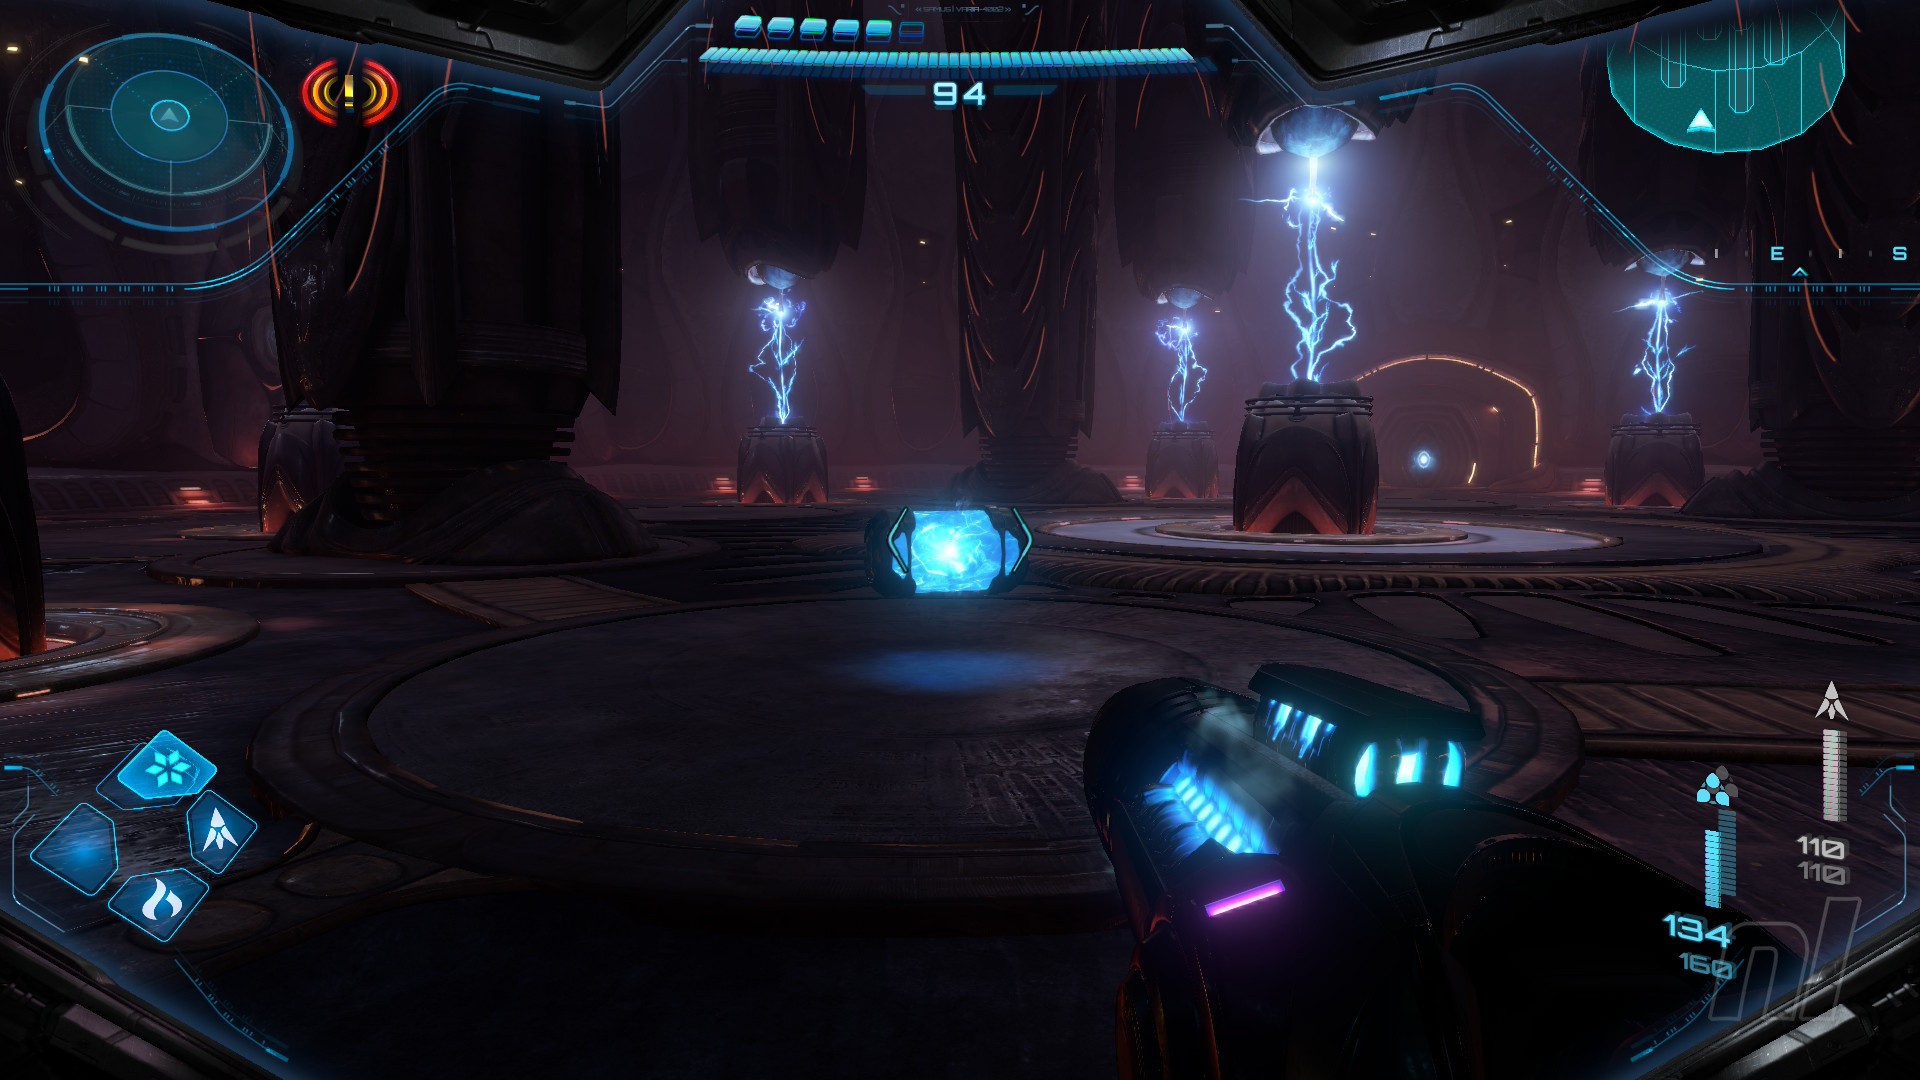
Image: Nintendo
When you're done, go ahead and grab the Energy Tank.
Now start making your way back up to the top of Tower 1. On your way, stop off at the Irradiation Floor.
Hit the morph ball tunnel access in the centre of the room three times.
Missile Expansion #20
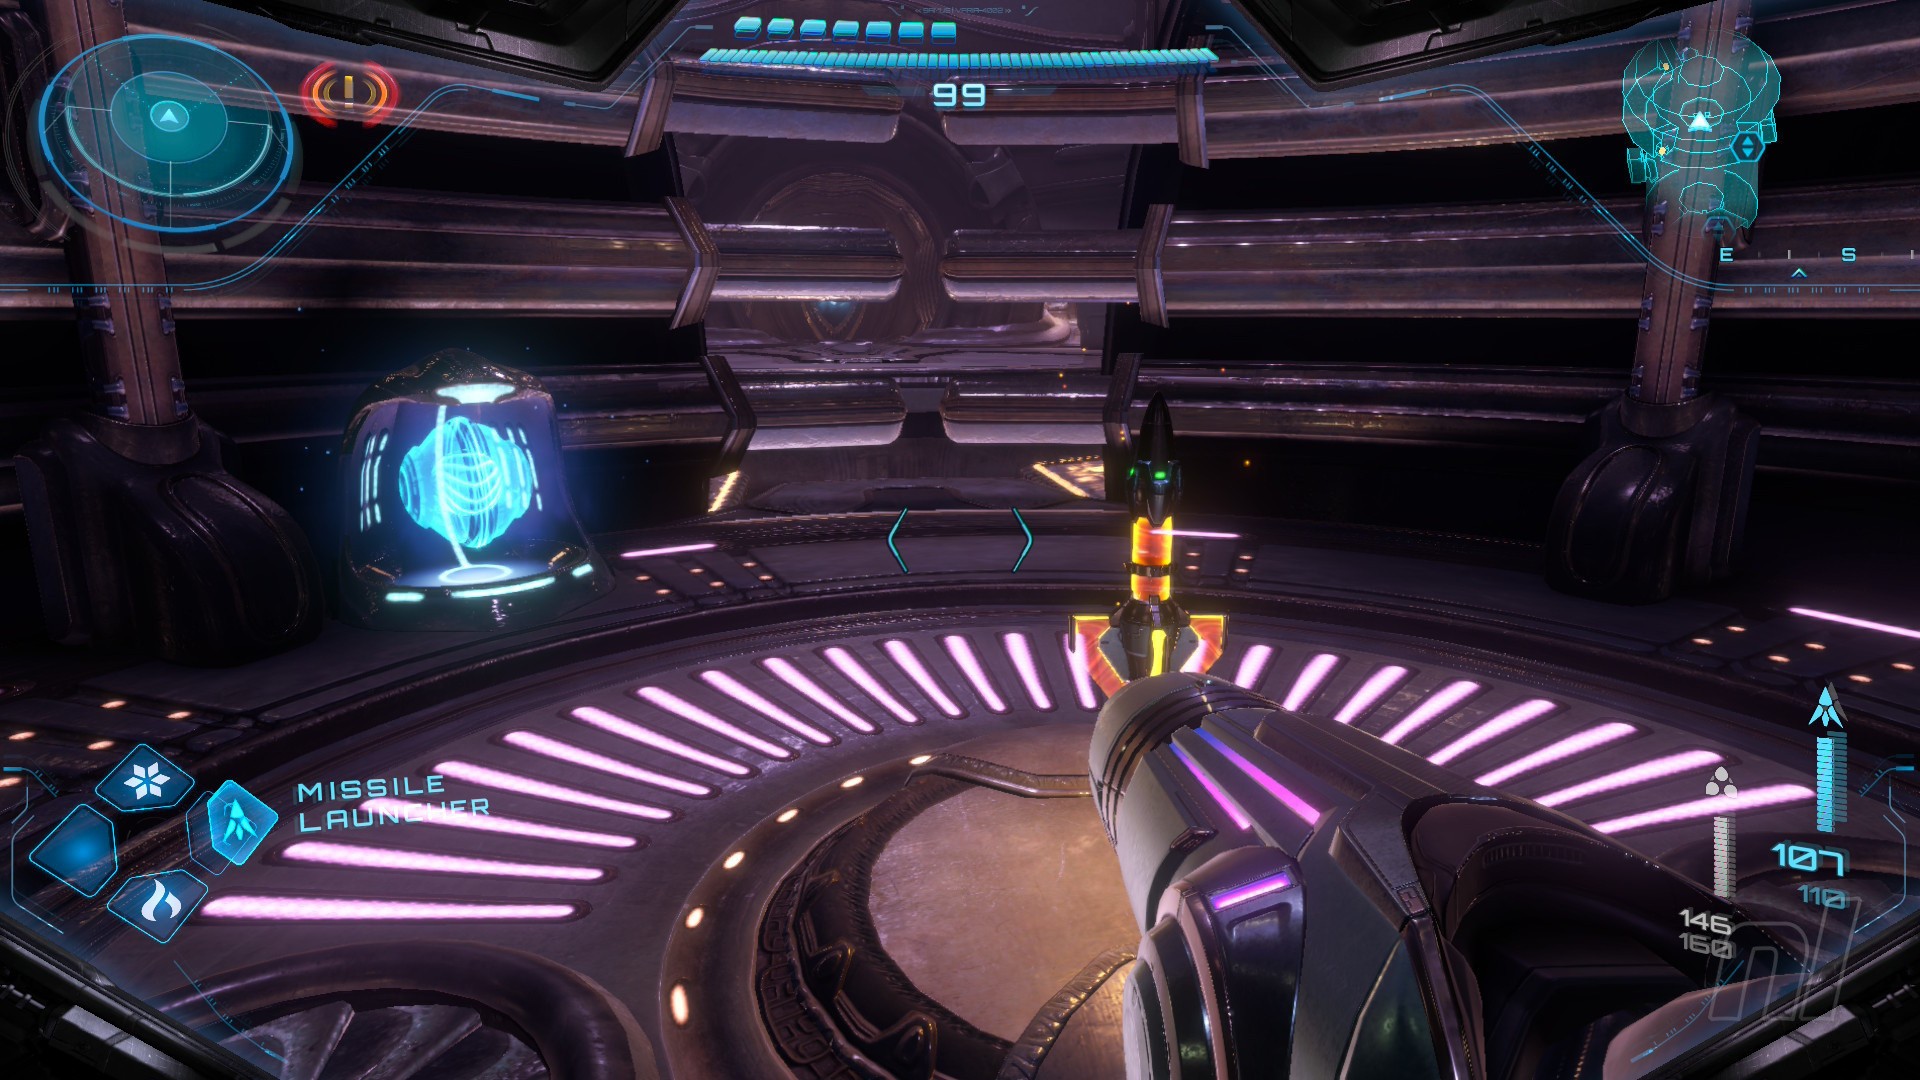
Image: Nintendo
Roll into the structure and use your boost ability to hurl yourself up the half-pipes and up the next couple of floors. At the top, you'll find your next Missile Expansion.
Now use the spinner to unlock the gate. Head back up and out into Sol Valley once again.
Head back to Base Camp in Fury Green to give your Thunder Chip to Myles. When you get there, enjoy a brief reunion with Armstrong and Duke. Similarly, approach Myles and Tokabi for a brief catch-up.
Power Suit Upgrade: Thunder Shot
Image: Nintendo
Give the Thunder Chip to Myles and he'll gift you with the Thunder Shot – nice! You can now activate any Scout Bots you've found if you need an extra hand locating undiscovered items.
Related Articles
Guide Metroid Prime 4: Beyond: All Scout Bot Locations
Wake up, bots!
Our goal now is The Great Mines, but we'll need another upgrade before we can get there. Before we do anything else, deposit your Green Energy Crystals in the Altar of Legacy. By this point, you should have collected enough to gain the Control Beam Boost, which lets you increase the speed of your Control Beam shots.
Shot Expansion #14

Image: Nintendo
Head into the Cargo Staging Area next to Base Camp. See the Lamorn storage crate? Shoot both ends of it with your Thunder Shot. It'll open up and reveal a Shot Expansion.
Now head into Sacred Flame Ceremony and shoot the door on the right with the Thunder Shot. Go into the Rods of Transference room.
Shot Expansion #15
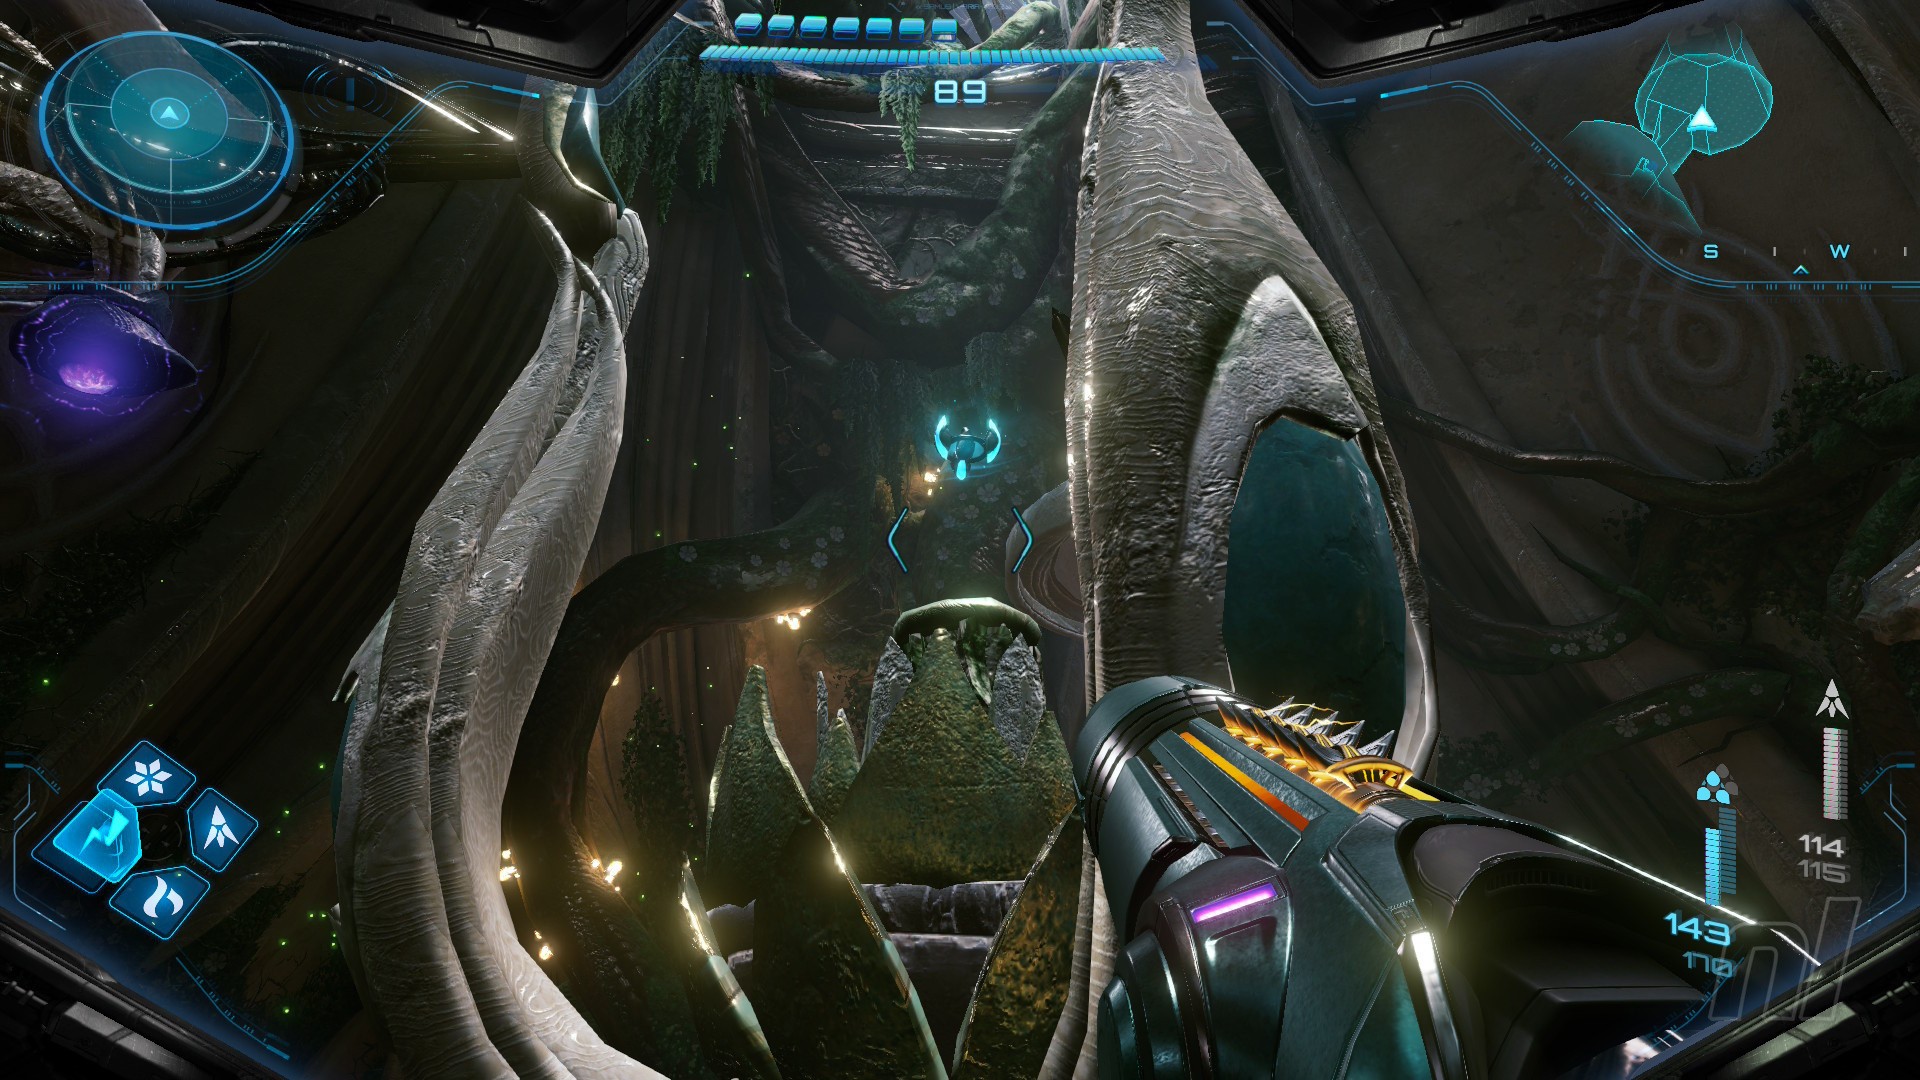
Image: Nintendo
Use your psychic powers to manipulate the three structures hanging down from the ceiling. You'll want to pull them all down to their lowest points while ensuring they're all pointing towards the main structure in the middle.
When you've done that, shoot all three with the Thunder Shot to open the main structure, revealing a Shot Expansion.
Head back out into Sacred Flame Ceremony.
Energy Tank #8
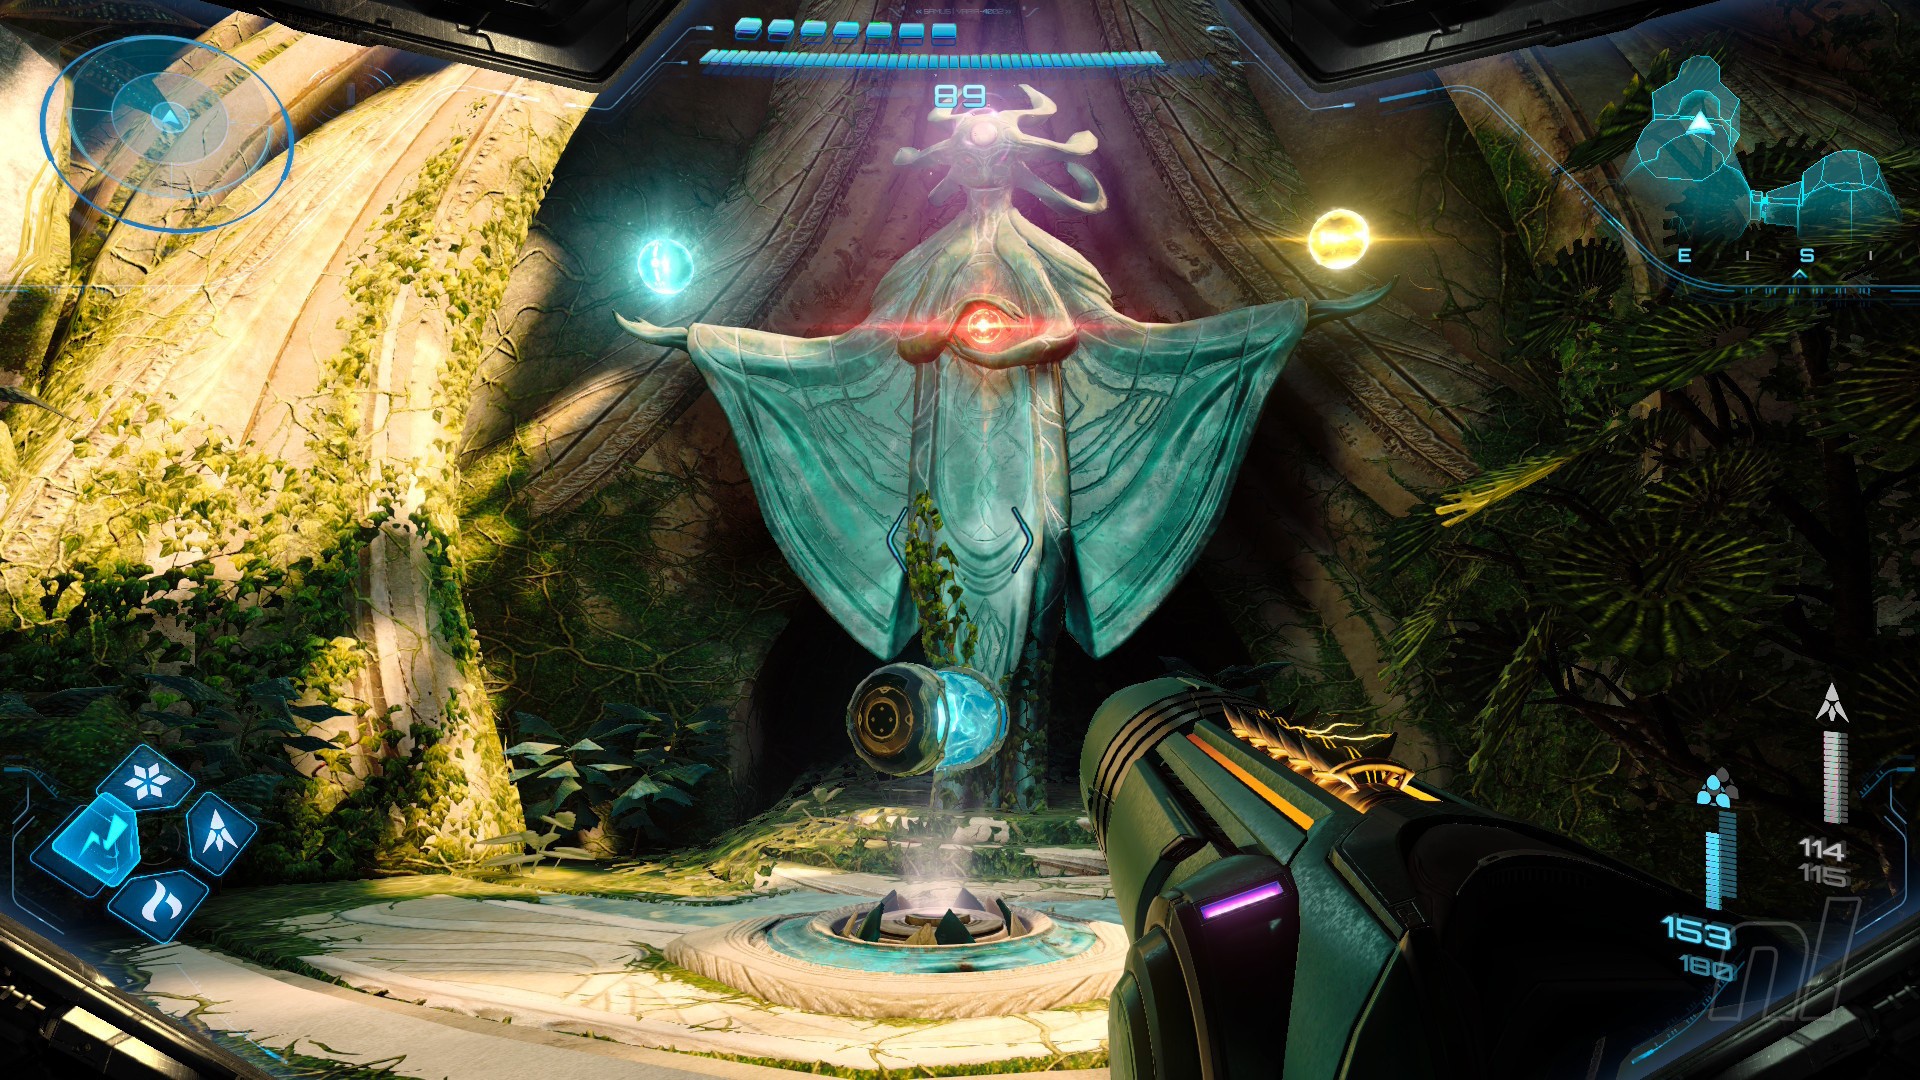
Image: Nintendo
The statue on the right will now activate, revealing another Energy Tank. Grab it!
We've almost gathered all available items in Fury Green, but we need to leave for the time being. Head to the Cargo Launcher and back into Sol Valley.
Vi-O-La Boost Tank #3
Images: Nintendo
Ride towards Chrono Tower in the centre of the map. Just south is another Vi-O-La Boost Tank, so shoot the target with the Thunder Shot to reveal it.
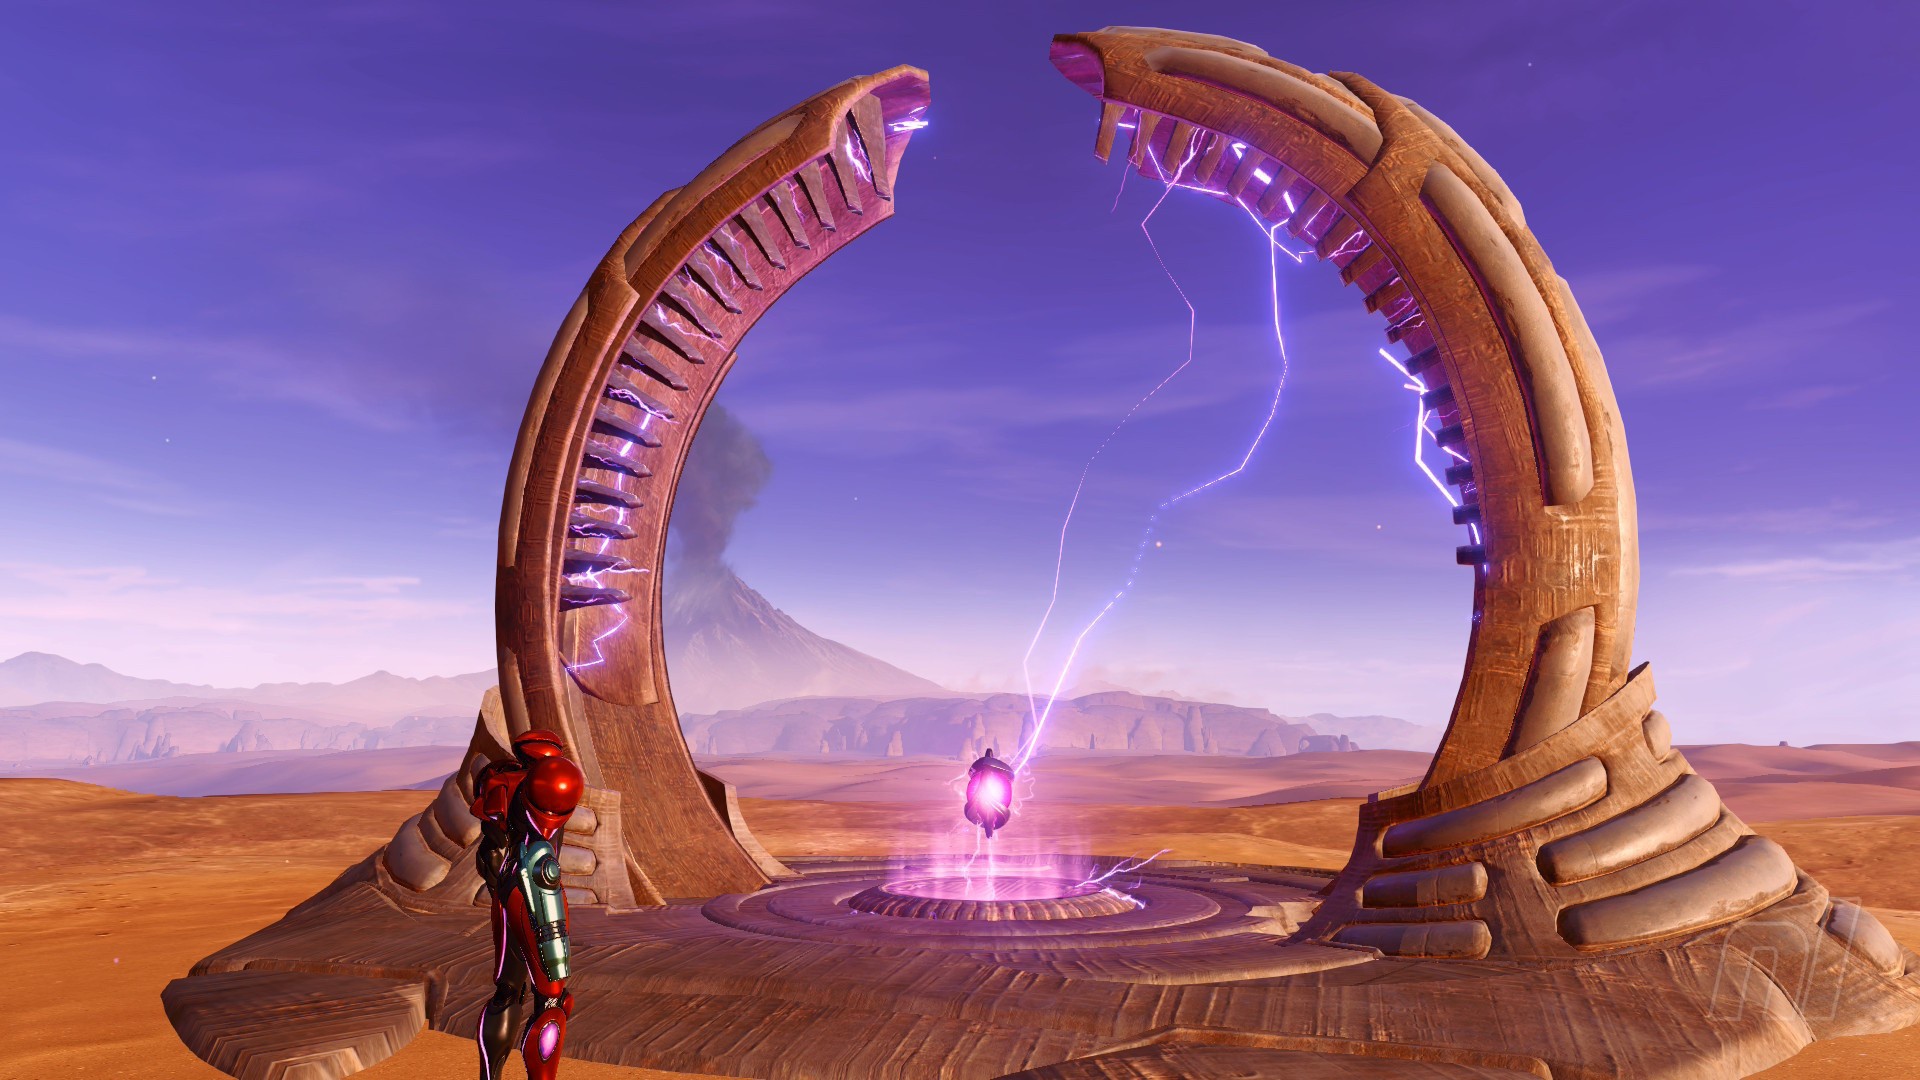
Ride directly south until you reach the Floating Path Shrine. Use the Thunder Shot to open it up.

Images: Nintendo
Shot Expansion #16
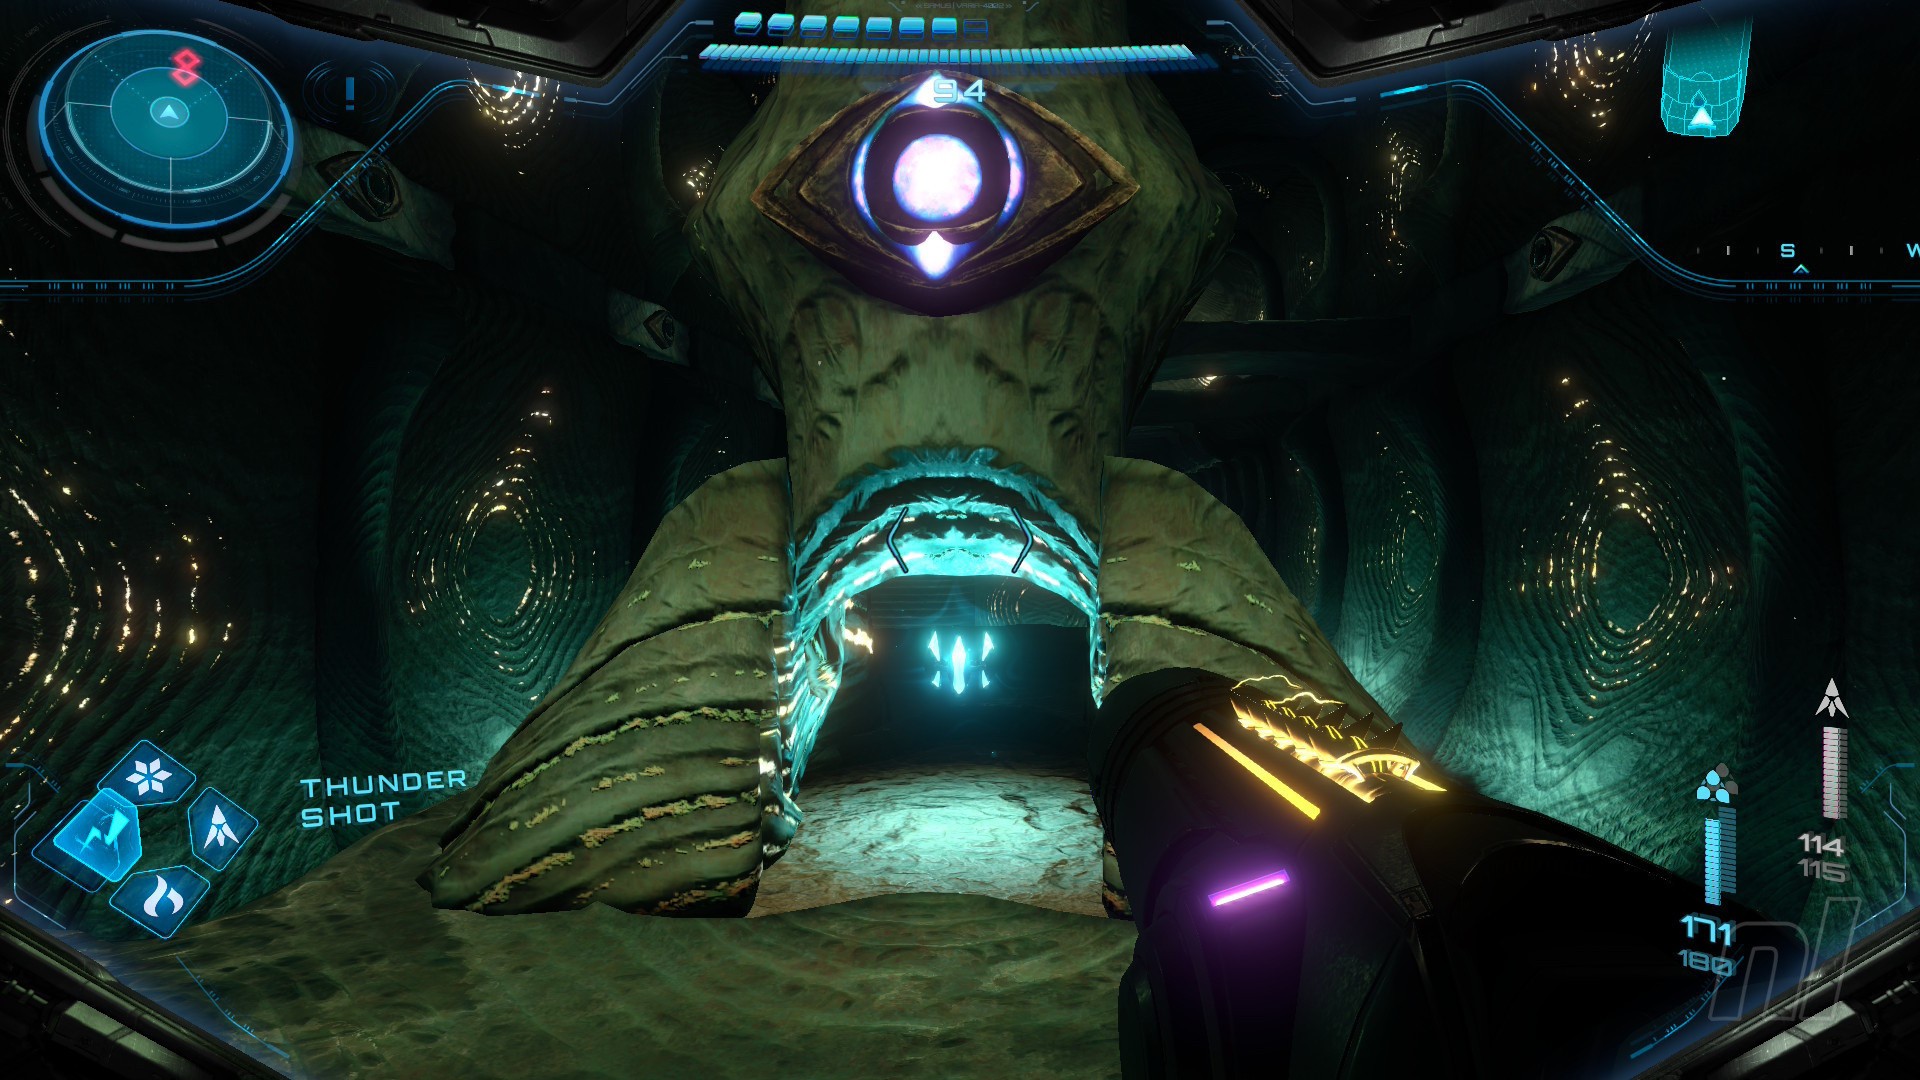
Image: Nintendo
You'll need to use your psychic powers to move the motes into the relevant sockets, allowing for makeshift platforms to move out and allow traversal across the gap.
Before you do this, drop down to the lower level and walk to the back of the room. Don't worry about scanning the Neo Rootspurs – they just count as normal Rootspurs in the logbook, and we scanned those way back.
Insert a mote into the pillar at the back of the room to reveal a Shot Expansion.
Power Suit Upgrade: Super Ice Shot
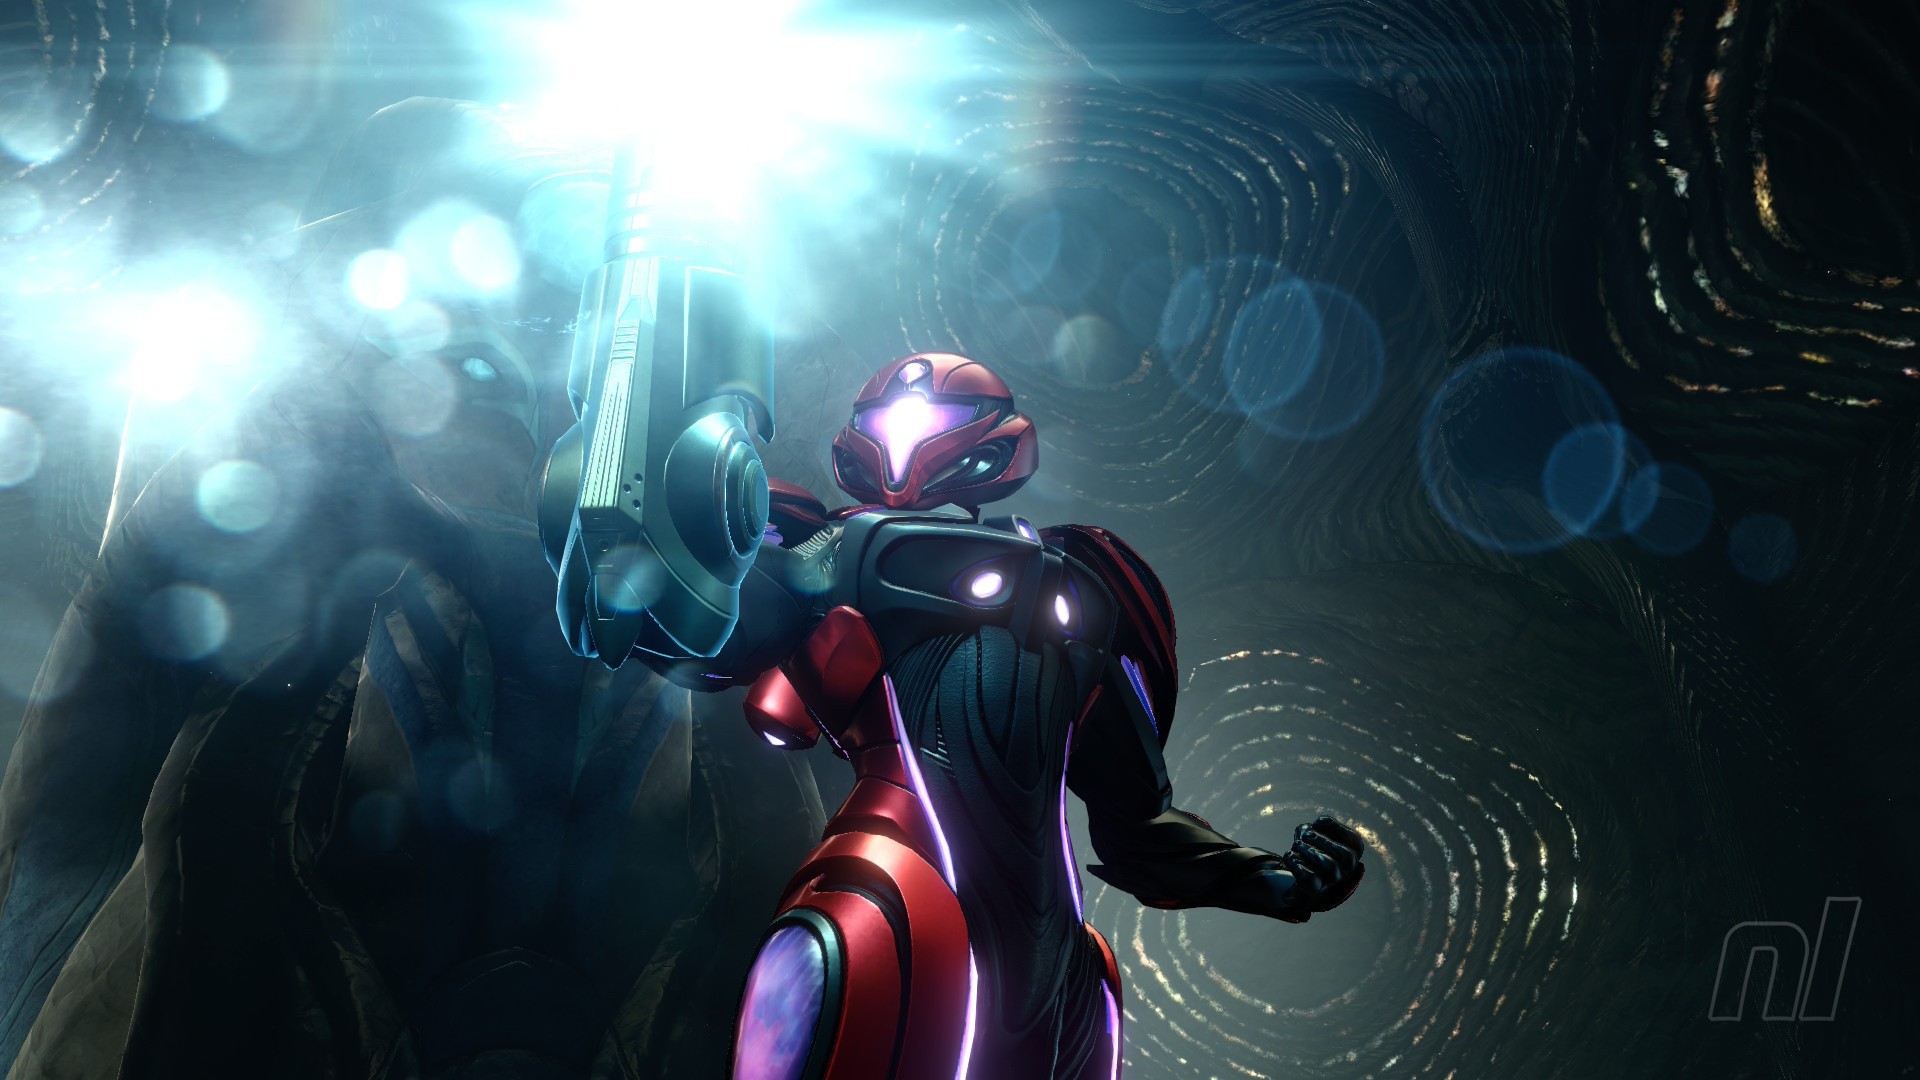
Image: Nintendo
Now use the motes on the platforms to reach the other side of the upper floor. Take one of the motes from the platforms and throw it into the door. Head on through to grab the Super Ice Shot. Now touch the teleporter to exit the Shrine.
Now head in a slight north-easterly direction to reach the Ring of Thunder Shrine. Enter!

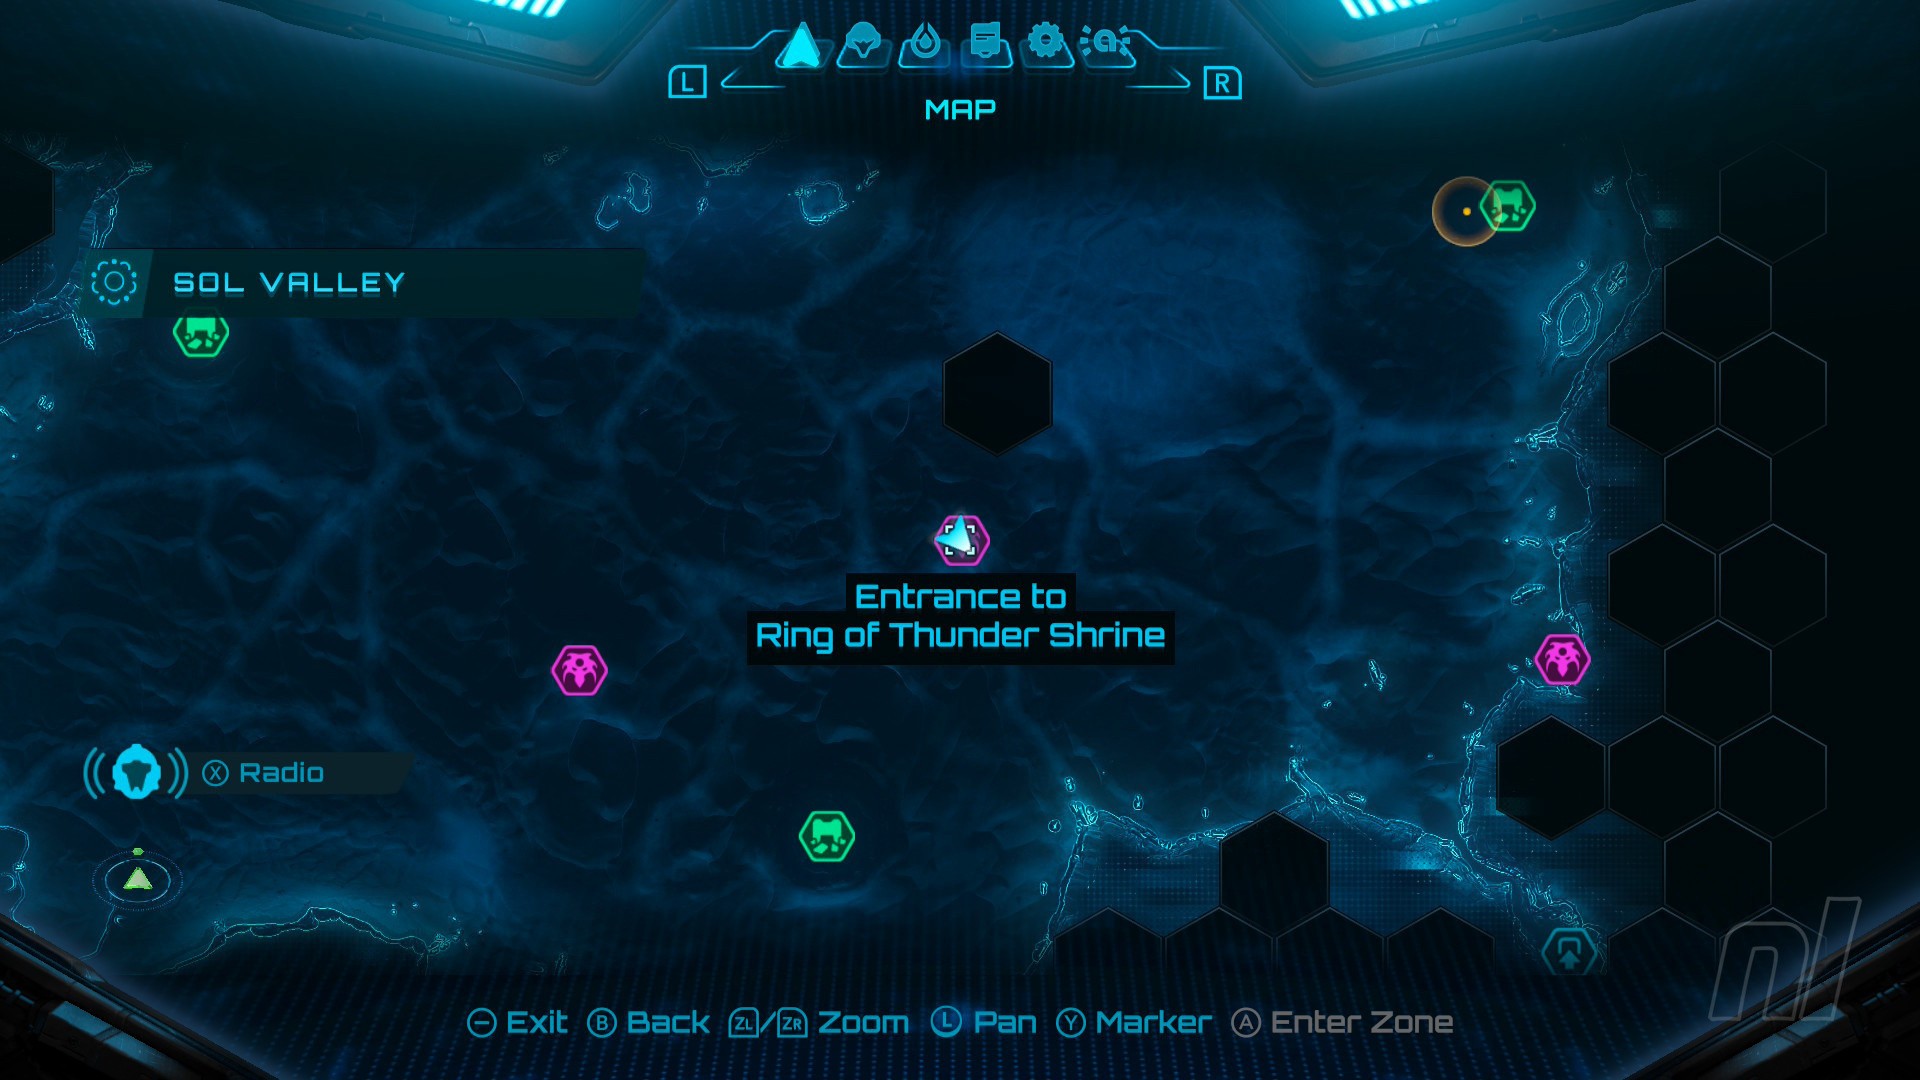
Images: Nintendo
To activate the elevator in the centre, use your psychic powers to raise the two small pillars glowing purple. Then, fire at one of the pillars with your Thunder Shot. The electricity will travel around the ring and activate the elevator.
Power Suit Upgrade - Charged Thunder Shot
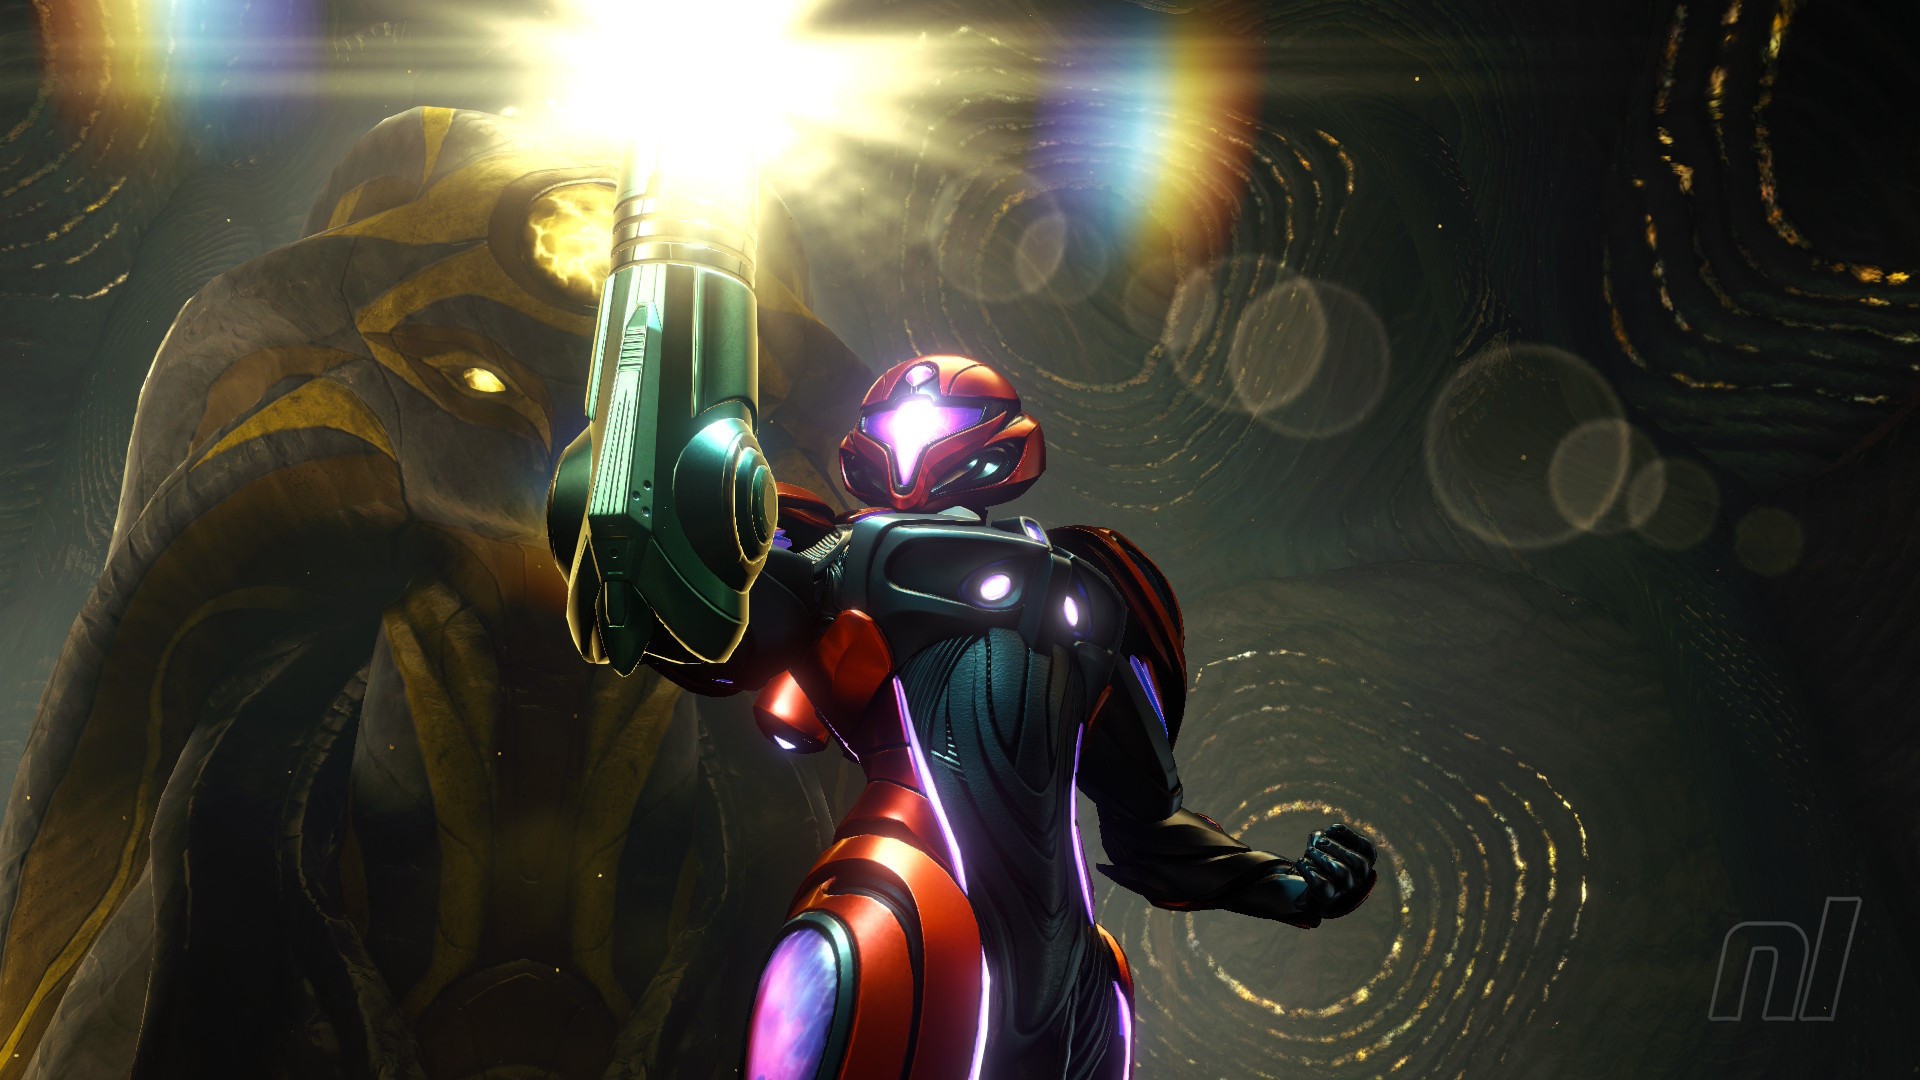
Image: Nintendo
Head through the door down below and move forwards to grab the Charged Thunder Shot. Use the teleporter to exit.
Energy Tank #9
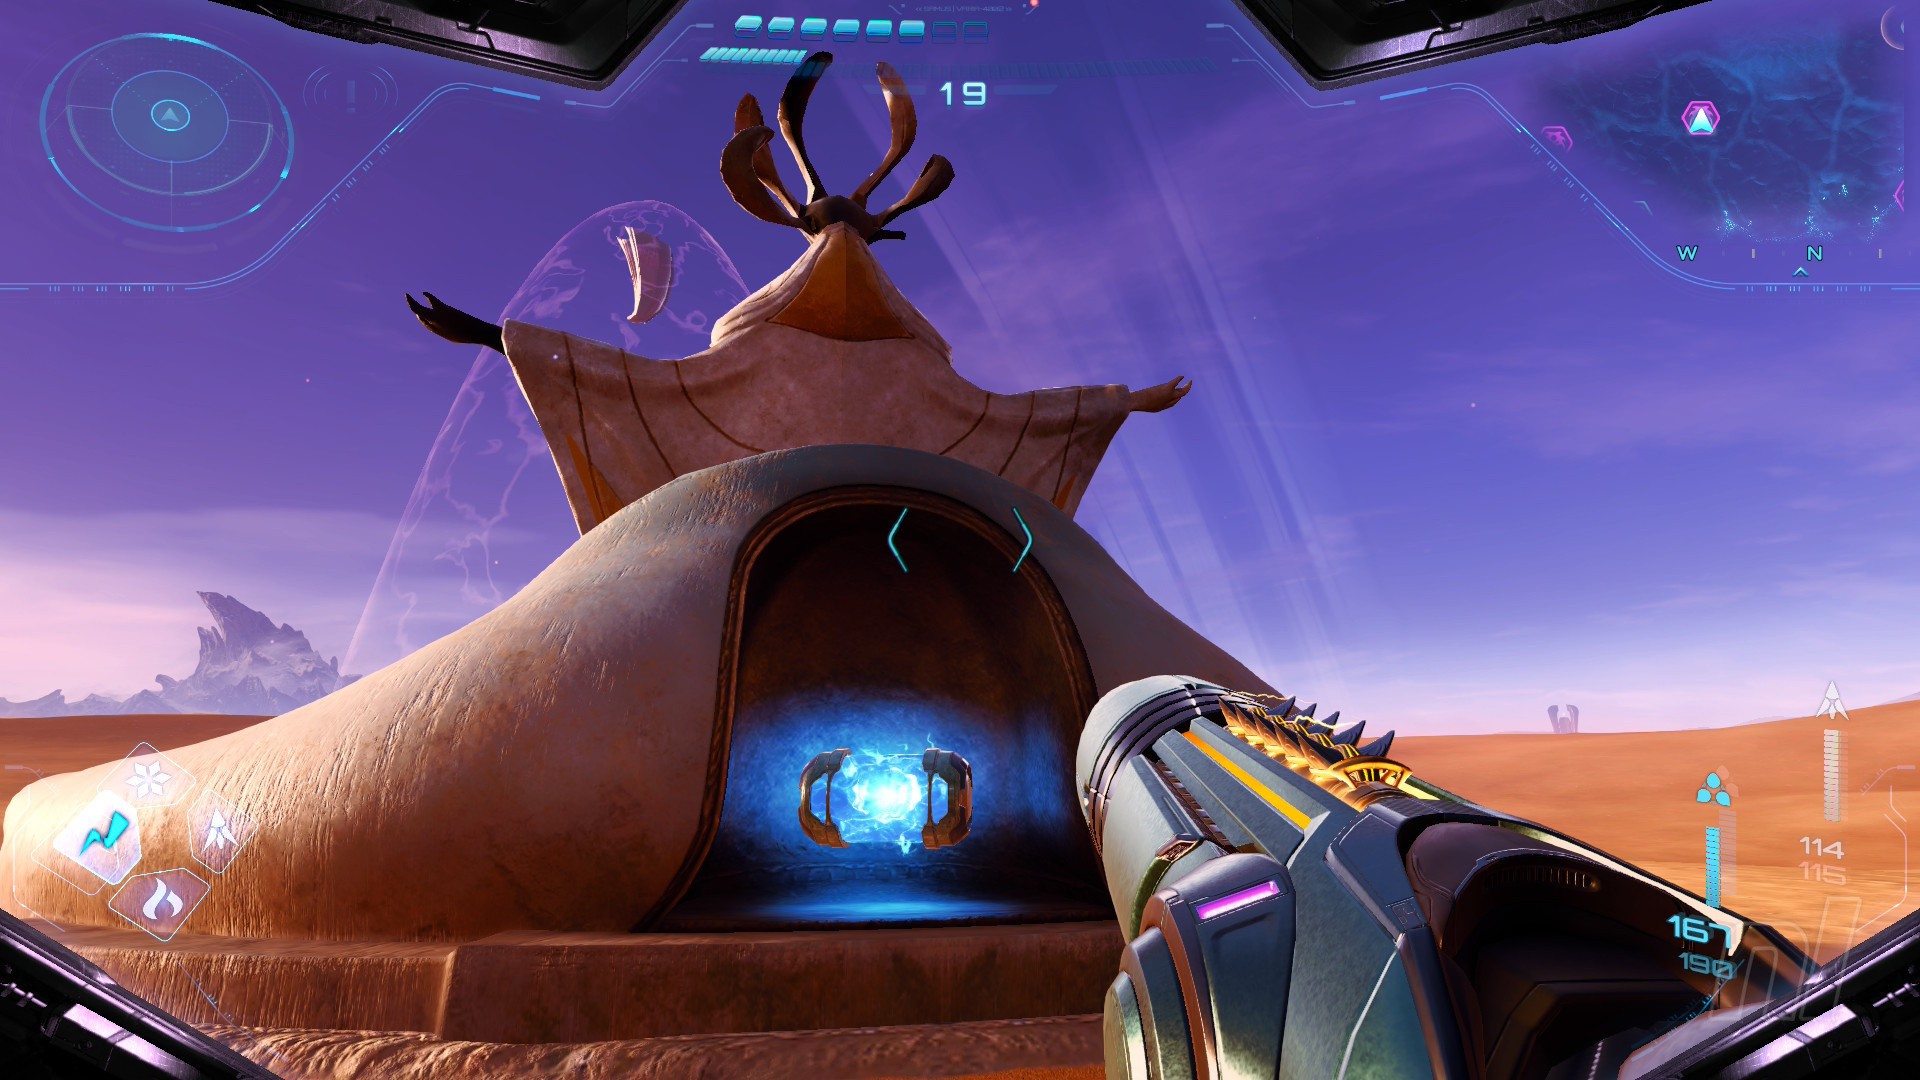
Image: Nintendo
When you exit the Ring of Thunder Shrine, walk around the back and use your psychic abilities to lower the hatch and reveal your next Energy Tank.
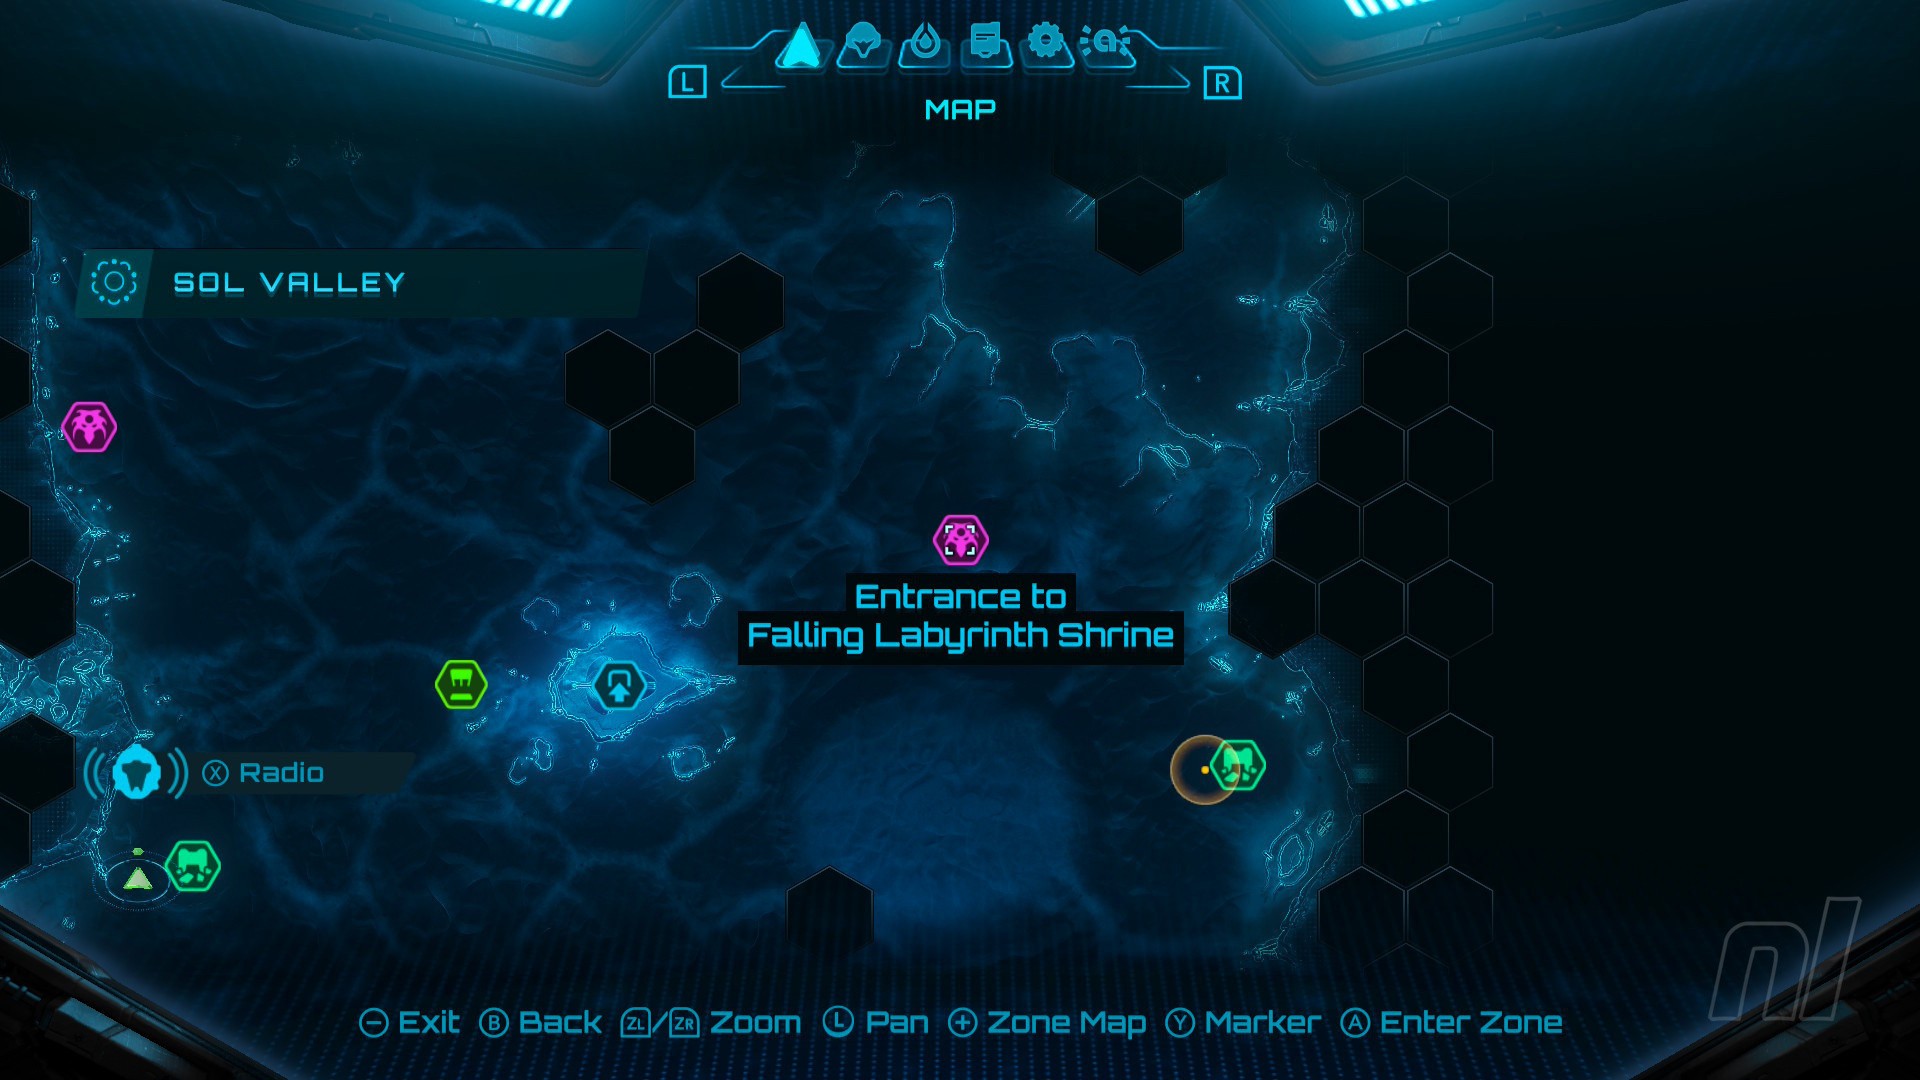
Now travel north. Just north-east of Chrono Tower is another Shrine – the Falling Labyrinth Shrine. Enter.

Images: Nintendo
Scan Entry: Sand Crawler

Image: Nintendo
When you enter the main room, you'll see a few creatures crawling along the walls: these are Sand Crawlers. Scan one of them.
Shot Expansion #17
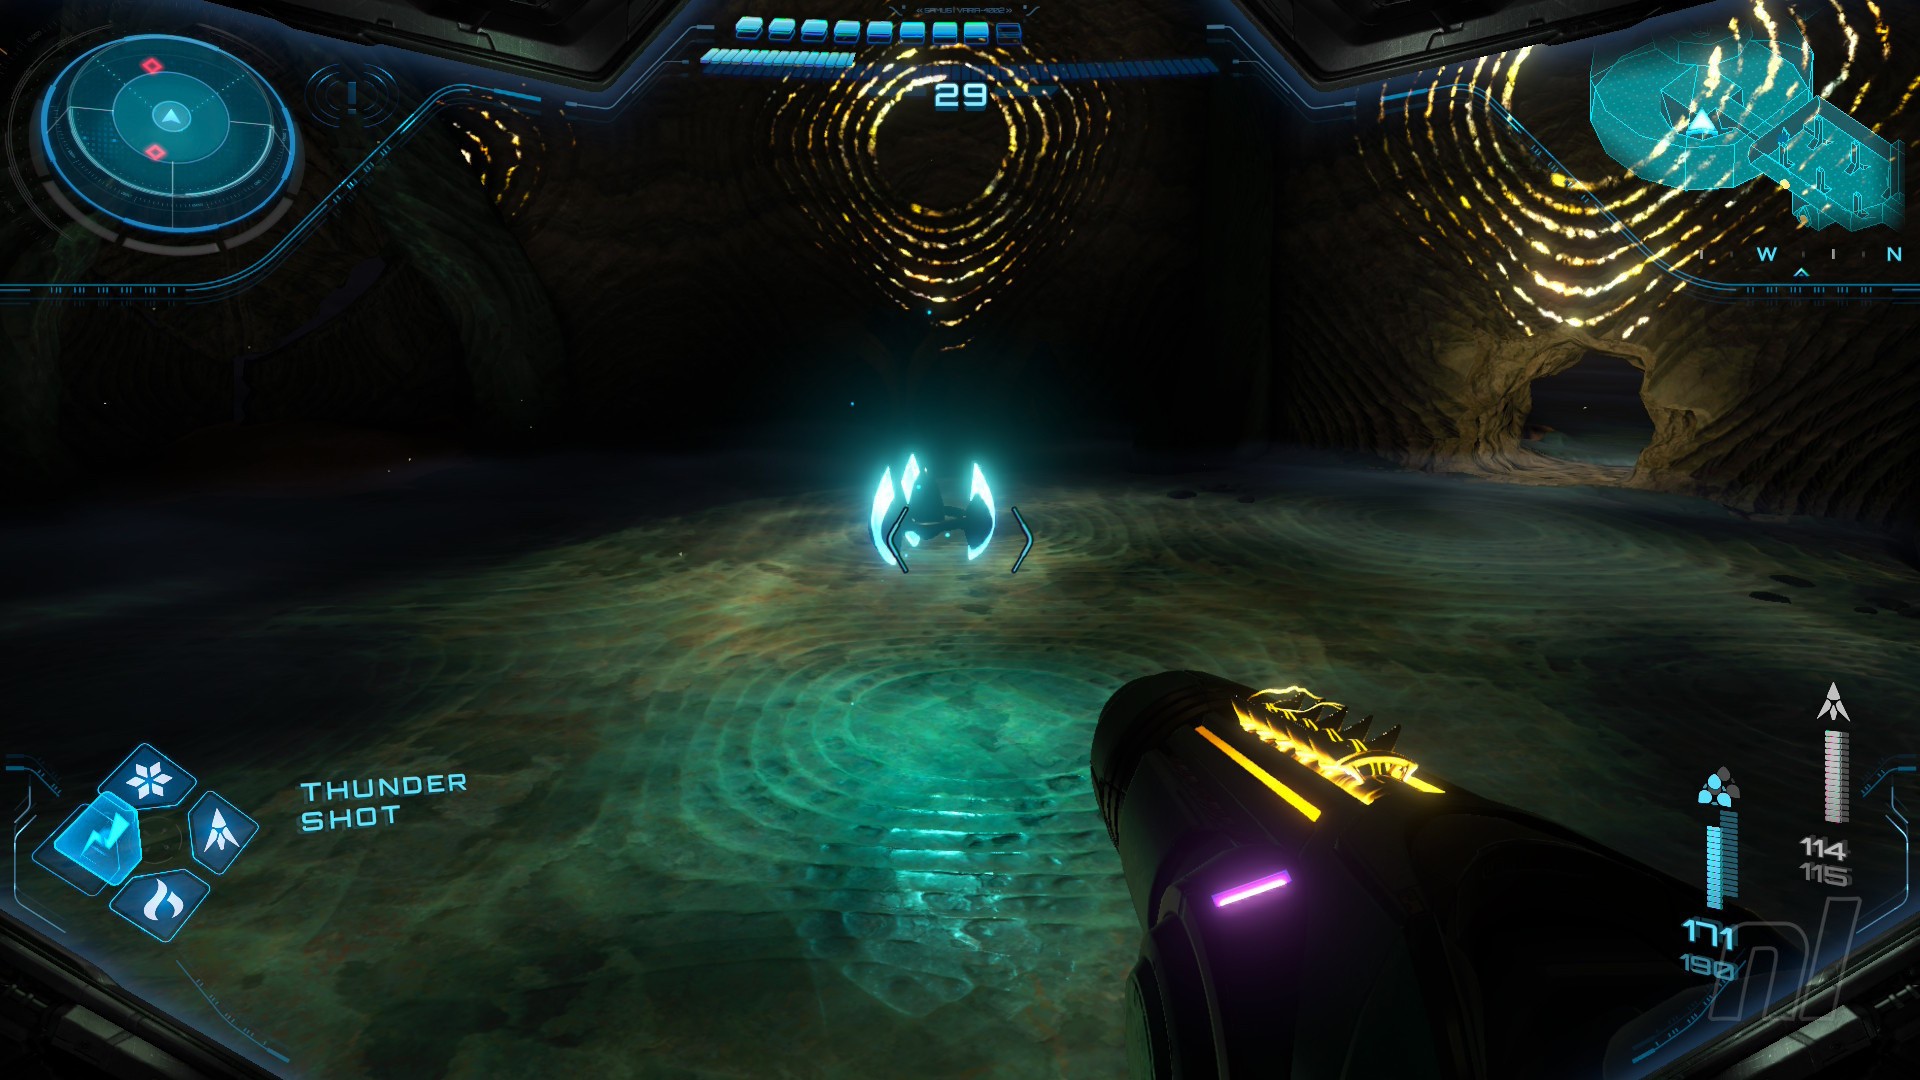
Image: Nintendo
Drop down to the lower level. Destroy the Green Energy Crystals. One of the clusters will be blocking a morph ball tunnel. Roll on through to grab the Shot Expansion.
Now go back to the upper floor and use the spinner in the centre of the room. Grab the mote with your psychic powers and throw it into the socket in the ceiling, revealing an elaborate Spider Track maze. We can't go any further for now without the Spider Ball, so let's go back out into Sol Valley.
Now head north-west toward Ice Belt. On the way, you'll come across the Rings of Stone Shrine. Go inside.

Images: Nintendo
Scan the rings in the centre of the room. They'll rise up into the air and spin rapidly. Use your Control Beam to hit the target in the centre. This will activate the elevator. Take it down.
Power Suit Upgrade: Super Fire Shot
Image: Nintendo
Move forwards and grab the Super Fire Shot upgrade. Now take the teleporter back out.
Energy Tank #10
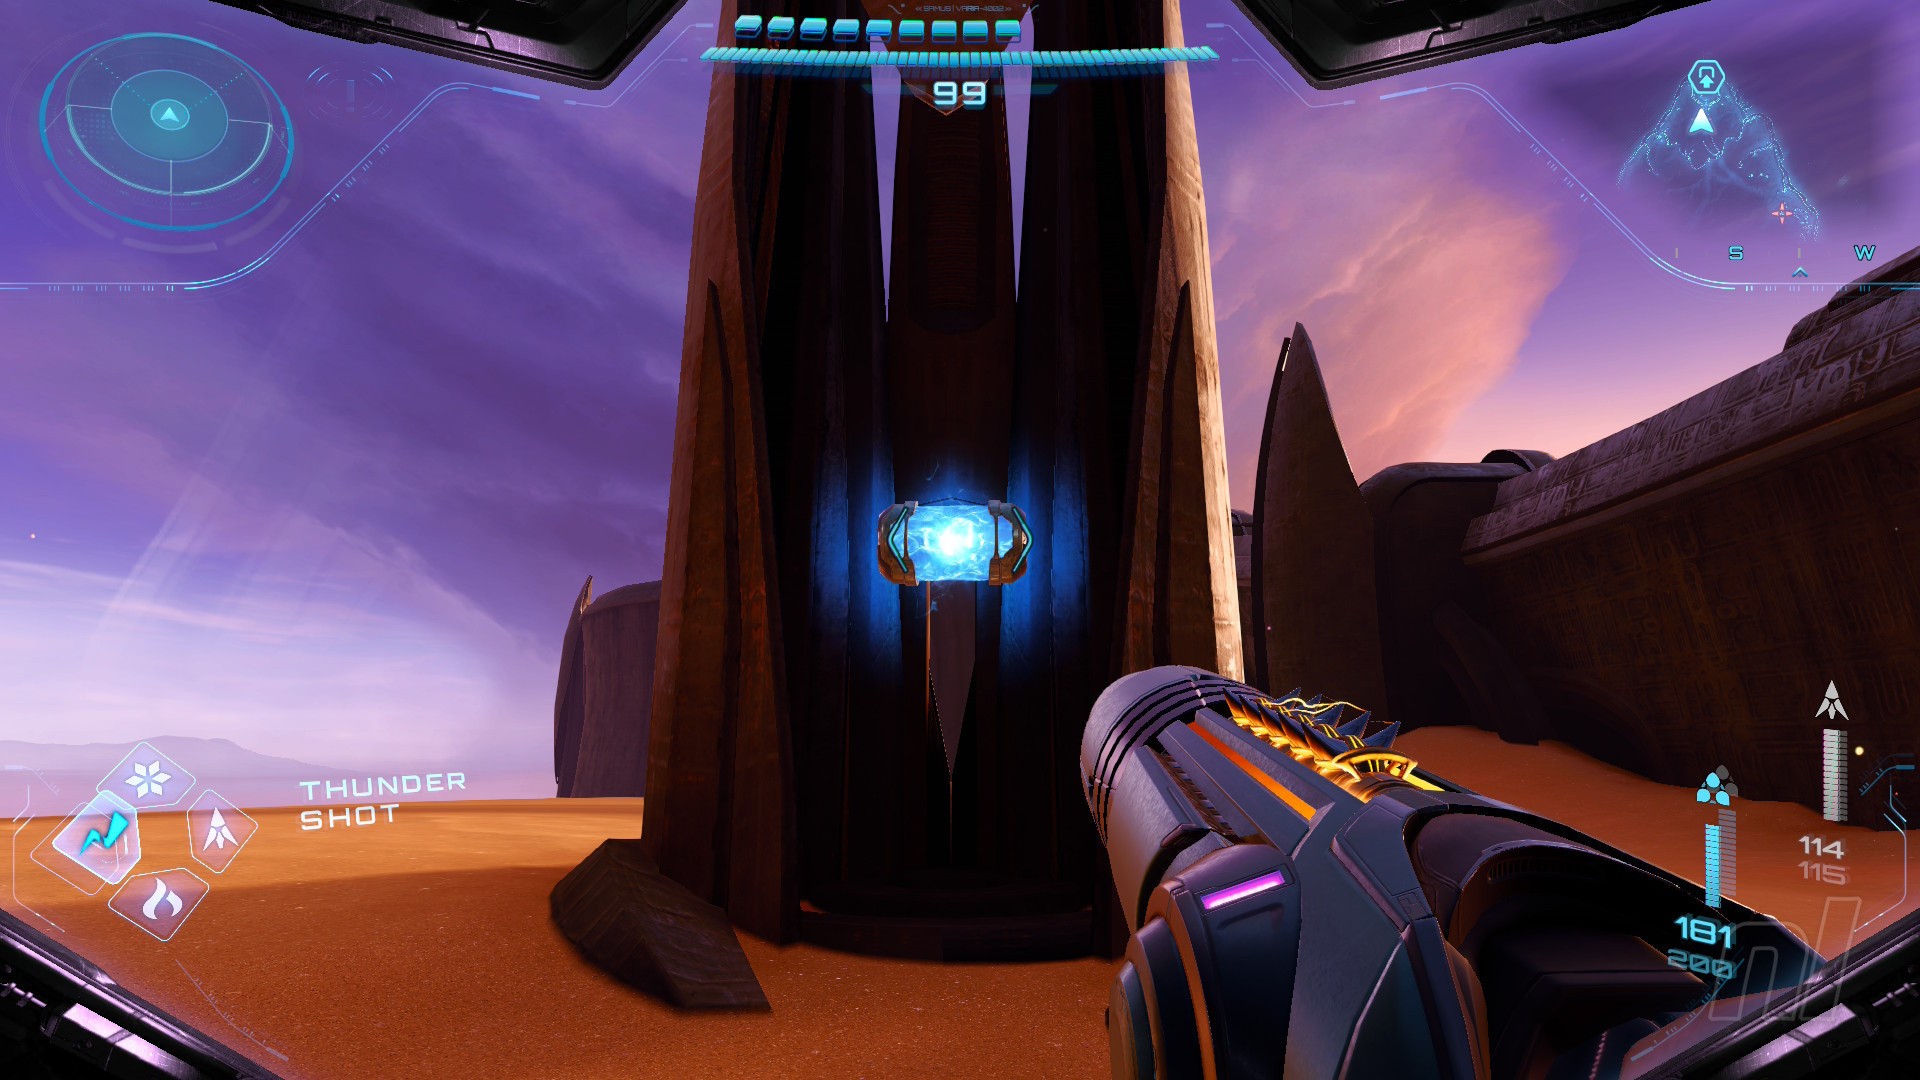
Image: Nintendo
Before we go to Ice Belt again, let's grab one more Energy Tank. Head south to Volt Forge. If you remember our first visit, we highlighted a column containing an Energy Tank. Now that you have the Thunder Shot, you can open it up and grab it.
Okay, now drive straight over to Ice Belt.
When you reach the region, you'll want to use the Thunder Shot on the door to the right in the Lobby area. Follow the corridor around and enter Equipment Storage.
Roll into the morph ball tunnel until you reach the main room. Shoot the robot creature atop the platform with your Thunder Shot. Say hello to VUE-995!
Scan Entry: VUE-995
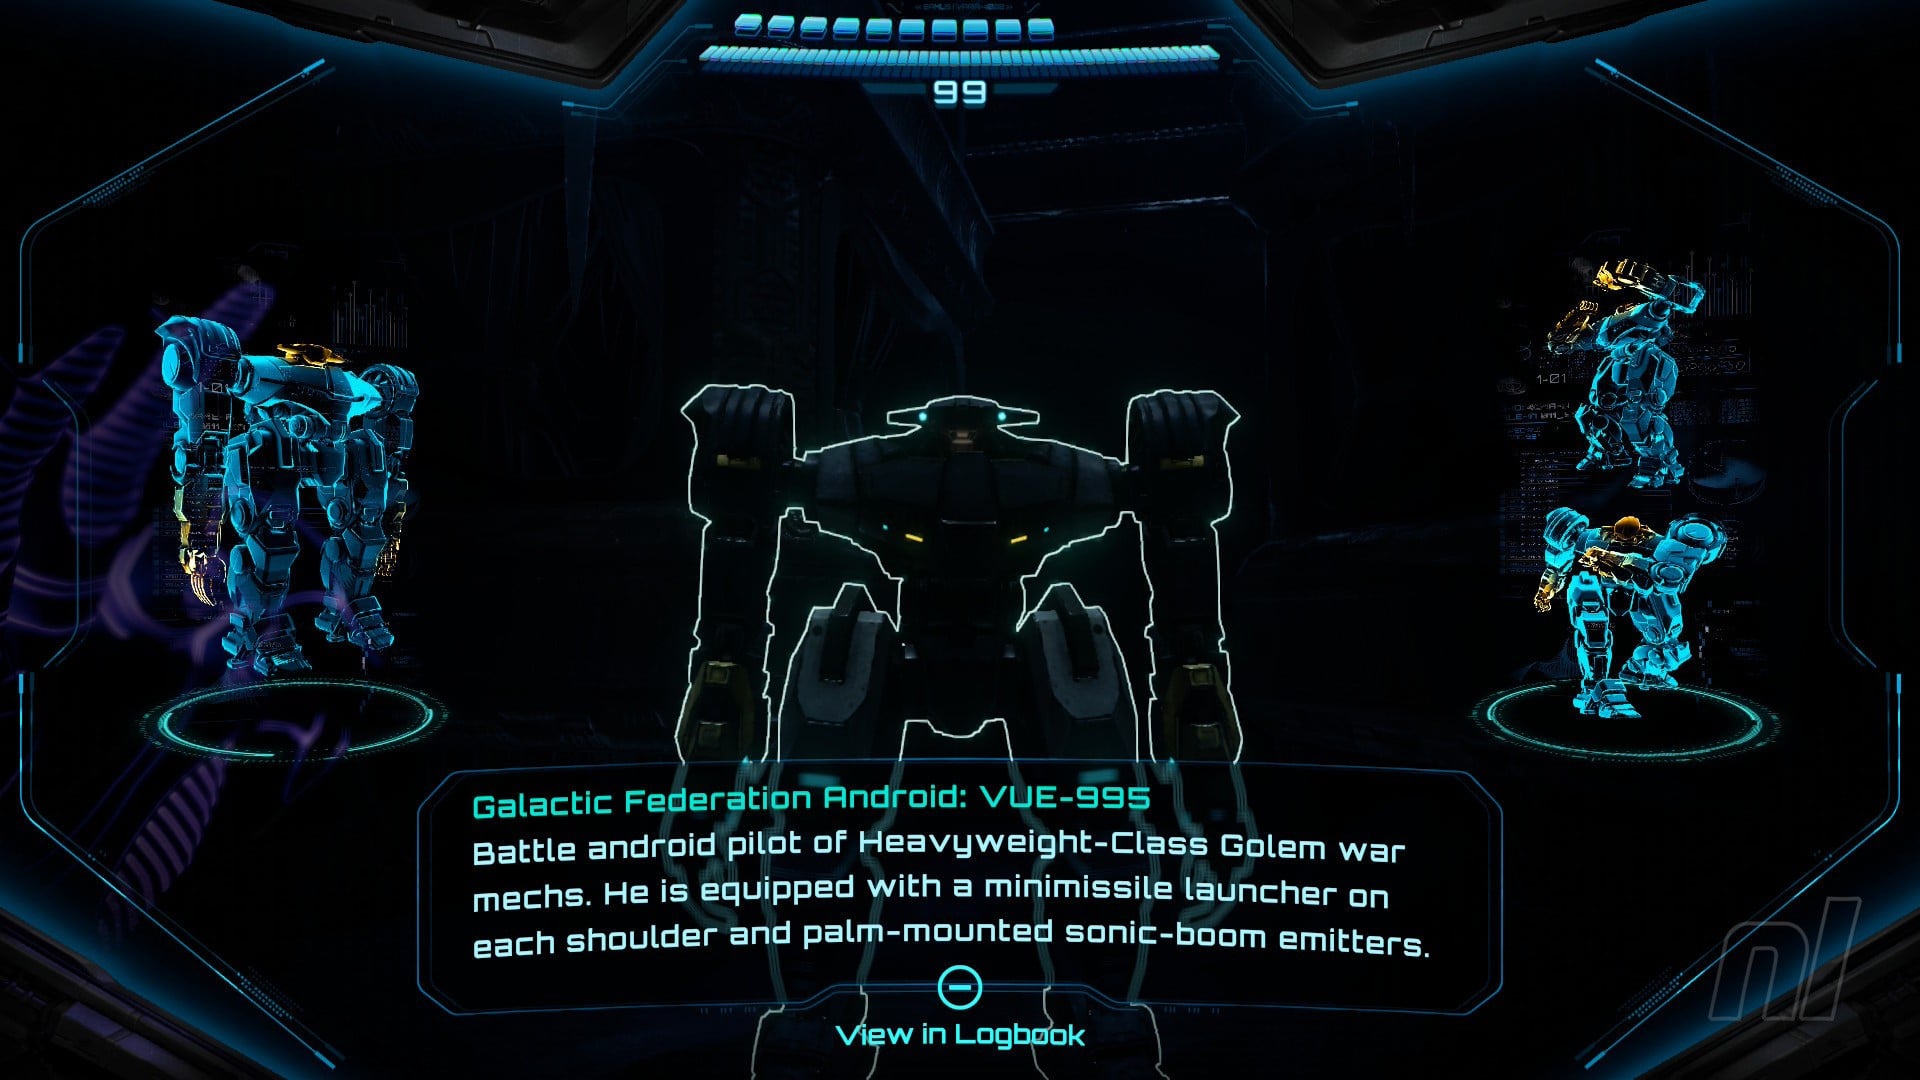
Image: Nintendo
When the cutscene concludes, be sure to scan your new companion.
Now scan the door and VUE-995 will punch it into oblivion, letting you back through into the corridor.
Scan the Barricade Clamp on the door at the end. VUE-995 will let you through and out into the Cliffside.
Scan the window on the right and VUE-995 will weaken it with a punch. Fire a missile to destroy it, then jump out. Use the Psychic Grapple Points to cross the gap, but mind the icy blasts of wind.
Melt the ice blocking the way and head through the door. Morph ball through the tunnel, then scan the statue to view a cutscene. In the Ancient Lift, melt the ice on the ground, then jump down.
Scan Entry: Lamorn Lore 'Sacred Testament'

Image: Nintendo
When you reach the bottom after melting a couple more walls of ice, you'll see a Lamorn Lore block at the bottom. Scan it! Well done, this is your last Lamorn Lore of the game.
Go through the door and into the Ancient Temple. Melt the ice on the surrounding statues, then use your psychic powers to grab the two motes and throw them into the central statue.
Power Suit Upgrade: Psychic Spider Ball
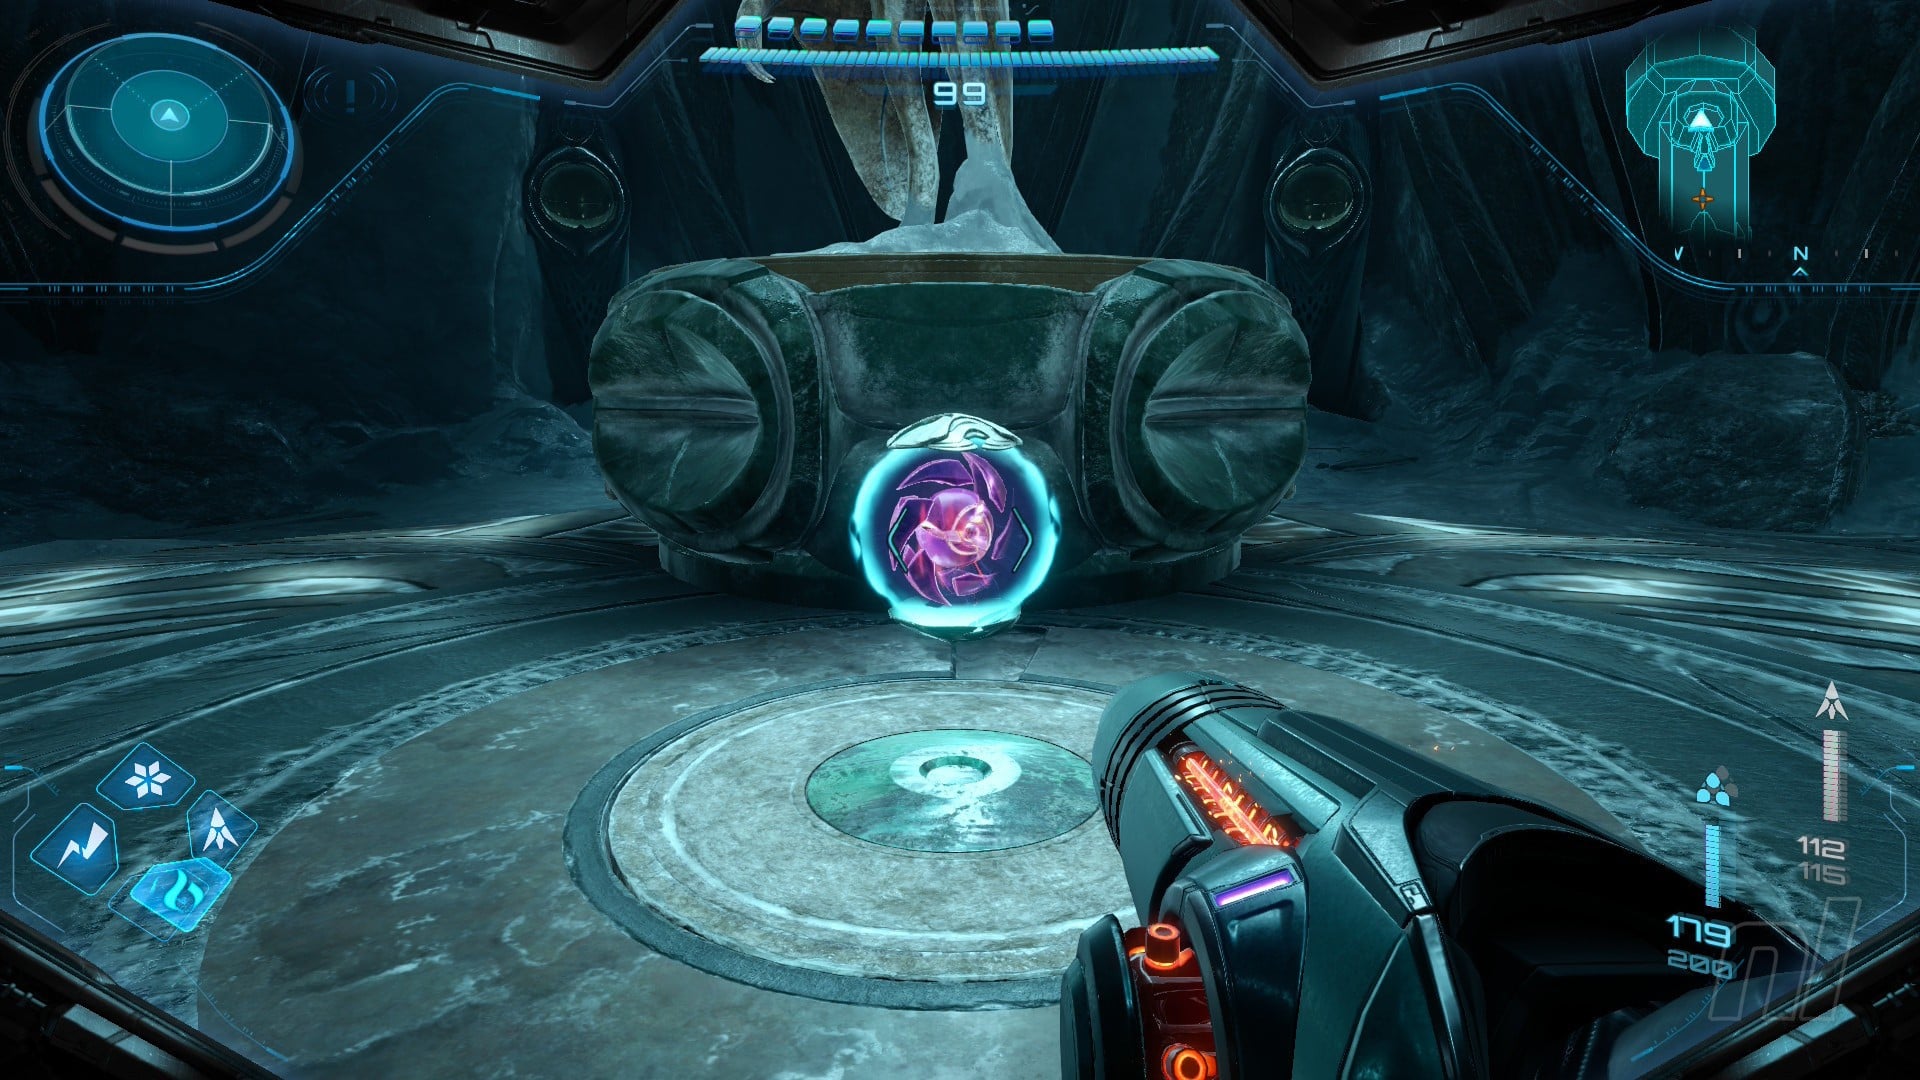
Image: Nintendo
The statue will move to the side, revealing the Psychic Spider Ball. Grab it!
Missile Expansion #21
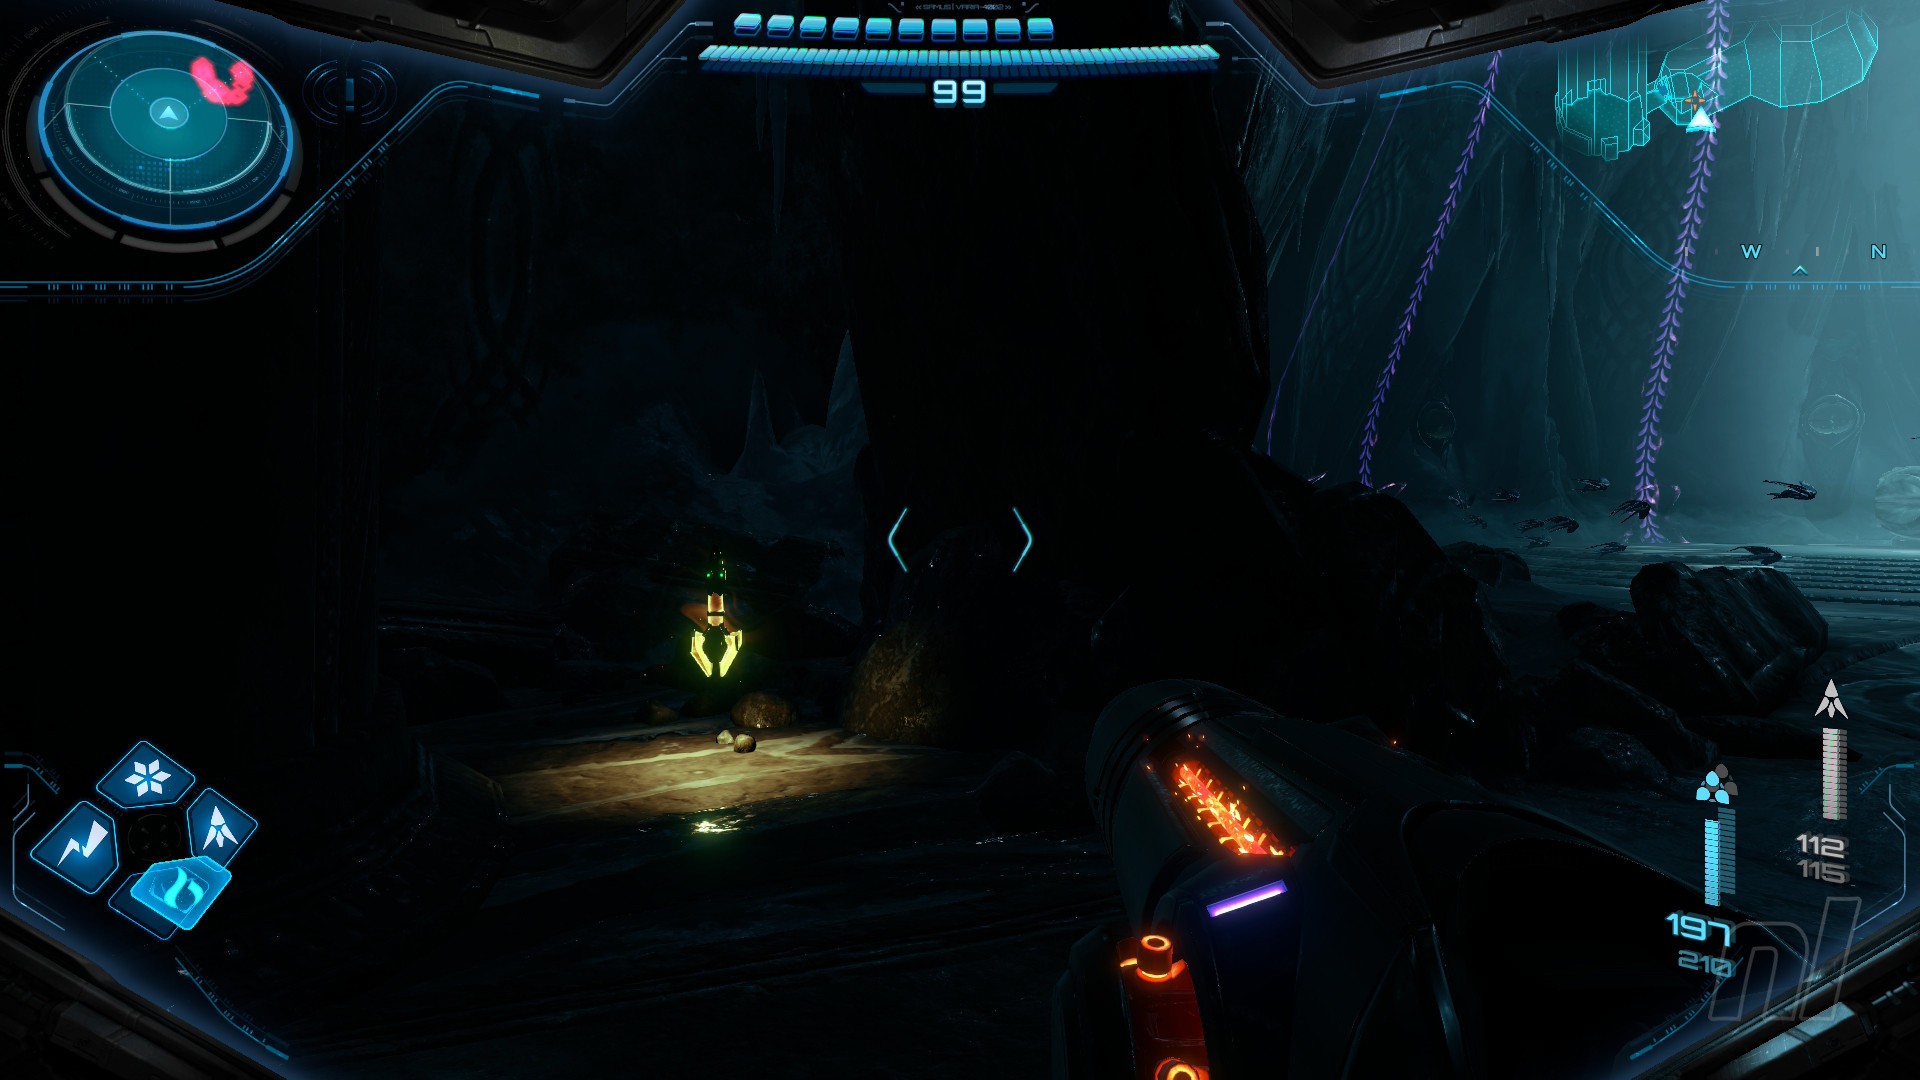
Image: Nintendo
Before we leave, circle around the collapsed walkway to find a Missile Expansion.
Scan the purple haze and use the newly formed Spider Track to exit the room. Do the same again in Ancient Lift, using the Tether Nodes to fling your morph ball up high.
There was a Spider Track in Equipment Storage, so let's quickly head back there.
Shot Expansion #18

Image: Nintendo
Follow the Spider Track around until you get the Shot Expansion.
There are a few more items in Ice Belt before we leave. First, head into the Lobby Conduit and take a left at the bottom. You'll see some Tether Nodes.
Missile Expansion #22
Image: Nintendo
Use the Tether Nodes to propel yourself up the vent. Bomb the two red nodes to reveal the Missile Expansion, then use a Tether Node to fling yourself into it.
Now head to the Storage Bay. Where you found those frozen Grievers in the cryopods earlier, take the morph ball elevator down.
Missile Expansion #23
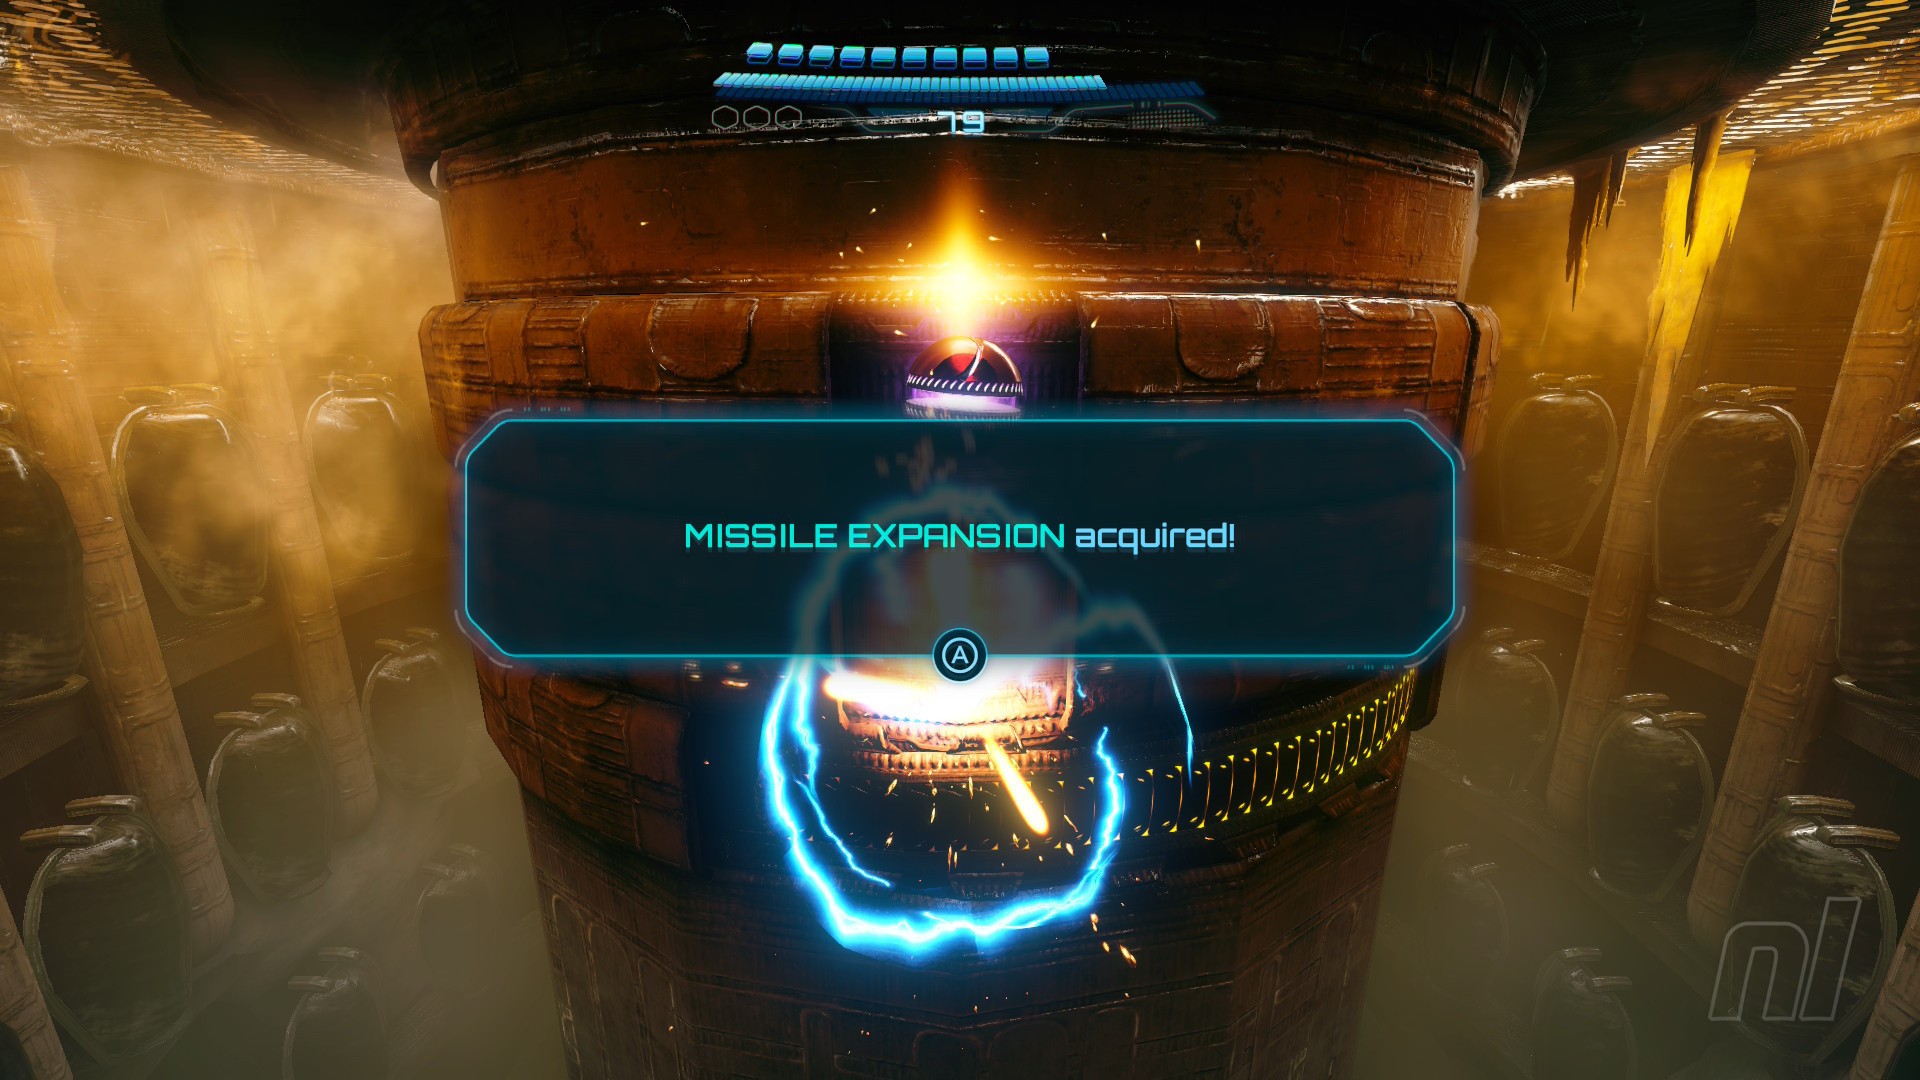
Image: Nintendo
Use the Spider Track around the circular platform. You'll see a Missile Expansion above you. Use bombs to reach it.
From the Storage Bay, take the morph ball tunnel into the Surgery Conduit.
Shot Expansion #18
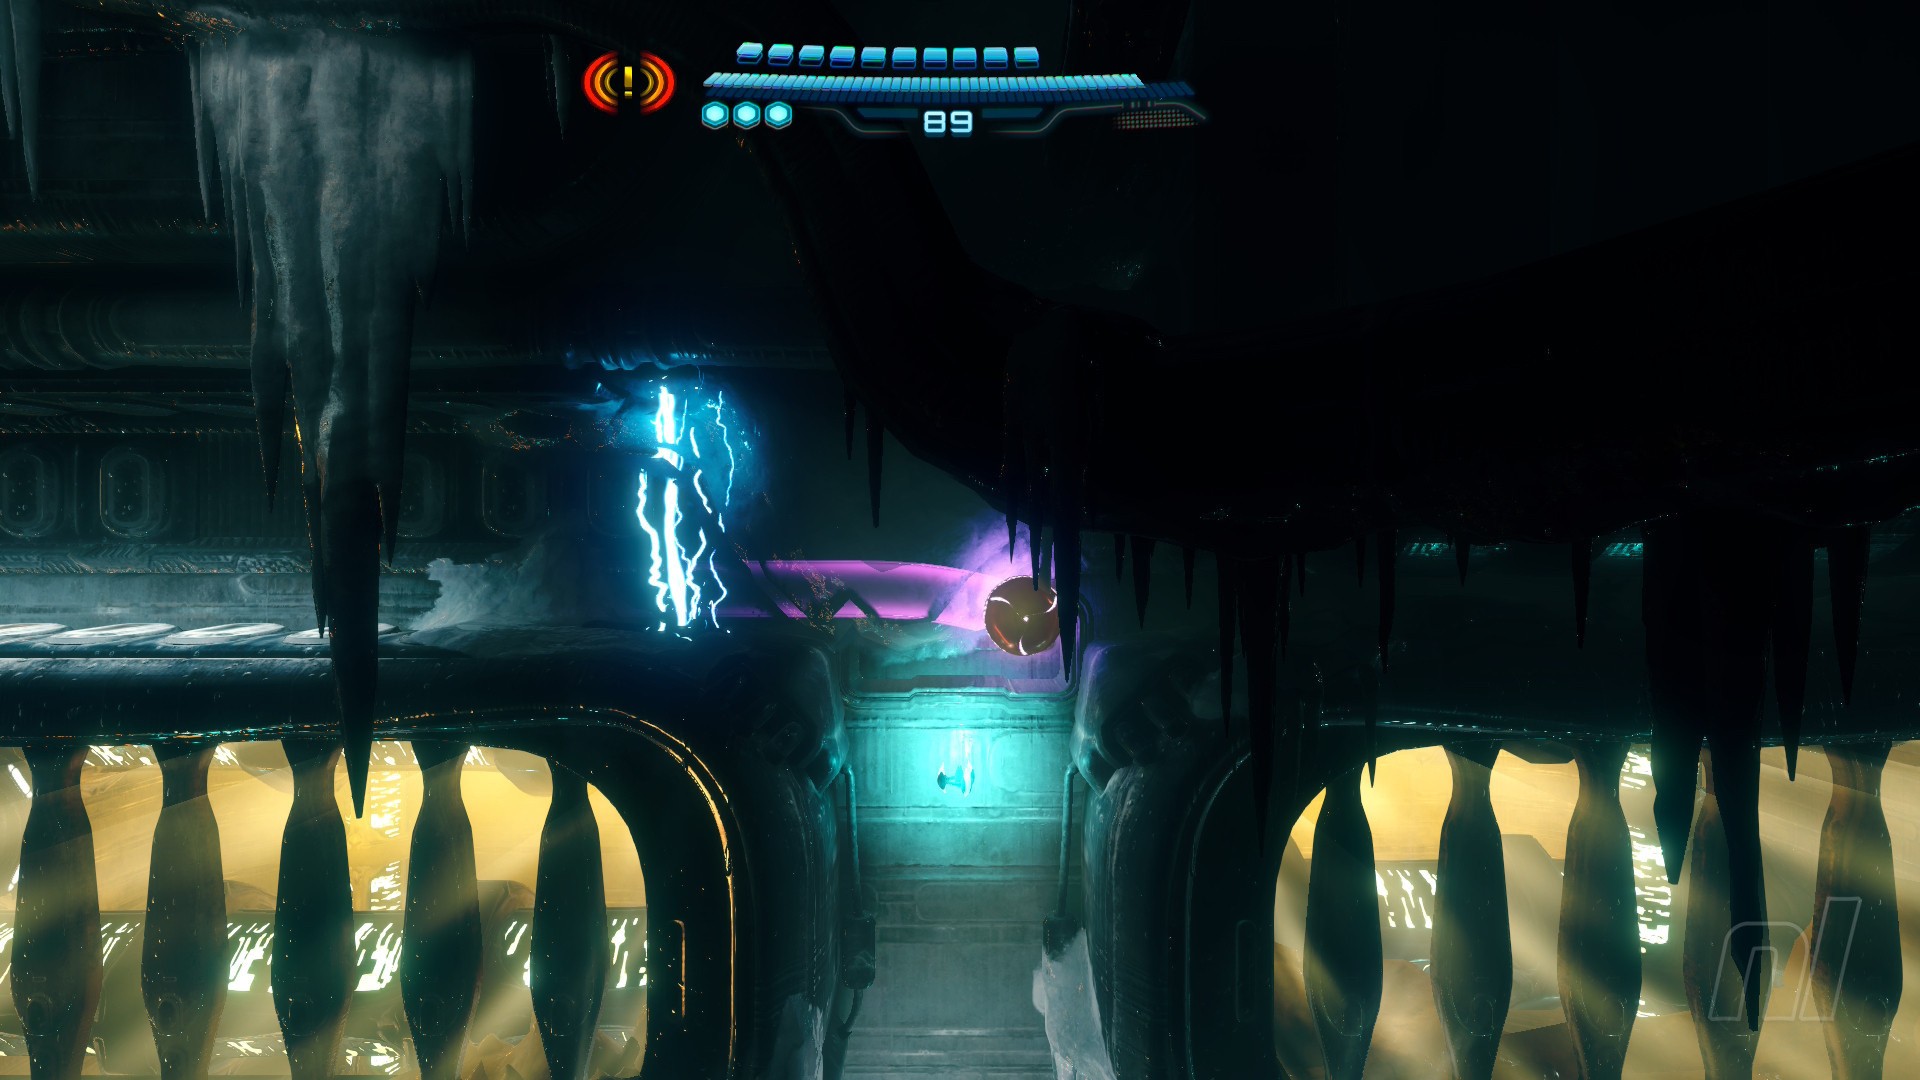
Image: Nintendo
In Surgery Conduit, follow the path round until you see a Spider Track. Take it up, then use your boost ability to dash through to the Shot Expansion before the electricity gets you.
Energy Tank #11
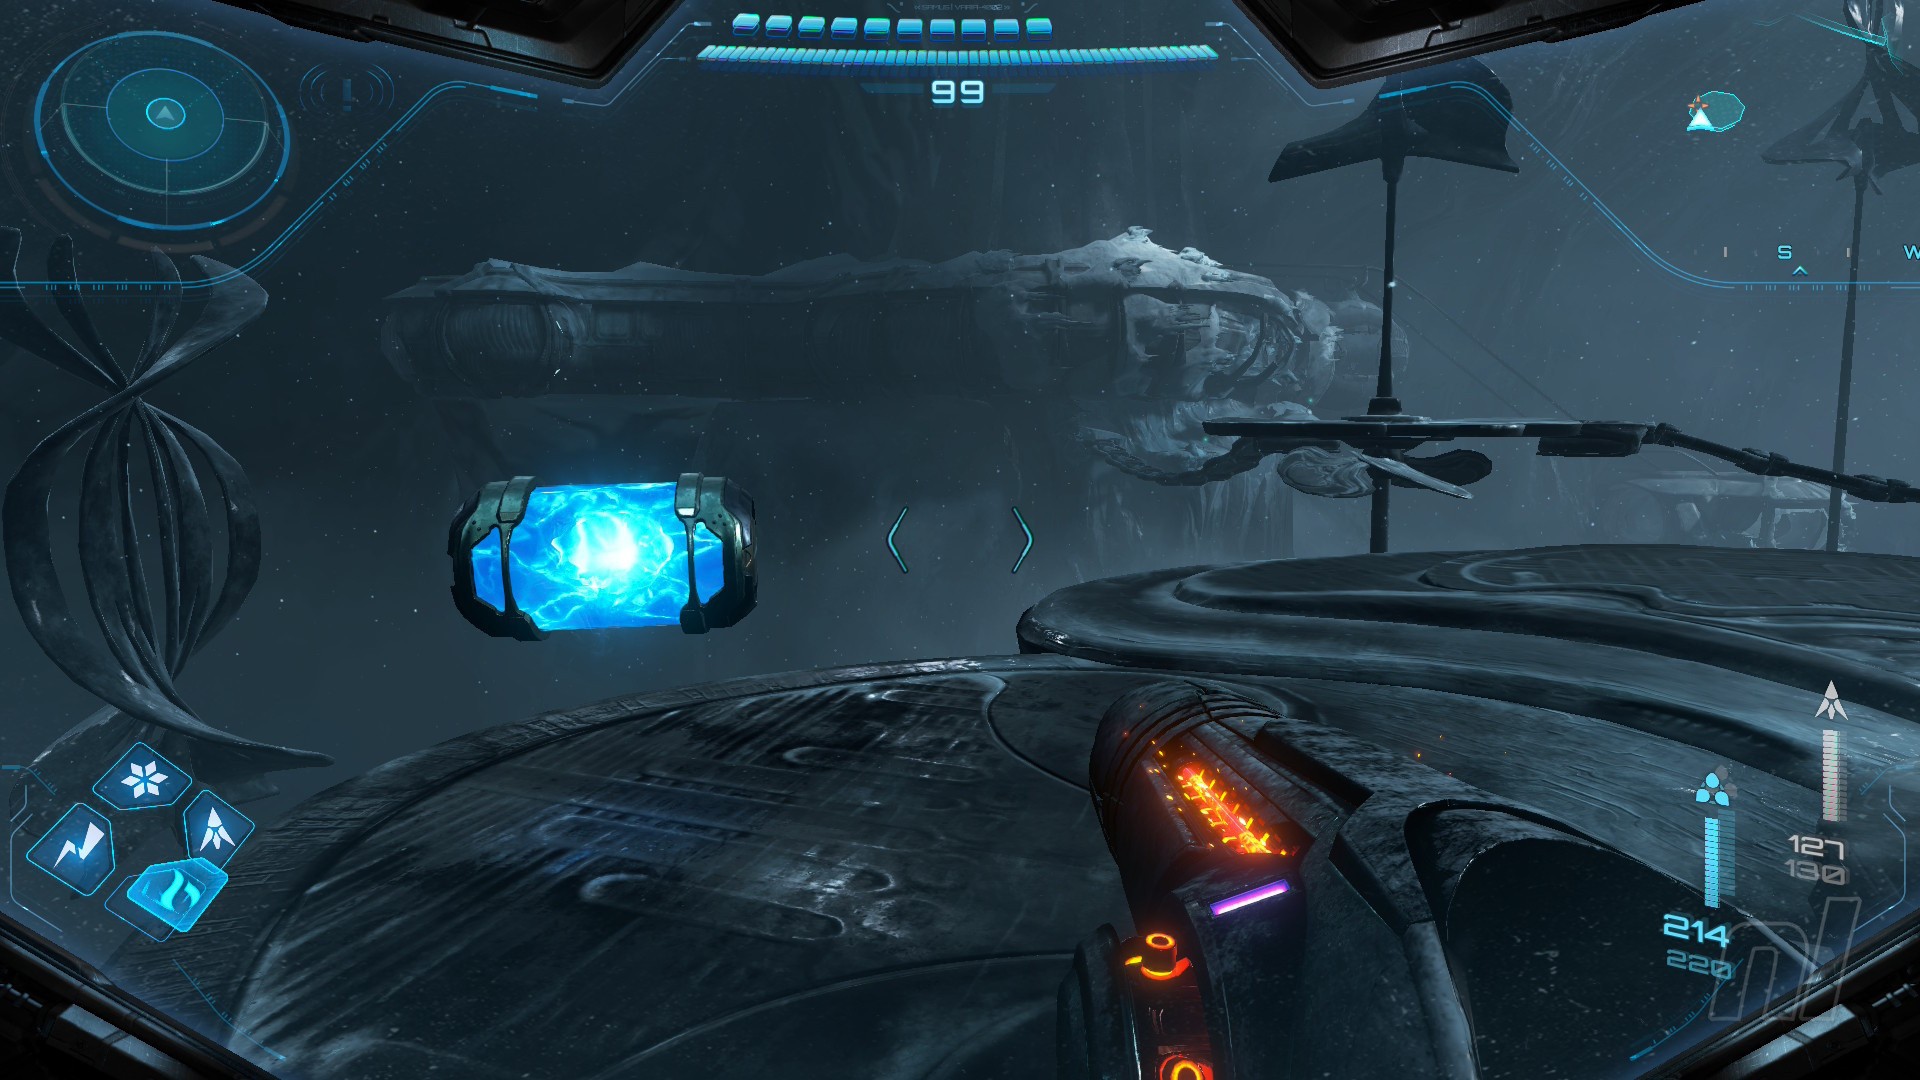
Image: Nintendo
Head over to the Ice Canyon. You'll remember we saw some grapple points here earlier, so now's the time to use them. Swing on over to the Energy Tank and grab it.
Now head back down to the main Power Generator from earlier. When you reach Deep Archive, shoot the hatch on the wall with the Thunder Shot to reveal a morph ball elevator. This will take you right back up to the Control Room – very handy. Now proceed to the Power Generator.
Shot Expansion #19
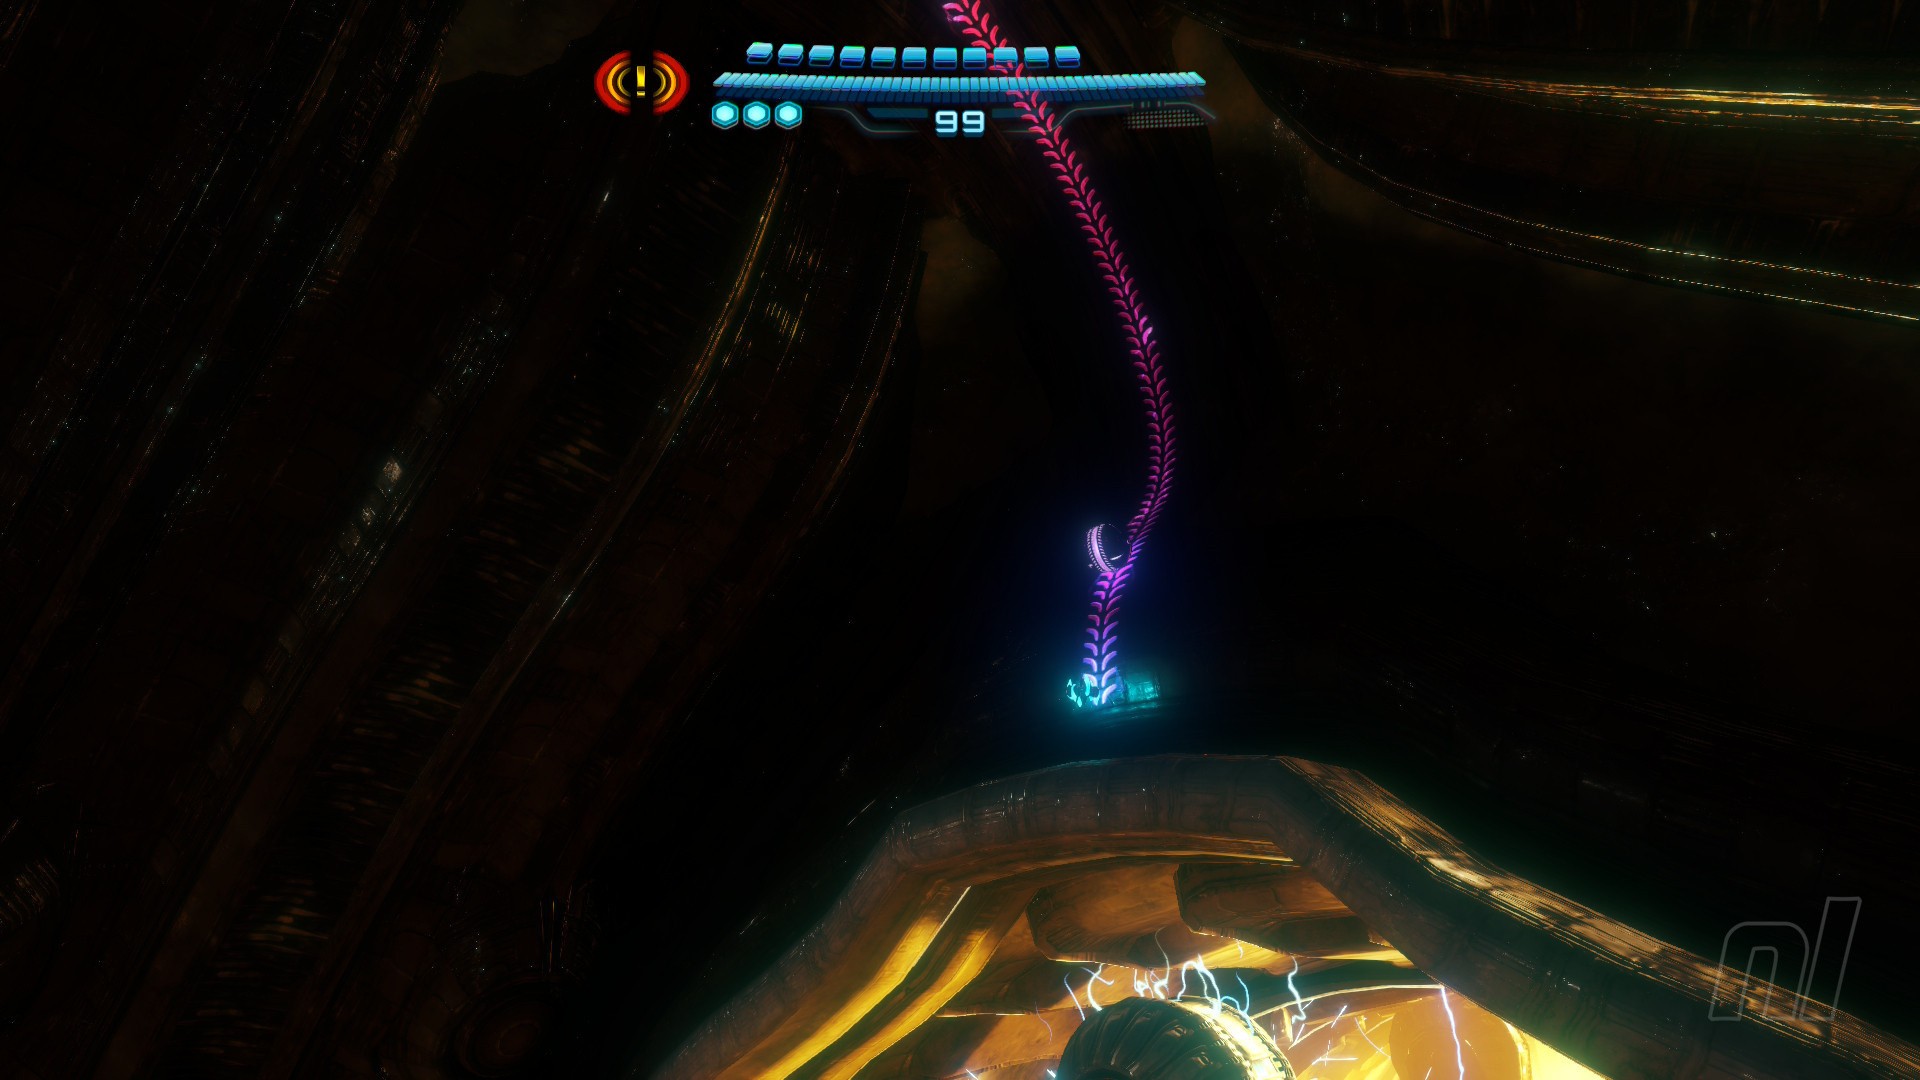
Image: Nintendo
In the Power Generator, there's a Spider Track on the lower level. Take this up and use the Tether Nodes to fling yourself up onto the second Spider Track on the ceiling. Follow this around to the Shot Expansion.
Take the morph ball elevator in Deep Archives back up to the Control Room. Now take the big elevator in the Lobby down to Elevator Landing.
Missile Expansion #24
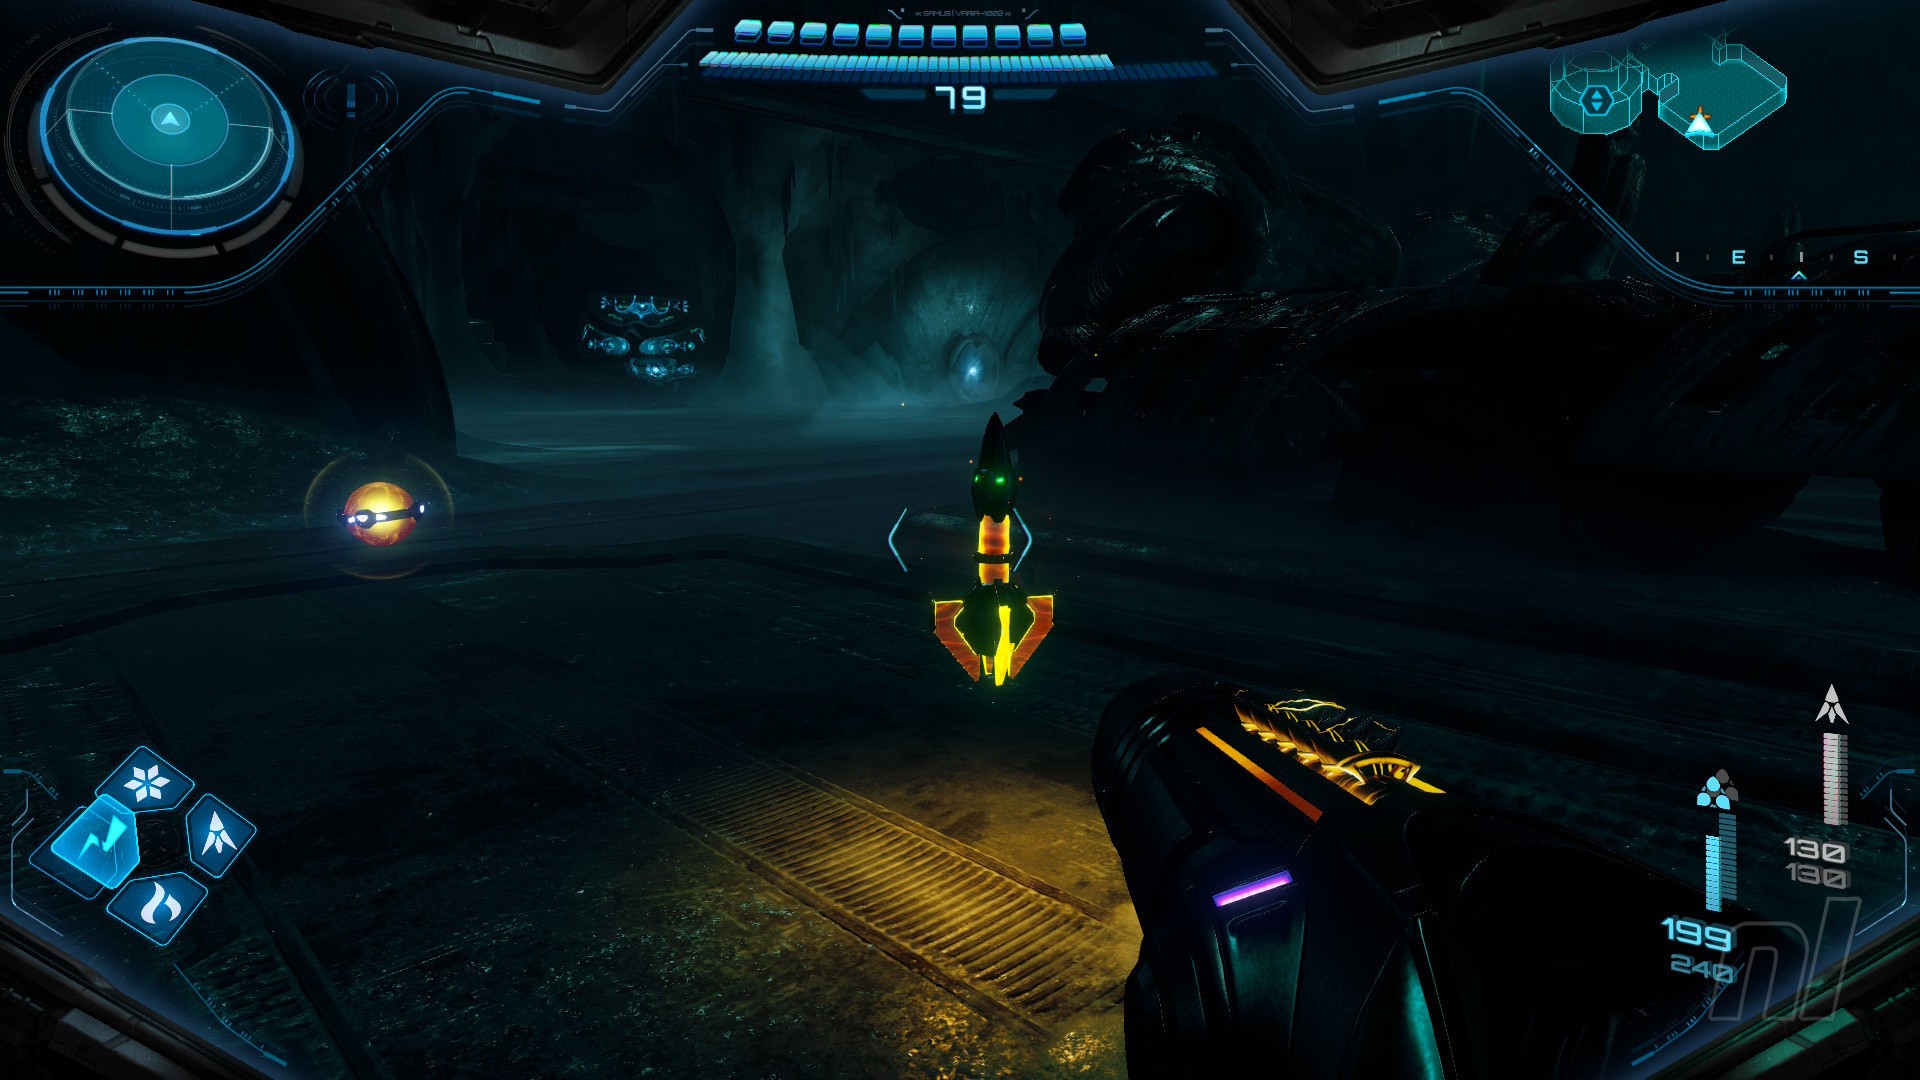
Image: Nintendo
Shoot the huge hangar door to the right with your Thunder Shot. Deal with the Grievers inside, then grab the Missile Expansion on the right.
Shot Expansion #20

Image: Nintendo
Proceed into Security Gates. Down on the left is an opening you can blast with a missile. When it's open, morph ball through and grab the Shot Expansion.
That's it! No more items or scans in the Ice Belt region. We don't have to come back here again. Make your way out.
When you take the large elevator back up into Sol Valley, don't go forward. Instead, go back and use the grapple on the node ahead. Take this exit back out into Sol Valley.
Missile Expansion #25

Image: Nintendo
You'll exit Ice Belt on the opposite side to normal. By the edge of the platform, you'll see a Psychic Boost Rail. Boost into it, and it'll take you around to get your next Missile Expansion.
Now that we're back in Sol Valley, head back to the Falling Labyrinth Shrine.
Remember the elaborate Spider Track we unveiled earlier? We can now use it. Observe the track first from the upper platform and plan your route to the top. Bomb any Sand Crawlers in your way.
Power Suit Upgrade: Super Thunder Shot
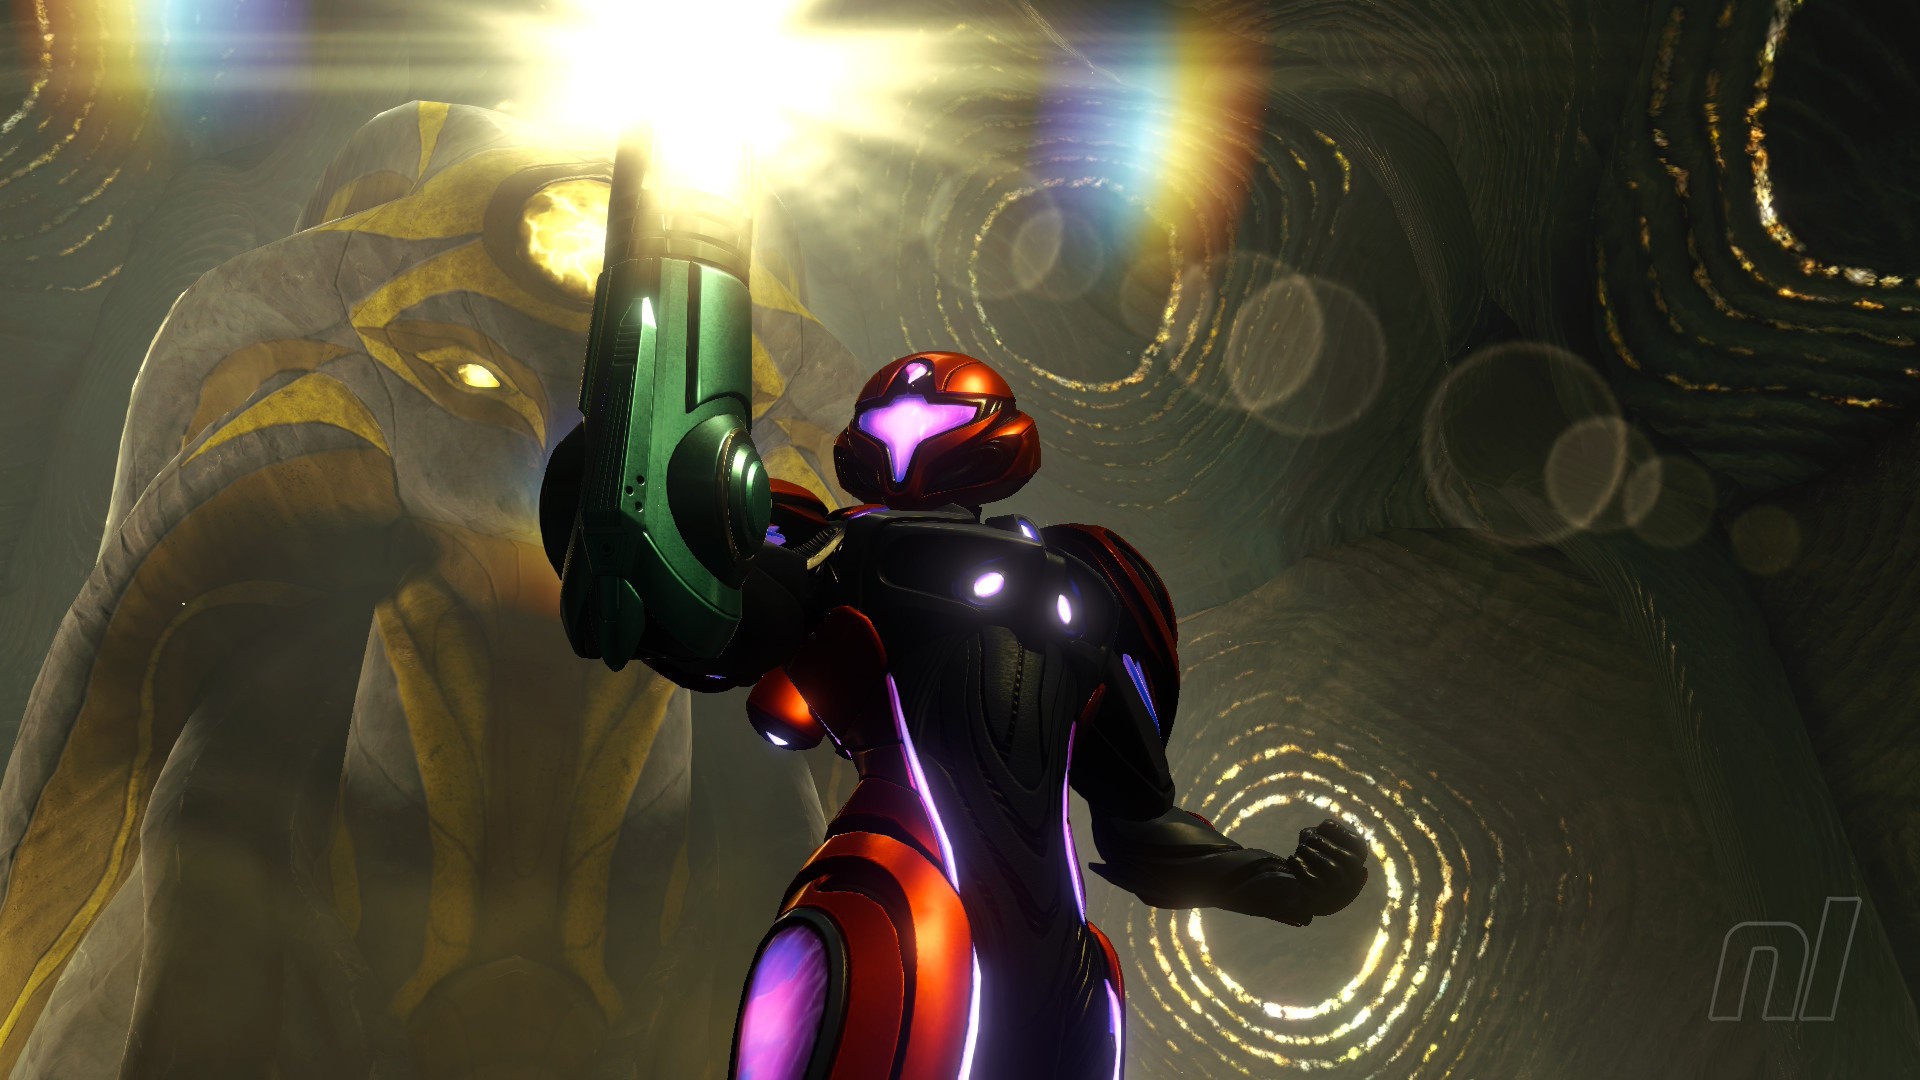
Image: Nintendo
When you reach the top of the Shrine, head through the door and grab the Super Thunder Shot. Teleport out and back into Sol Valley.
That just about does it for this section. Next time, we'll be conquering the oppressive region of The Great Mines. See you there, bounty hunter.
Recommended Comments