Hey folks! A few days ago talking with the_digi_law we discovered that you can actually run custom made stuff on Wii (retail and emulator) without the need of the SDK and official Unity addon. This won't be as straight forward as it would be with them but it's better than nothing. This is why I bring this tutorial in case someone wants to make games for Nintendo Wii using Unity.
Okay, first let's provide some context (I don't want to bore you to death, so if you don't want to read it or not need it, you can skip ahead to the setup steps below):
It's worth mentioning that if we followed the usual workflow back in 2007-2010, it would be exactly as we do now compiling a game for any other platform, albeit with some nuances. The Nintendo Developer Interface (NDI) did not exist back in 2007-2008. That's why the RVL SDK (Revolution SDK, aka the Wii SDK) had to be obtained directly from Nintendo through WarioWorld, the old developer website. It was MANDATORY to have the Developer Kit (the development kit), i.e., the physical machine on which to test the software, in order to obtain the SDK. And this had a price tag of $15,000. Not cheap by today's standards (the Switch version, for example, costs $450)... Once we had the SDK installed on our PC and had a DevKit, we could ask Unity to send us the version of the editor to use with the Wii Addon already installed. Then we could do what we always did: develop the game > compile the WAD (in the case of WiiWare) or ISO (in the case of retail) and with the Unity libraries connected to the SDK, everything would be easy and simple. Unfortunately, none of the possible versions of the add-on have ever been leaked, and until now (with what I'm bringing you), there has never been ANY information on how to make a game made in Unity run on a Wii console or emulator.
So... What can we do now if neither Nintendo nor Unity are going to give us the add-on and it was never leaked? Well, while surfing the net, I came across a user named the_digi_law who mentioned that the Wii has PowerPC (PPC) architecture and that's why it used “CodeWarrior” as its compiler. What does that have to do with anything? Well, Unity 2.6.0 and 2.6.1 still exported to MacOS X, which in 2008 was ALSO PPC. And then, chatting about it privately, we said to ourselves... “What if we put the MacOS PPC files into an already compiled Wii game... will it work?” Let's see!
It should be noted that this tutorial is for exporting a basic scene that ends up compiling a functional ROM natively on both a retail console and an emulator (e.g. Dolphin Emulator). However, making a complex game will require knowledge of the engine and general programming/coding with C#, JavaScript or UnityScript, as making a game in a large engine has a non-skippable learning curve, especially in such an old version of the engine. This tutorial WON'T share any copyrighted file and everything you do is under your responsability.
Step 1. Prepare Unity 2.6.0f7:
We'll download Unity 2.6.0f7 directly from the official Unity website. Why this one and not a more modern one that also compiles for Wii? Because it is the latest functional version for MacOS PPC. Unity 3.x only compiled for Macs with Intel processors. You can also use Unity 2.3 to 2.6.1 versions but in my tests, the best results were obtained with 2.6.0f7 due to numerous bugs within the editor...
Double-click on the .exe and install it as usual.
When you run Unity 2.6.0f7, it will ask you for a license registration. Tell it that you want to activate it online, and it will take you to the official Unity licensing page that was used at the time and is still maintained: https://license.unity3d.com/
If you don't have a Unity account, you will have to create one, as it is required. If you already have one, skip to the next step.
Now that you have created your account, if you have a plus or pro license, you can link it here. If not, we can click on Personal License and it will give us a free license (the advantage of 2.6.0 is that it was the first version with a free personal license, which is great!).
After accepting, we return to Unity and see that the registration has been completed.
We close the installer and can open Unity for a couple more steps later.
Step 2 Prepare the Wii game where you want to “inject”: From RVL to ISO
Okay, at this point, you probably have an idea of what we're going to do: we're going to replace the files compiled by Unity with those from an existing ROM. To do this, you need to know of a game that uses Unity 2.x and runs on a Wii. Some of these are:
Jumpstart Pet Rescue (ISO/RVL)
Lead the Merkaats (WiiWare->WAD)
Tiger Woods PGA Tour Online (ISO/RVL)
El Chavo (ISO/RVL)
For our example, we will use Jumpstart Pet Rescue. Since it is irrelevant, we will assume that we have all obtained our game legally and ripped it as a personal backup, rather than downloading it from the seven seas. The fact is that if we already have the game in ISO format, we can continue. The following steps are for if we have the game in RVL format:
Download the Wii and GameCube emulator “Dolphin” from its official website.
Install or unzip it wherever you want, depending on whether you are using the “archive” version. Open it by double-clicking on the .exe file.
Go to Options > Settings > Paths and set the folder where your RVL is currently located. It will appear in the list of games available to run.
Right-click on it and select “Convert File.” Make sure it is set to ISO type and accept. A file with the .iso format will be added to the same folder, which will be much larger than the original (since it is not encrypted or compressed).
Now we have the game, which we can unzip to extract its files.
Step 3 Prepare the Wii game to be “injected”: Unzip the ISO into files
To unzip an ISO and extract all its files, we will use one of the best Wii RomHacking tool for ISO: WIT Wimms Tools.
Go to the official WIT website and download the Windows version. In this case, version 3.05, which is the latest: https://wit.wiimm.de/download.html#vers-v3.05a
Unzip it into a folder that you will remember. In my case, it will be C:\Wit so that the executable we are going to use is in C:\Wit\bin\wit.exe.
We don't really need to add it to Environment Variables because in this tutorial we are going to launch everything from the command console (CMD) using global paths, but you can do so if you wish. In any case, open the command console by right-clicking > open terminal here, from Cortana > Command Console or Windows + R > cmd.
Use WIT to decompile the ROM using (replace my path with yours) “C:\Wit\bin\wit.exe” extract “path to the ISO” “Path where it is extracted”
When you press enter, it will take you to where we have defined the entire decompiled ROM. That will be our “final compilation place.” Remember where it is, as we will recompile the .ISO in the future.
Step 4 Prepare the game for injection
With Unity opened from Step 1, we are going to make a simple "game":
Create a scene with File > New Scene.
Add an object with the menu above GameObject > Create Empty (or press Control + Shift + N).
Leaving it selected > Components > Rendering > GUITexture.
Drag an image from your PC to the “Project” tab.
Select the object with GUITexture > drag the newly imported image to the inspector where it says Texture. You will see it in the Game tab.
Go to File > Save Scene and save your scene as you would in any Unity project.
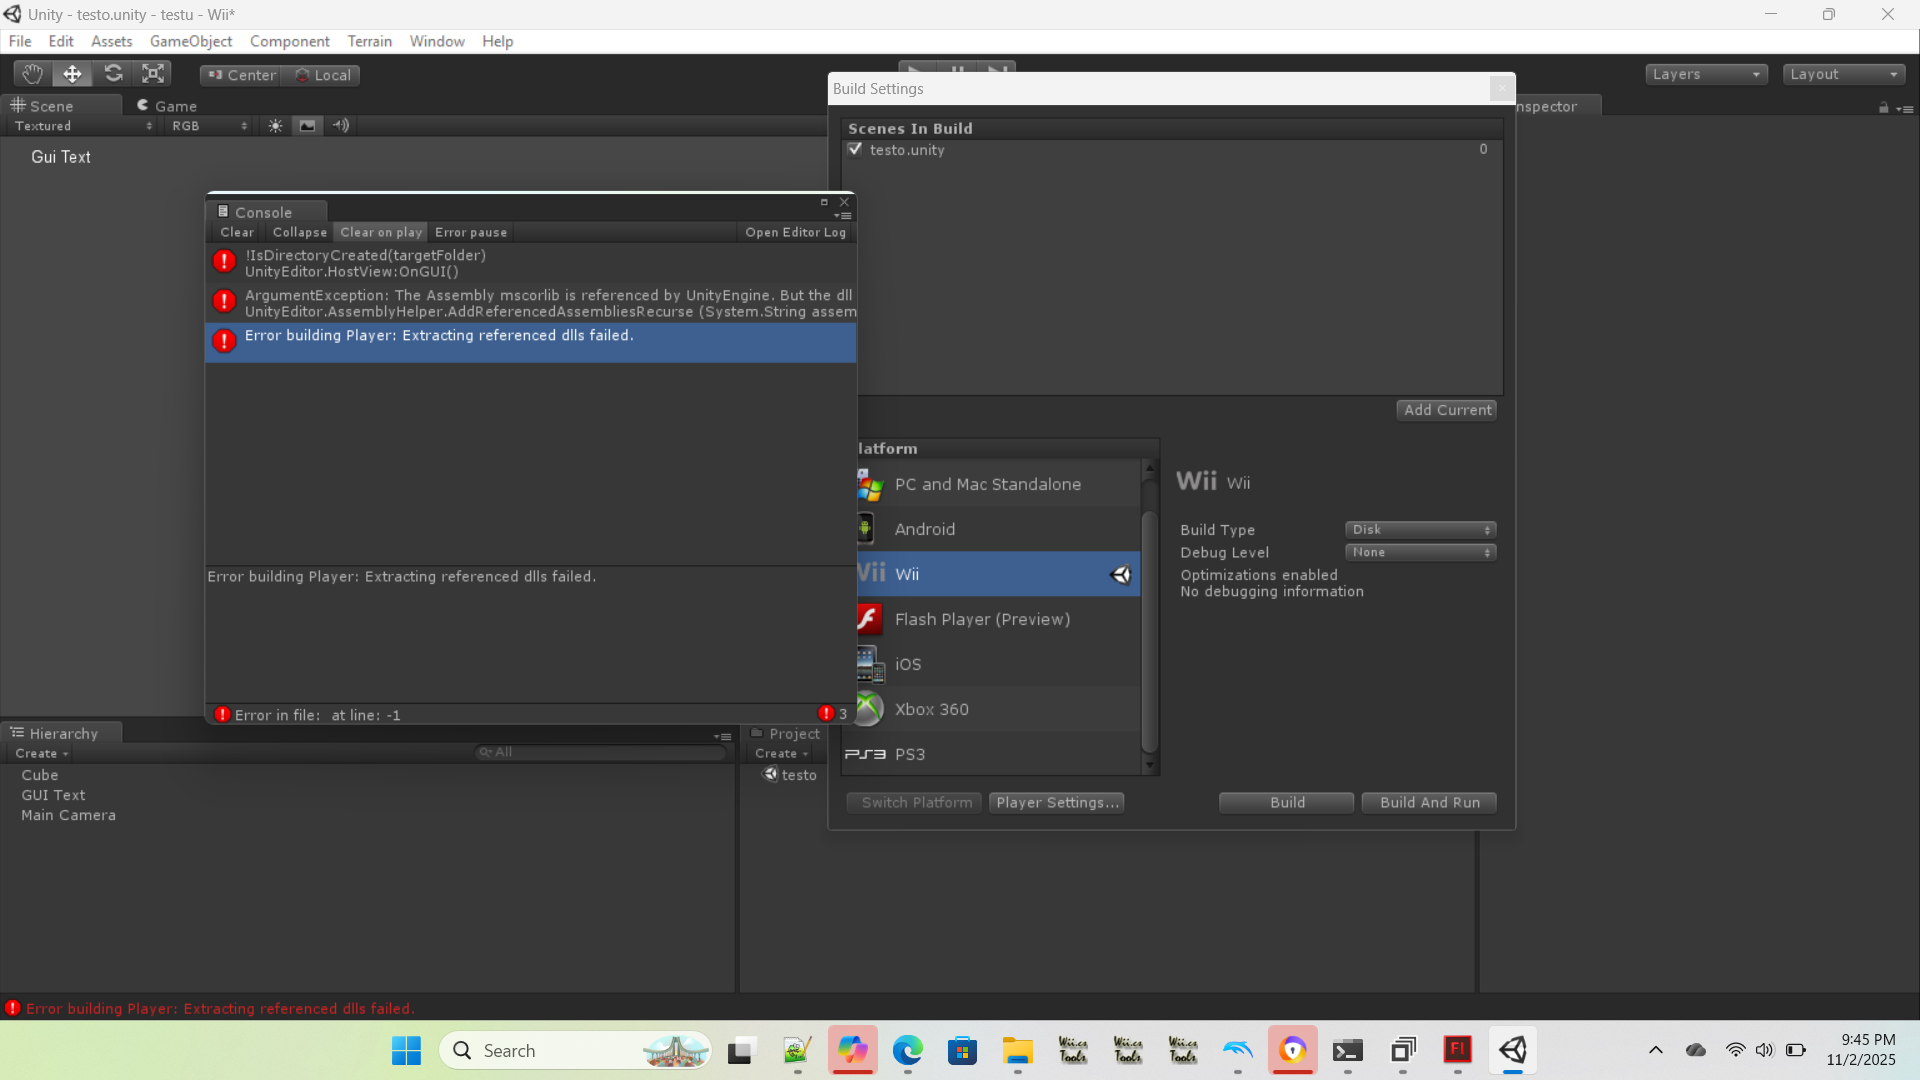
Open File > Build Settings and click “Add Current” to add it to the list of scenes. Important: in this step, select MacOS PPC (OS X) as the target platform.
We click Build and compile the game for MacOS X PPC. The folder will open at the end.
Step 5. Copy the files to the Wii ISO
Okay, from the folder where we had the ISO, let's go to DATA/files/unity/Data. We can delete EVERYTHING there because we don't need it. The only exception would be “unity default resources” because it already has the shaders ready for Wii. In any case, this is where we are going to copy our files, so leave this folder open in a separate window. Which files do we put? Only those from our game:
Go back to where the Mac game has been compiled and go inside .app/Contents and grab the files from:
Data: mainData and sharedassets0.assets. If we had several scenes and so on, we would take EVERYTHING from here (Levels, sharedAssets, bundles...).
Frameworks/Mono.framework: Boo.Lang.dll, mscorlib.dll, and UnityDomainLoad.exe.
Resources: UnityEngine.dll and unity default resources (this is not necessary if we keep the one that was already in the Wii game).
Go back to where you had the ISO unzipped into files and copy all the files to PathToIso/DATA/files/unity/Data.
You should end up with something like:
Our game is now ready to test.
Step 6. Encrypt the ROM back to an ISO
We are going to use Wit again, but now with “C:\Wit\bin\wit.exe” copy “path where we extracted the ROM” “path where we want the ISO to be placed.”
Once this is done, a ROM in .iso format will have been created. This will fail if there was previously an .ISO file with the same name, so make sure to delete it first.
Open Dolphin and you will see that it is listed even though it has the name Jumpstart Pet Rescue (you can change this by modifying the opening.bnr files).
Run the game and voilà! You have your Unity game on Nintendo Wii!
This game is "fully" functional in retail hardware and emulator, so it could already be used for Fangaming or Homebrew. However, you may be wondering: What about the API for Wii-specific features such as Inputs, Saving, Language... those things come in the SDK. You're right! If we use DNSpy or ILSpy to check the C# DLLs of the original game, if we take a look at UnityEngine.dll you can find all the stuff required for those. You can handle them in one single file or separate them.
Here's a video of the Inputs working:
This way, the workflow would remain the same: make the game in Unity 2.6 > Compile for Mac > Copy the files > Encrypt the ISO > Test.
Suffice it to say that no one who still has the official SDK + Addon is going to publish it so for now this is the only and best way to get our Unity games running on Nintendo Wii...
And that's it!
Special thanks to The_Digi_Law (DigiSpace-Productions) for not only pointing in the right direction but spending time with me reverse engineering all this process!
Troubleshooting and limitations I discovered while battling with Unity and Wii:
You can't use asset bundles (for now) as they are compiled to .wii and .ures by the SDK. We could make something to manually create them but otherwise, you won't be able to load them. They are limited to Unity Pro so you also need an official serial key in order to handle them.
Normals seem completely off. It might be something with how the wii renders stuff:
When trying animations imported from an FBX (which also needs to be backported to FBX 2010 with autodesks tools), the model just disappears. No idea why (yet). I would recommend using DAE as it seems to be supported.
Audio is not working for me. Probably bc the wii only recognizes DSP or PCM and Unity 2.5 only wav (that can be converted).
I backported NGUI 2.7.0 (unity 3.5) to Unity 2.6.0 but it gives more troubles than solutions... So... no useful way to make user interface...
===========================
Compiling from Unity 3.5.6f4 for Nintendo Wii and replacing on Big Time Rush game makes it to work as well!
=====================
Other games made in Unity you can try and their versions:
JumpStart Pet Rescue Wii (Disk) Sept 8 2009 (Unity 2.1)
JumpStart Escape from Adventure Island Wii (Disk) Nov 17 2009 (Unity 2.1)
Max & the Magic Marker (WiiWare) USA/EU Mar 8 2010 (US) / Mar 5 2010 (EU) (Unity 2.5)
Lead the Meerkats (WiiWare) USA Jun 7 2010 (Unity 2.5)
JumpStart Get Moving Family Fitness Wii (Disk) Jun 8 2010 (Unity 2.1)
JumpStart Crazy Karts Wii (Disk) Apr 19 2011 (Unity 2.1)
Retail Santa Claus is Comin’ to Town! Wii (Disk) Nov 8 2011 (Unity 3.2)
Nickelodeon Big Time Rush – Dance Party Wii (Disk) Nov 13 2012, (Unity 3.5.6f7) -> latest unity version?
El Chavo (Latin America) Wii (Disk) Apr 27 2012 (Unity 3.2)
My Animal Centre Wii (Disk) 2009 (Unity 2.1)
FroBot (Disk) 2010 (Unity 2.5)
Feel free to share your knowledge if you discover more stuff!





Recommended Comments